Breath Mechanics Worksheet Respiratory Mechanics & Regulation
Somatic Regulation Series • Lesson 1
Student Material
Name: ____________________________________
Date: _____________________________________
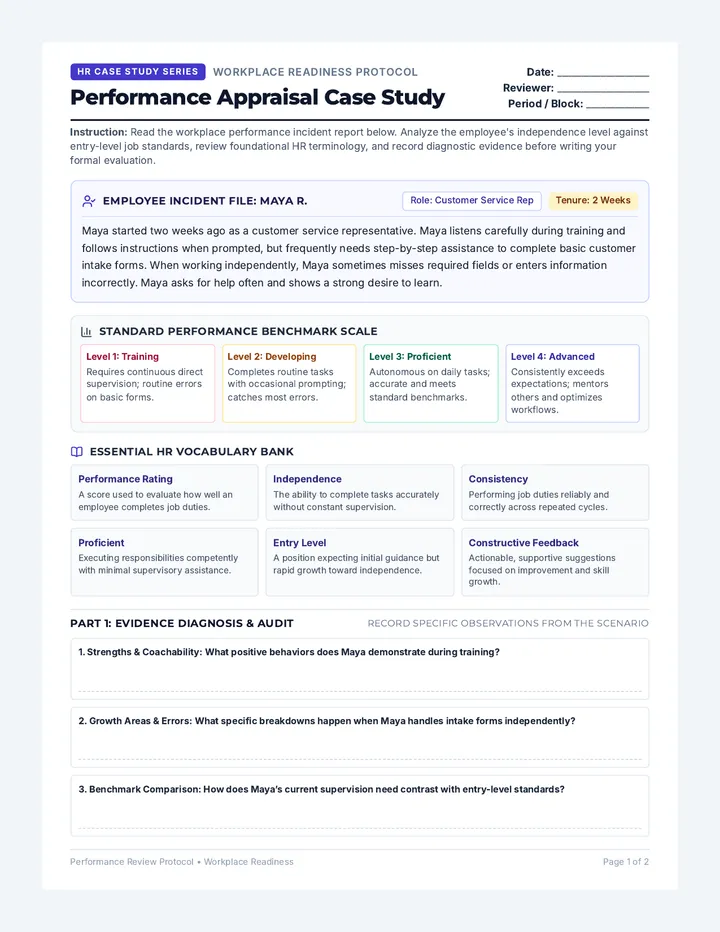
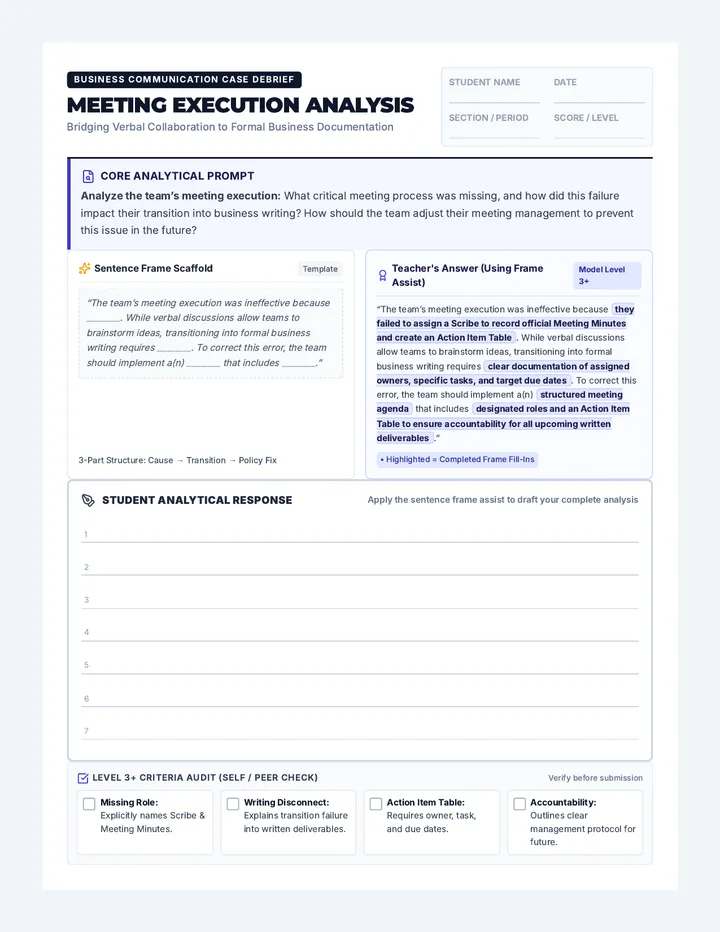
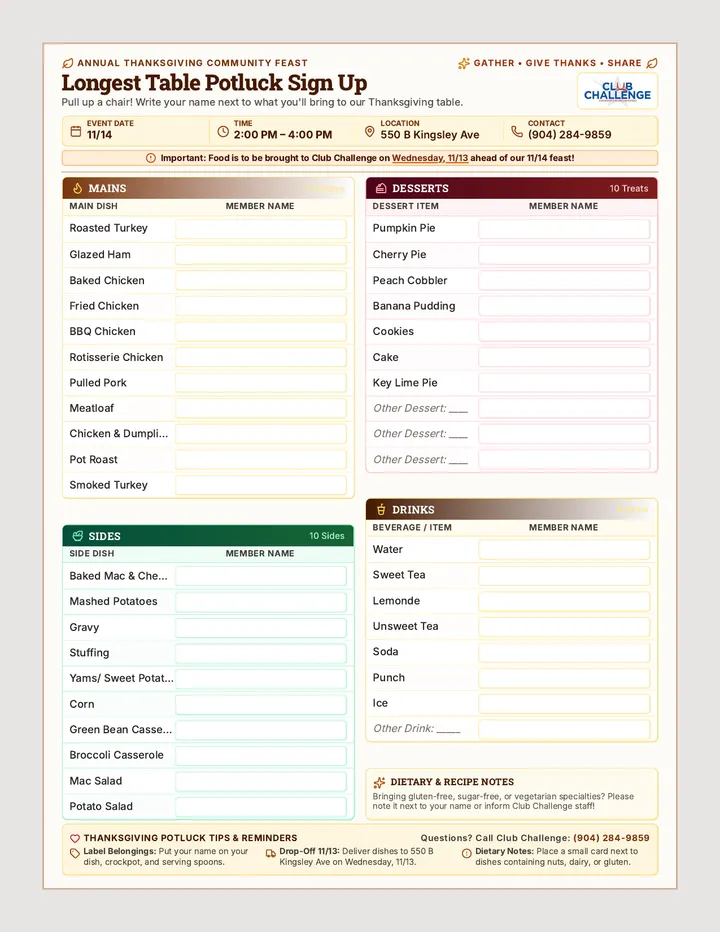
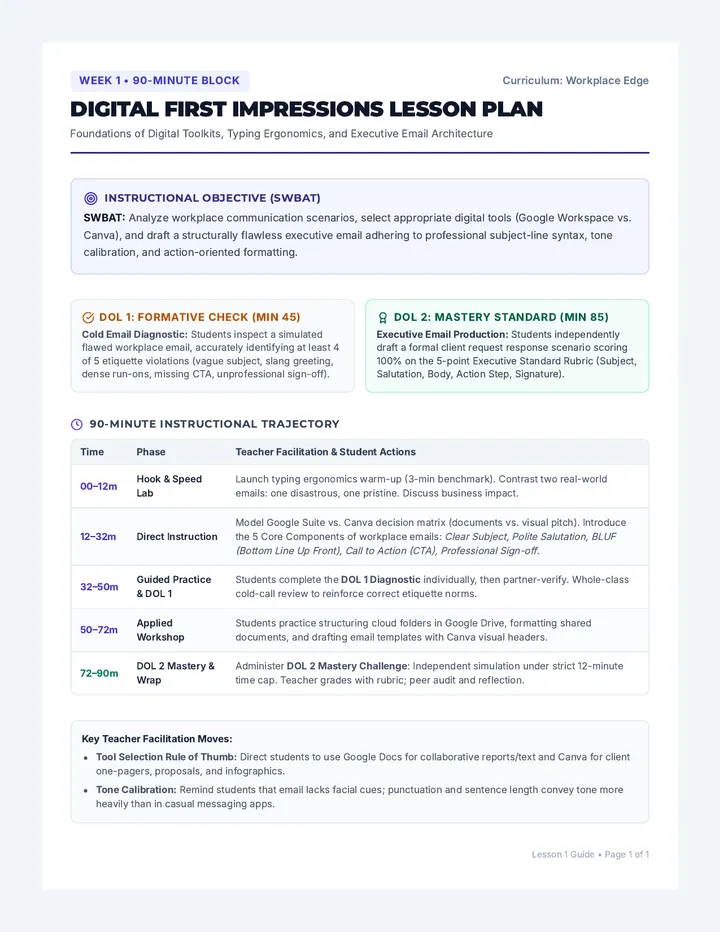
Anatomical Identification
Study the mechanics of the respiratory system. Correctly identify the primary structures involved in diaphragmatic breathing below:
1
2
3
Keywords: Diaphragm, Intercostal Muscles, Vagus Nerve, Thoracic Cavity.
Respiratory System Visualization
[Vertical Cavity & Muscle Overlay]
Lungs / Chest Cavity
Diaphragmatic Band
Vagal Tone Pacing Log
Practice the 4-7-8 technique. Record your subjective level of physiological arousal (1-10) before and after three cycles.
Practice Cycle Inhale (4s) Hold (7s) Exhale (8s) Pre-Arousal Post-Arousal Trial 1 Trial 2
Somatic Observation
Describe the physical sensation in your abdomen during a full diaphragmatic inhale compared to your usual breathing pattern.
How does lengthening the exhale specifically impact your heart rate? Why is this anatomically significant?
Breath Mechanics Slides Breath Mechanics
The Physiological Manual Override for Stress
Somatic Regulation Lesson 01
The Balloon Principle
Observation Task
Watch as we inflate the balloon. Note the relationship between volume, pressure, and the effort required to move air.
Where is the tension highest?
How does the shape change?
What happens during a sudden release?
Anatomy of Inefficiency
Chest (Clavicular)
Upper lobe focus only
Activates Sympathetic NS
Triggers "Fight or Flight"
High energy expenditure
Diaphragmatic (Belly)
Full lung capacity utilization
Activates Parasympathetic NS
Stimulates the Vagus Nerve
Low energy, high efficiency
The Vagal Brake
"By slowing the breath and engaging the diaphragm, we physically press the 'brake pedal' on our nervous system."
Lowers Heart Rate
Reduces Cortisol
Improves Focus
Workshop: The 4-7-8 Pacing
4s
Inhale
Quietly through nose
7s
Hold
Mental stillness
8s
Exhale
Audible "whoosh"
"The ratio is more important than the duration."
Breath Mechanics Teacher Guide Teacher Facilitation Guide
Lesson 1: Mechanics of Diaphragmatic Breathing
FACULTY RESOURCE
Lesson Objective
By the end of this session, students will be able to anatomically distinguish between thoracic and diaphragmatic breathing and demonstrate a 50% increase in exhale duration using the 4-7-8 method.
Materials Needed
Standard Latex Balloon
Breath Mechanics Worksheet
Presentation Slides
Instructional Flow (50 Minutes)
00-05 min
The Hook: Balloon Mechanics
Blow up a balloon. Ask: "If this were your lung, what is providing the pressure?" Most will say the 'air'. Clarify: It's the physical contraction of the rubber (or in humans, the diaphragm/ribs).
05-20 min
Anatomy Deep-Dive (Slides 2-4)
Discuss the 'Vagal Brake'. Explain that the vagus nerve passes through the diaphragm. When the diaphragm moves fully, it physically massages and stimulates the vagus nerve, signaling the brain to downregulate.
20-40 min
The 4-7-8 Workshop
Guided practice. Ensure students are seated with feet flat.
40-50 min
Reflection & Worksheet Completion
Students complete the Somatic Observation section of their worksheets. Use the 'Keywords' for the anatomy section: Diaphragm (2), Intercostal Muscles (1), Vagus Nerve (3).
Common Misconceptions & Troubleshooting
Dizziness
If students feel lightheaded, they are likely over-inhaling or "stacking" breaths. Encourage a more forceful exhale to clear CO2.
Shoulder Movement
Watch for shoulders rising. This is chest breathing. Remind them: "Belly out on the inhale, belly in on the exhale."
PMR Introduction Slides The Power of the Squeeze
Introduction to Progressive Muscle Relaxation (PMR)
Upper Body Isolation Lesson 02
The Stress Ball Contrast
The Challenge
Squeeze your stress ball (or fist) with 100% effort until your arm begins to shake. Hold for 10 seconds...
"Now, RELEASE everything at once."
How does the release feel compared to the squeeze?
Active Tension
Evidence-Based Foundation
Origins: Edmund Jacobson
Developed in the 1920s based on the premise that "mental calmness is a natural result of physical relaxation."
The Physiological Link
By systematically fatiguing a muscle, we trigger an obligatory reflex of deep relaxation that bypasses cognitive 'worry'.
Proven Benefits
Reduced Cortisol Levels
Improved Sleep Latency
Decreased Anxiety (STAI)
Lowered Blood Pressure
The Upper Body Protocol
Hands & Forearms
Clench both fists as tight as possible. Feel the tension radiate to the elbows.
Biceps & Arms
Bend elbows and tense biceps. Imagine you are lifting a 100lb weight.
Shoulders
Shrug shoulders up to your ears. Try to touch your earlobes with your traps.
THE RHYTHM:
Squeeze (10s) Release (20s)
Upper Body PMR Guide Upper Body PMR Protocol
Somatic Regulation Series • Lesson 2
Student Guide
Reference for home practice
The Principles of Systematic Tension
Isolated Effort: Only tense the specific muscle group instructed. Keep the rest of your body limp.
Hold for 10: Maintain a hard contraction for 10 full seconds without holding your breath.
Abrupt Release: Do not "let go slowly." Release all tension at once.
Focus on Residuals: Spend 20 seconds noticing the "tingling" or "heavy" sensation that replaces the tension.
Muscle Group Action Script Practice Log Right Hand & Forearm Make a tight fist. Squeeze as if trying to crush a stone. Feel the tension in your knuckles and wrist. Left Hand & Forearm Mirror the right side. Squeeze until the hand begins to shake slightly.
|
| Upper Arms (Biceps) | Flex both elbows. Bring your fists toward your shoulders. Tense the biceps and triceps simultaneously. |
|
| Shoulders & Traps | Lift your shoulders as high as they will go. Try to touch your earlobes. Pull your shoulder blades back. |
|
Post-Session Self-Assessment
Rate your overall tension level after this protocol (1-10):
Identify one muscle group that was particularly difficult to isolate (i.e., you tensed other muscles by accident):
Describe the specific temperature or sensation in your hands immediately following the release:
PMR Intro Teacher Guide Teacher Facilitation Guide
Lesson 2: Introduction to PMR & Upper Body
FACULTY RESOURCE
The Physiological Mechanism (Jacobson's Principle)
It is critical to explain to students why we tense before relaxing. PMR works by using the body's natural post-isometric relaxation response. When a muscle is held in a strong contraction for ~10 seconds, the Golgi tendon organs (sensory receptors) signal the muscle to enter a state of deep, mandatory relaxation to prevent injury.
This "manual override" is particularly effective for anxiety because it focuses the mind on a physical sensation that is too intense to ignore, effectively breaking "worry loops."
Session Walkthrough (50 Minutes)
Phase 1: 10m
The Squeeze Contrast (Hook)
Provide stress balls or ask students to make tight fists. Guide them to squeeze until they feel a "shake" in the forearm. Discuss the immediate feeling of blood flow and warmth during the release.
Phase 2: 15m
Scientific Evidence (Slides 2-3)
Briefly cover Jacobson's history. Emphasize that PMR is one of the most studied and validated somatic interventions in clinical psychology.
Phase 3: 20m
Guided Upper Body Protocol
Use the script in the Student Guide. Direct students to close their eyes. Walk through: Right Hand -> Left Hand -> Both Biceps -> Shoulders. Maintain a 10s tension / 20s relaxation cadence.
Coaching Cue
"Notice the difference between 'tension' and 'relaxation.' If you feel pain, you are squeezing too hard. Aim for 70-80% of your maximum strength."
Common Error
Students often hold their breath during the squeeze. Remind them: "Keep the breath flowing even while the muscles are tight."
Core and Facial Slides The Hidden Reservoirs
Core and Facial Tension Release
Socially Discreet Somatics Lesson 03
The Poker Face Challenge
Activity
Try to maintain a completely neutral "poker face" while your partner tries to make you smile or laugh.
Post-Activity Audit:
Did your jaw clench?
Did your brow furrow?
Did your stomach tighten?
100% Tension
The Primary Tension Zones
The Frontalis
The forehead. Chronic brow-furrowing signals 'threat' to the brain constantly.
The Masseter
The jaw. Clenching is a primal 'readiness to bite' response to stress.
The Rectus
The abdomen. Tensing the core restricts the diaphragm (Lesson 1 conflict).
Socially Discreet Release
01
The Jaw Drop
Let the jaw hang slightly open while keeping lips closed. (The "Slack-Jaw" technique).
02
The Brow Lift
Raise eyebrows as high as possible for 3 seconds, then let them fall naturally.
03
The Abdominal Puff
Push the stomach out like a balloon, then let it go completely soft.
04
The Tongue Drop
Let the tongue fall away from the roof of the mouth.
Micro Relaxation Cards Social-Safe Micro-Relaxation Cards
Cut along the dotted lines. Keep these in your wallet, bag, or on your desk for discreet stress management.
The Slack Jaw
Perfect for: Meetings, Lectures, Public Transport.
Part your teeth slightly behind your lips.
Let your tongue fall to the floor of your mouth.
Exhale through the nose, imagining the jaw weight pulling down.
Discretion Level: High
The Brow Reset
Perfect for: Exams, Computer Work, Reading.
Raise eyebrows high (like you're surprised).
Hold for 2 seconds.
Let them drop. Feel the forehead skin "smooth out" toward your temples.
Discretion Level: Medium
Abdominal Drop
Perfect for: Interviews, Difficult Conversations.
On an exhale, imagine your belly button falling away from your spine.
Release the "sucking in" habit completely.
Feel your lower back widen as the core softens.
Discretion Level: Very High
Shoulder Sink
Perfect for: Driving, Waiting in Lines.
Inhale and lift shoulders 1 inch.
Exhale and drop them 2 inches.
Imagine your shoulder blades are heavy lead weights sliding down your back.
Discretion Level: High
The Palm Open
Perfect for: High-Stress Social Interactions.
If hands are in pockets or on a lap, turn palms upward.
Gently stretch the fingers outward, then relax.
Acknowledge the "Open Palm" signals 'Safety' to your brain.
Discretion Level: Very High
The 4-4 Reset
Perfect for: Immediate Overwhelm.
Inhale for a count of 4.
Exhale for a count of 4.
Repeat only twice. The short duration keeps it unnoticeable to others.
Discretion Level: High
Core Facial Teacher Guide Teacher Facilitation Guide
Lesson 3: Core & Facial Tension Release
FACULTY RESOURCE
The Psychology of Social Masking
Students often associate relaxation with "lying down in a quiet room." This lesson shifts that perspective to functional relaxation—the ability to release unnecessary tension while actively participating in social or academic life.
The core concept is that maintaining a "composed" exterior (the poker face) often creates a feedback loop where the facial tension signals to the amygdala that a threat is present. By "breaking the mask" through micro-movements, students can downregulate their internal state without changing their outward behavior significantly.
Activity: The Mask Audit (15 Minutes)
Instructions:
Pair students up. Student A is the "Statue"; Student B is the "Disrupter."
For 60 seconds, B tries to elicit any facial expression from A (jokes, weird faces, etc.). A must remain neutral.
The Twist: Afterward, ask A where they felt the internal tension. Did they clench their toes? Their stomach? Their jaw?
Switch roles.
Conclusion: We often trade external expression for internal tension. Our goal is to have neutral expression AND neutral internal state.
The Micro-Cards
Distribute the cards and have students pick one "anchor" technique to use during the next week. Encourage them to place the card somewhere they look often (phone case, laptop bezel).
Vulnerability Note
Facial relaxation can sometimes make students feel "exposed." Acknowledge this. Remind them that the "slack jaw" is barely noticeable to others but highly effective for the nervous system.
Lower Body Slides Firm Foundations
Lower Body PMR & Physical Grounding
Stability & Rooting Lesson 04
The Stability Audit
Activity
Stand on one leg. Now, close your eyes. Try to maintain balance for 20 seconds.
What happened internally?
Micro-adjustments in the ankle?
Tightening of the core?
Sudden awareness of the floor?
The Lower Body Protocol
Thighs & Glutes
Press your heels hard into the floor while seated. Imagine you are trying to lift the chair with your legs.
Calves & Feet
Point your toes toward your face (flexing the foot). Feel the pull in your calf muscles.
The Toe Curl
Curl your toes tightly into the soles of your shoes. Hold and release.
Why the Lower Body?
The largest muscle groups in the body are below the waist. Fatiguing these muscles requires significant energy, forcing a more profound cardiovascular and neurological "reset."
Rooting During Performance
The "Floor is Lava"
During a high-stakes exam or presentation, push your feet into the floor. Feel the resistance. Remind yourself: "The earth is supporting my weight. I am stable."
Anatomic Rooting
Focus your entire awareness on the bottom of your heels. Trace the perimeter of your foot mentally. This pulls cognitive resources away from "What-If" thinking.
Grounding Practice Sheet Rooting & Lower Body Protocol
Somatic Regulation Series • Lesson 4
Student Lab Sheet
Name: ____________________________________
The Grounding Mechanism
Grounding is a somatic technique that uses physical resistance and sensory awareness to anchor the mind in the present moment. In the lower body, this involves activating the large muscles of the legs to create a "heaviness" that counteracts the "flighty" or lightheaded feeling of anxiety.
COGNITIVE FOCUS
Attention shifts from abstract worry to concrete tactile sensation.
PHYSIOLOGICAL SHIFT
Lower body PMR triggers massive blood flow to the extremities.
PMR Isolation Trials
Muscle Group The Squeeze (10s) Intensity (1-10) Quadriceps (Thighs) Press knees together or push heels down. Tense the front of your legs until they tremble. _______ Calves & Feet Flex feet upward toward shins. Hold the stretch in the back of the lower leg. _______ The "Toe Claw" Curl toes as if grabbing a towel on the floor. Hold tightly. _______
Real-World Application Planning
Scenario A: Public Speaking/Presentation
How can you use "Toe Curling" or "Leg Pressing" while standing at a podium without the audience noticing?
Scenario B: High-Stakes Final Exam
Describe the specific sensation of "Rooting" your heels into the floor while sitting. How does this help you focus on the page?
"Stability is not the absence of stress, but the presence of a firm foundation."
Grounding Teacher Guide Teacher Facilitation Guide
Lesson 4: Lower Body Grounding
FACULTY RESOURCE
The Anatomy of Stability
This lesson targets the body's largest muscle groups: the glutes, quadriceps, and hamstrings. Because these muscles require significant neurological input and blood flow to tense, they are excellent tools for "diverting" a panic response.
The concept of "Rooting" is borrowed from somatic psychology and martial arts—it is the intentional act of lowering one's center of gravity and using the environment (the floor) for resistance. This provides a physical counter-narrative to the "dissociative" or "floaty" feelings associated with high distress.
Guided Script: The Rooting Visualization
"Sit forward in your chair. Place both feet flat on the floor. Feel the texture of your socks or shoes. Feel the temperature of the ground."
"Now, without lifting your feet, try to push the floor away from you. Engage your thighs. Feel the chair press back against your glutes. Hold that resistance for 5... 4... 3... 2... 1... and release. Feel the blood rush back into your toes."
"Imagine your feet have become heavy, like concrete anchors. No matter what is happening in the room, or in your thoughts, these anchors are unmovable. You are safe. You are stable. You are here."
The Hook Demo
The "One Leg Balance" demo (Slide 2) is designed to fail. When students close their eyes, they lose their primary orientation (visual). Explain that "Rooting" gives them a secondary orientation (proprioceptive) that works even when they are "blinded" by stress.
Physical Safety
Ensure students are sitting in stable chairs before the leg-press activity. If students have knee or hip injuries, advise them to focus only on "Toe Curling" and "Ankle Rooting" rather than full thigh tension.
Rapid Relaxation Slides The 10-Second Override
Rapid Relaxation Protocols (RRP)
High-Performance Somatics Lesson 05
The 60-Second Challenge
Activity
After 30 seconds of jumping jacks, you must use a Condenced PMR protocol to lower your heart rate back to resting as fast as possible.
The Winner:
The student with the largest BPM drop in 60 seconds.
00:60.00
Protocol Hierarchies
The 60-Second Blitz
3-Group Condensation
Group 1: Everything below the waist (20s)
Group 2: Core, Shoulders, Arms (20s)
Group 3: Facial Triangle (20s)
The 10-Second Override
Full-Body Synergy
0-5s: Tense every muscle simultaneously (the "Hulk" squeeze).
5-10s: Explosive release + deep exhale.
Key: Mental anchor word (e.g., "Relax" or "Reset").
From Workshop to the World
Somatic regulation is a skill, not a secret. Like any skill, it requires pressure-testing.
"Mastery is the ability to maintain internal stillness while the external world is in chaos."
End of Sequence
Pocket Relaxation Guide Rapid Relaxation Guide
PMR CONDENSED PROTOCOLS
60s
The Blitz
Ideal for: Transitioning between classes, before an interview, or after a stressful phone call.
STEP 1: LOWER (20 SECONDS)
Tense glutes, thighs, and calves simultaneously. Curl toes. Hold for 10s, then release for 10s.
STEP 2: MIDDLE (20 SECONDS)
Tense core, chest, and arms. Shrug shoulders to ears. Hold for 10s, then release for 10s.
STEP 3: UPPER (20 SECONDS)
Squeeze eyes shut, clench jaw, and press tongue to roof of mouth. Hold for 10s, then release for 10s.
10s
The Override
Ideal for: Immediate panic, public speaking jitters, or mid-exam overwhelm.
Full-Body Synergy
01 Take a sharp inhale through the nose. At the same time, tense every muscle in your body at once. Fists, legs, face, core.
02 Hold the "Hulk" squeeze for 5 seconds. Imagine all your stress being compressed into a single point.
03 Explosively exhale through the mouth with a "Whoosh" sound. Let your whole body go limp instantly.
Think your anchor word: "RESET."
Personal Anchor Word Selection
Choose a word that represents calmness or stability. You will pair this word with your explosive release during the 10s protocol.
Option 1
Option 2
Option 3
Rapid Relaxation Teacher Guide Teacher Facilitation Guide
Lesson 5: Rapid Relaxation Protocols
FACULTY RESOURCE
The Goal: Conditioned Response
The final step in PMR training is Conditioning. By pairing an explosive full-body release with a specific "anchor word" (e.g., "Relax"), students create a Pavlovian response. Eventually, saying the word alone can trigger a mild somatic release, but the full 10-second protocol serves as the ultimate "manual override" for the nervous system.
This session focuses on pressure-testing the skill. If a student can only relax in a quiet room, they haven't mastered somatic regulation—they've only mastered resting.
Activity: The HR Reset Challenge (20 Minutes)
Setup:
Have students find their pulse (radial or carotid) or use a wearable device. Record Baseline BPM.
Lead 30-45 seconds of high-intensity movement (Jumping Jacks, Running in Place). Record Peak BPM.
Immediately start a 60-second timer. Students must use the "Blitz" or "Override" protocols (Lesson 5 Slide 3) to lower their heart rate.
Record Final BPM at exactly 60 seconds.
Discussion Prompt: "What was harder—the physical exercise or the mental discipline required to release tension while your heart was still pounding?"
Mastery Checklist
Breath: Diaphragmatic vs Thoracic?
Isolation: Can they tense only the jaw?
Speed: Can they trigger the override in <15s?
Final Encouragement:
Remind students that somatic regulation is a physical literacy. It’s like learning to ride a bike—once the nervous system "knows" how to release, it will never forget the path.