Sign Smarts Lesson Plan Sign Smarts: Stay Safe
Tier 1 • Life Skills • 7th Grade Special Education
Duration 30 MIN
Why This Matters
Understanding safety and community signs is a vital life skill that empowers students to navigate their surroundings confidently and respond appropriately to important visual cues. This knowledge fosters independence and helps prevent dangerous situations.
Objective
Students will be able to identify and explain the meaning of at least five common safety and community signs to enhance their personal safety and independence in various environments.
Materials
Smartboard or Projector
Sign Smarts Slide Deck
Teacher Script: Sign Smarts
Sign Match-Up Activity Cards
Sign Recognition Check Worksheet
Quick Check-Out Cool Down
Preparation (10 min)
1 Review the Sign Smarts Slide Deck to familiarize yourself with the content and order of slides.
2 Read through the Teacher Script to prepare talking points and discussion questions.
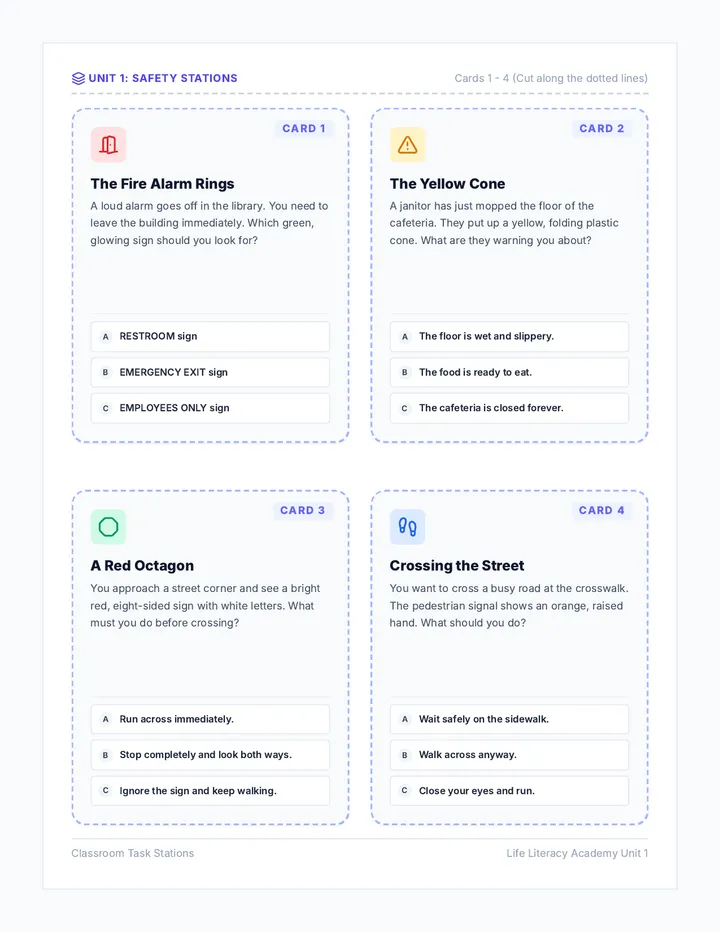
3 Print and cut out cards for the Sign Match-Up Activity . Consider laminating for durability.
4 Make copies of the Recognition Check Worksheet and Cool Down for each student.
Instructional Approach
Interactive discussion, visual aids, and a hands-on matching activity tailored for diverse learning needs.
Lesson Flow
5 MIN
Warm-Up & Introduction
• Start by asking: "What do you notice when you walk or ride in a car? What pictures or words do you see on signs?"
• Display Slide 1 of the deck. Introduce the lesson theme: "Sign Smarts: Stay Safe!"
• Explain that signs are visual clues that keep us safe in our community.
10 MIN
Exploring Safety & Community Signs
• Use the Slide Deck to show each sign. Follow the Teacher Script for guided discussion.
• Ask: "Where have you seen this? What do you think it tells us to do?"
• Share personal experiences. Discuss the meaning of colors (Red = Stop, Yellow = Warning, Blue = Info).
10 MIN
Sign Match-Up Activity
• Divide students into pairs or small groups.
• Distribute Match-Up Cards (Images & Meanings).
• Instruct students to work together to pair descriptions with the correct icons. Circulate and support.
• Review answers as a class using the slides.
5 MIN
Wrap-Up & Quick Check
• Students complete the Sign Recognition Check Worksheet independently.
• As they finish, students complete the Quick Check-Out Cool Down slip.
• Collect both for formative assessment of today's objective.
Sign Smarts Slides Sign Smarts:
Stay Safe!
Understanding Safety & Community Signs
Why are signs important?
🤔
What signs do you already know?
🧐
Today, we'll learn about signs that keep us safe!
🚦 🚶♀️ 🏥
Welcome students! Ask what kinds of signs they see every day.
Safety Signs
Signs that warn us of danger or tell us how to stay safe.
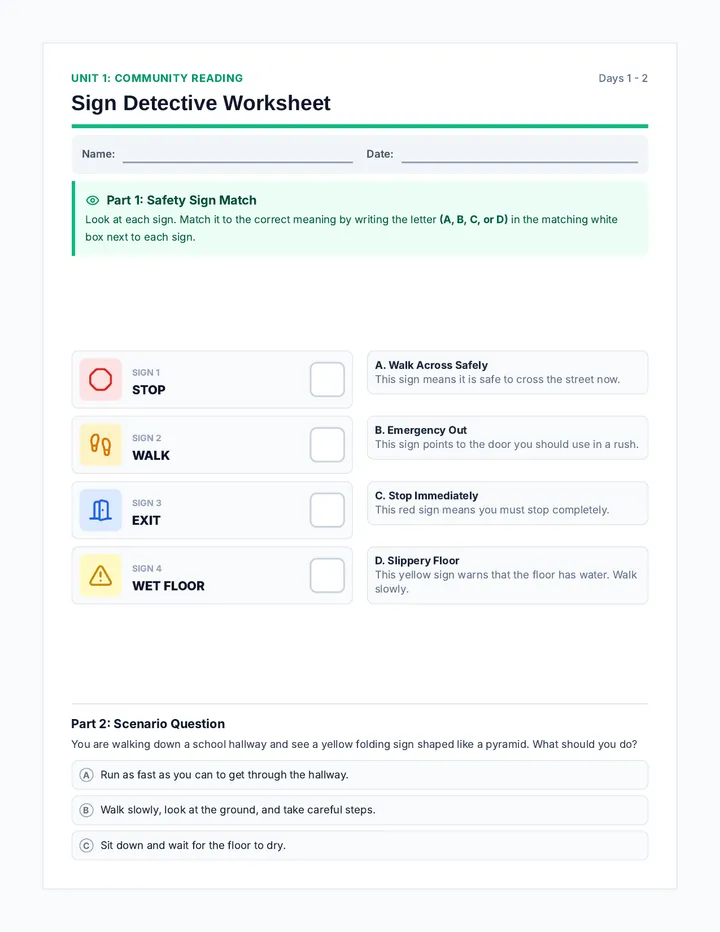
STOP
YIELD
DO NOT ENTER
EXIT
Ask: When might we need these? Why is understanding them important?
STOP
STOP
Means: Come to a complete halt.
Where you see it:
Intersections
School Bus signs
Crosswalks with guards
Prompt: "When a crossing guard holds up a stop sign, what should you do?"
YIELD
YIELD
Means: Give way to others. Be prepared to stop.
Where you see it:
At merges in traffic
When entering a main road
Contrast: This doesn't mean a full stop, but be ready to!
DO NOT ENTER
Means: You cannot go this way. Area restricted.
Where you see it:
One-way roads
Parking lot exits
Emphasize the importance of following this for safety.
EXIT
EXIT
Means: Way out. Used to leave a building.
Where you see it:
Public buildings (schools, stores)
Highways and roads
Discuss their role in emergencies (fire drills, etc).
DANGER / WARNING
Means: Be careful! Hazard ahead.
Where you see it:
Construction sites
Wet floors / High voltage
What does the color YELLOW often mean on signs?
Community Signs
Signs that help us find places or tell us what we can do.
WALK / DON'T WALK
RESTROOM
HOSPITAL / FIRST AID
CROSSINGS
Transition: What are some places in our community that we visit?
WALK /
DON'T WALK
Means: Is it safe to cross the street?
Sign Smarts Teacher Script Teacher Script: Sign Smarts
Topic: Safety & Community Signs • 30 Minutes
1. Warm-Up & Introduction
5 Minutes
Display Slide 1
"Good morning, everyone! Today, we're going to talk about something super important that keeps us all safe: signs! When you walk around your neighborhood, or ride in a car, what kinds of pictures or words do you see on signs? Take a moment to think about it. You can share with a partner or just raise your hand."
Allow students to share. Guide them toward thinking about street signs, store signs, etc.
"Great observations! We see signs everywhere, and they're there for a reason. Our lesson today is called Sign Smarts: Stay Safe! Today, we are going to become sign detectives and learn about important signs that help keep us safe. By the end, you'll be able to tell what many of these signs mean."
2. Exploring Signs
10 Minutes
"Let's dive right in. First, we'll focus on Safety Signs. These signs warn us of danger or tell us how to stay safe. Can you think of any signs that tell you to be careful or stop?"
STOP Sign
"Look at this sign. Has anyone seen this before? What do you think it means? When a school bus puts out its stop sign, what should everyone do?"
YIELD Sign
"This is a YIELD sign. It means you should slow down and be prepared to stop if other cars are coming. How is it different from a STOP sign?"
EXIT Sign
"What does an exit mean? Yes, the way out! When would it be really important to know where the exit is in a movie theater?"
WALK Sign
"When you're waiting to cross the street, what do WALK and DON'T WALK mean? How do these signs keep you safe?"
"Now, let's look at Community Signs. These help us find places or tell us what we can do in our community. These help us navigate and find our way around."
3. Match-Up Activity
10 Minutes
Display Slide 15
"Alright, sign detectives! Now it's your turn to show off your sign smarts! I'm going to put you into small groups. Each group will get a set of cards: pictures and meanings. Your job is to match them up! You can use our slides to help if you get stuck."
4. Wrap-Up & Check
5 Minutes
"You've done an excellent job today! Now, I'm handing out a quick worksheet. Please do your best to fill it out quietly on your own."
"Once you finish, take a Quick Check-Out slip. Write down one sign you learned and why it's important. Keep an eye out for these signs as you go about your day!"
Sign Match Up Activity Sign Match-Up Activity
Instructions for Students:
Work with your partner or small group.
Match each SIGN PICTURE with its correct MEANING .
Talk about why you think they match.
Teacher Note:
Print and cut out along the dotted lines. Laminating recommended for reuse.
STOP
Come to a complete halt; traffic must not proceed.
YIELD
Give way to others; be prepared to stop if necessary.
You cannot go this way; prohibited entry.
EXIT
The way out of a building or area.
!
Warning of danger or hazard ahead; be careful.
It is safe for pedestrians to cross the street.
Do not cross the street; it is unsafe for pedestrians.
Indicates a public restroom.
H
Points to a hospital or medical help station.
Area where children may cross; drive slowly and be alert.
Designated area for people to walk across the street.
BUS STOP
Designated place where a bus will pick up or drop off.
Sign Recognition Worksheet Sign Recognition Check
Assessment: Safety & Community Signs
Name:
Date:
Instructions
Look at each sign below. Write down what it means in your own words, then write one place where you might see it.
STOP
What does this sign mean?
Where might you see this sign?
YIELD
What does this sign mean?
Where might you see this sign?
What does this sign mean?
Where might you see this sign?
EXIT
What does this sign mean?
Where might you see this sign?
What does this sign mean?
Where might you see this sign?
What does this sign mean?
Where might you see this sign?
What does this sign mean?
Where might you see this sign?
BUS STOP
What does this sign mean?
Where might you see this sign?
Sign Smarts Cool Down Sign Smarts
Quick Check-Out • Cool Down
Name
Date
1 Write down one sign you remember from today:
2 Why is it important to know what this sign means?
Stay safe and stay smart!