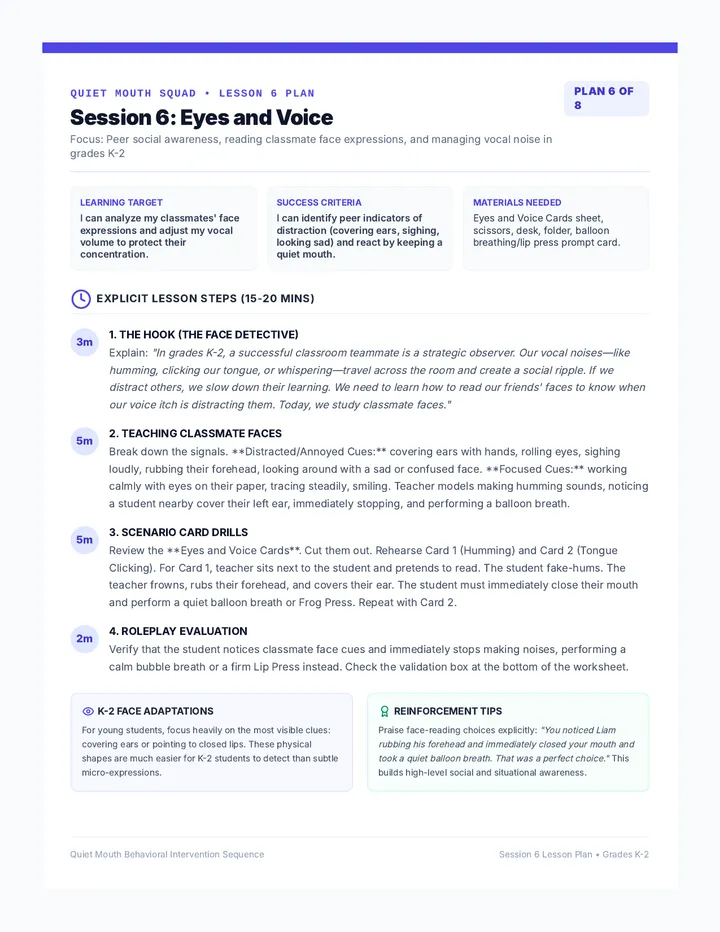
Picture Perfect Directions Lesson Plan Picture Perfect Directions
Tier 3 Individual Lesson Plan
30 Minutes
WHY IT MATTERS
Understanding and following directions, especially with visual supports, is crucial for classroom participation, independent learning, and daily routines, particularly for nonverbal students who rely on visual communication.
AUDIENCE
1st Grade Nonverbal Student
Individual Instruction (Tier 3)
MATERIALS NEEDED
Picture Perfect Directions Slide Deck
Teacher Script: Picture Perfect Directions
Visual Direction Cards Activity (Printed/Cut)
Common objects: pencil, book, block, cup, bear
Small mat or designated workspace
PREPARATION (10 MINUTES)
• Review the Lesson Plan and all generated materials.
• Print and cut out the images from the Visual Direction Cards Activity .
• Gather common objects (pencil, book, block, cup, bear) to match the cards.
• Set up a clear, distraction-free workspace; consider AAC tools if used.
Instructional Sequence
1
5 MIN
Warm-Up: What Do You See?
• Establish a positive environment.
• Use the first few slides to show single object pictures.
• Ask student to point to, touch, or gesture towards each object.
• Use the Teacher Script for specific nonverbal encouragement prompts.
2
7 MIN
Introducing 1-Step Directions
• Show visual action pictures (e.g., "touch nose") on the Slide Deck.
• Model the action and ask student to imitate.
• Combine verbal instruction with a corresponding visual card (e.g., "Touch the pencil").
• Provide immediate feedback and praise for successful nonverbal completion.
3
10 MIN
Practicing 2-Step Directions
• Introduce two steps using side-by-side visual cards.
• Use "First... Then..." verbal cues while pointing to visuals.
• Start simple and gradually increase complexity of combinations.
• Re-model or break down if student struggles.
4
5 MIN
Wrap-Up & Review
• Briefly review 1 and 2-step directions using gestures.
• Encourage student to "show what they learned" today.
• High-fives and celebration for hard work and focus.
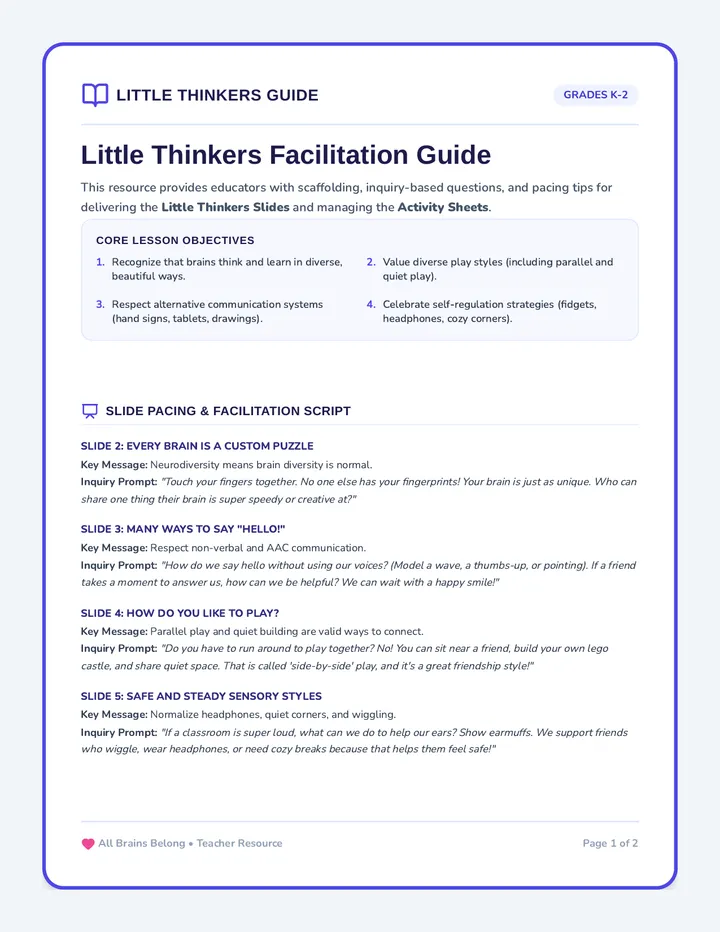
Lesson Objective
The student will be able to identify common objects from visual pictures and accurately follow one and two-step directions using visual cues through nonverbal responses.
Picture Perfect Directions Slide Deck Picture Perfect Directions!
Let's learn to follow directions using awesome pictures!
TEACHER NOTE: Welcome the student and create a comfortable atmosphere. Explain that today we'll be working with pictures and following directions, focusing on showing what we understand.
What Do You See?
Look closely at the picture.
Can you show me what it is?
✏️
Teacher Instructions Show the first object picture. Ask the student, "Can you show me what this is?" Encourage pointing or gesturing towards the object. Provide positive reinforcement.
Can You Show It?
Let's try another one!
Can you show me this?
🧸
Teacher Instructions Repeat with several common object pictures, encouraging nonverbal identification. Adjust pace based on student's response.
Pictures Tell Us
What To Do!
Pictures can also give us directions. Let's look and do!
TEACHER NOTE: Transition to actions. Explain that pictures can also show us what to do, and we can show we understand by doing it.
1-Step Directions:
Look and Do!
Follow the picture:
Touch your nose!
Show a visual for "touch nose". Model the action. Ask the student to do it too. "This picture shows 'touch your nose'. Can you touch your nose?"
1-Step Directions:
Stand Up!
Follow the picture:
Stand up!
Show a visual for "stand up". Model. Ask student to imitate. "This picture shows 'stand up'. Can you stand up?" Provide clear nonverbal cues.
1
2
2-Step Directions:
Two Things To Do!
Sometimes, pictures tell us to do two things!
TEACHER NOTE: Introduce the idea of two steps. Emphasize "first" and "then" with visual and gestural cues.
Let's Try Two Steps!
First
Touch your head
Then
Clap your hands
Show two visuals side-by-side. Point to each as you say the direction. "First, touch your head. Then, clap your hands." Observe for successful two-step completion.
You Did Great!
Amazing job following directions!
You're a direction-following superstar!
"Encourage the student and review briefly by having them demonstrate a few directions. Praise their effort and understanding."
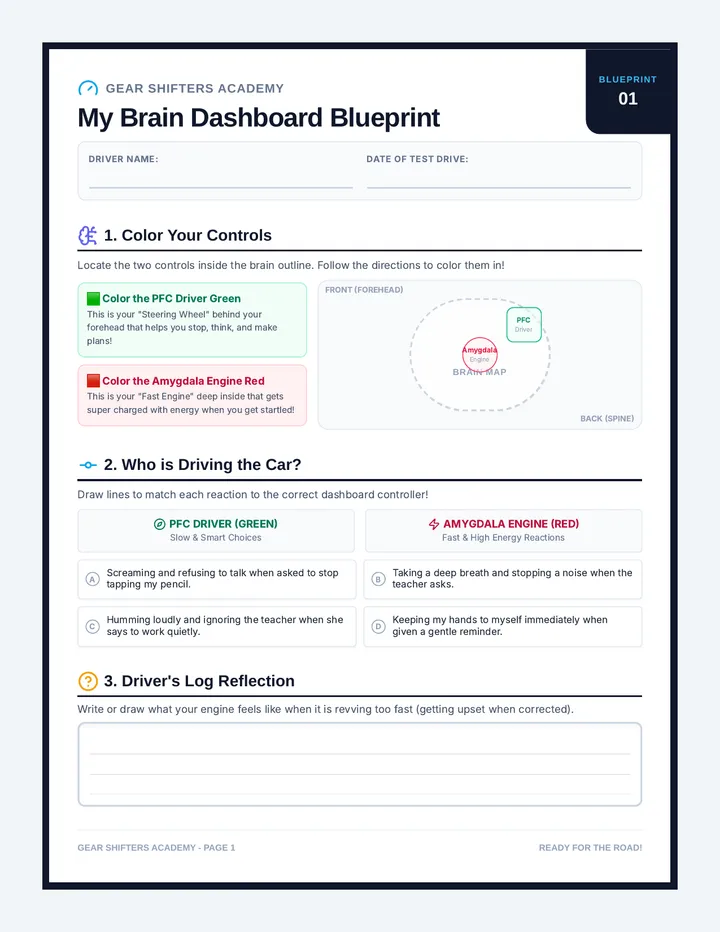
Teacher Script Picture Perfect Directions Script Teacher Script
Picture Perfect Directions
Tier 3 Individual Lesson
Warm-Up: What Do You See?
5 Minutes
Slide 1
"Hi [Student's Name]! I'm so glad you're here today. We're going to have a lot of fun learning about following directions, and we'll be using some cool pictures to help us! We'll show what we know by pointing and doing!"
Slide 2
"Let's start by looking at some pictures. This first picture shows something we see every day. What do you see in this picture? Can you point to it or show me with your hands?"
Note: Allow student to point/gesture. If incorrect, gently guide them by pointing to the correct object. If correct, praise them warmly: "Yes! You pointed to the [object name]! Great job!"
Slide 3
"Excellent! Let's try another one. What about this picture? Can you show me what you see here?"
Introducing 1-Step Directions
7 Minutes
Slide 4
"Wow, you're so good at showing me objects! Now, sometimes pictures don't just show us what things are, but they can also show us what to do! They can give us directions, and we can show we understand by doing the action!"
Slide 5-6
"Look at this picture. It shows someone touching their nose. Can you touch your nose, just like in the picture? ... Fantastic! You followed that direction perfectly! Now, what does this picture show us to do? Can you show me?"
Physical Cards
"Now, I have some real objects and some picture cards. I'm going to give you a direction, and the picture will help you! [Student's Name], can you touch the pencil?"
Action: Show the 'pencil' visual card. Point to the object and gesture. "Yes! You touched the pencil! Wonderful!" Continue with 2-3 more 1-step directions using objects (book, cup, block).
Practicing 2-Step Directions
10 Minutes
Slide 7-8
"You're doing such an amazing job! Sometimes, directions have two parts, like 'first do this, then do that.' We call these 2-step directions! Look at this slide. There are two pictures. The first picture shows 'touch your head'. Can you do that? Good! And the second picture shows 'clap your hands'. Can you do that?"
Physical Cards
"[Student's Name], first touch the block, then give me the bear."
Action: Place both visual cards in sequence. Point to each as you say it. Praise: "Fantastic! You touched the block, then you gave me the bear!"
"Okay, try this one: first pick up the cup, then put it on the mat."
Action: Show 'pick up cup' then 'put on mat' cards. Use gestures. "Excellent! You picked up the cup and put it on the mat. You're a pro!"
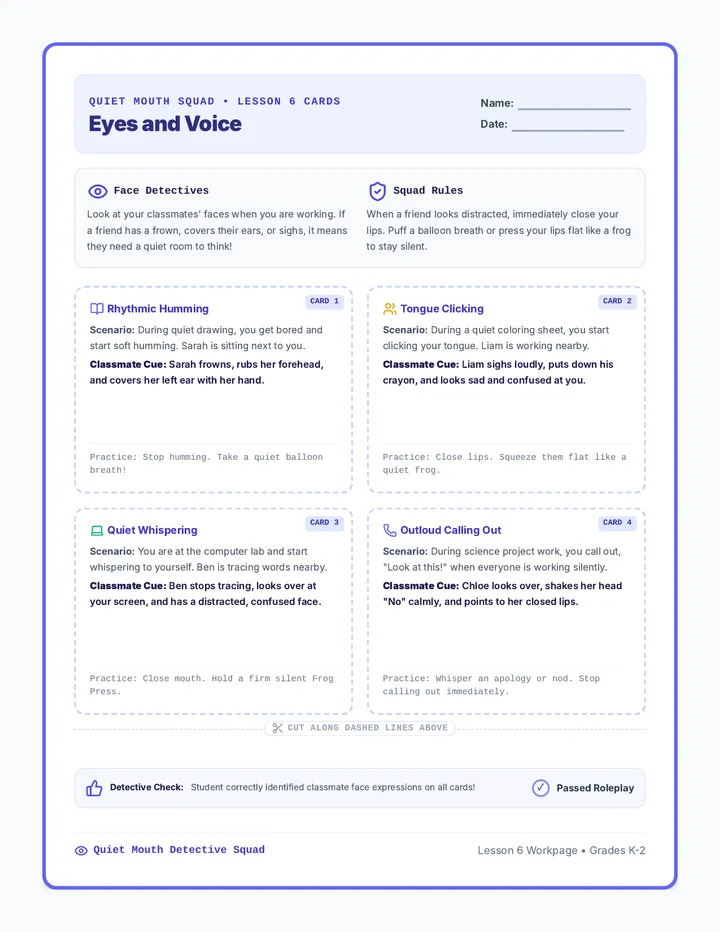
Visual Direction Cards Activity Sheet Visual Direction Cards
Print this page on heavy cardstock if possible. Cut along the dashed lines to create individual visual support cards for student activities.
Section 1: Object Identification
✏️
Pencil
📖
Book
🧱
Block
🥤
Cup
🧸
Bear
Section 2: Actions
Touch Nose
Stand Up
Sit Down
Pick Up
Put On Mat
Give To Teacher
2-Step Combination Examples:
• Card 3 + Card 11 (Touch block, then give to teacher)
• Card 9 + Card 10 (Pick up cup, then put on mat)
• Card 2 + Card 7 (Touch book, then stand up)