Lenny.com
Explore
Create
ActivitiesNewMathEnglish Language ArtsScience & EngineeringSocial StudiesGlobal LanguagesHealth & Physical EducationSpecial EducationCounseling & Life SkillsArts & CreativityESL
Lenny.com
Lenny.com
Explore
Create
ActivitiesNewMathEnglish Language ArtsScience & EngineeringSocial StudiesGlobal LanguagesHealth & Physical EducationSpecial EducationCounseling & Life SkillsArts & CreativityESL
Lenny.com
Lenny.com

Solutions

Lenny for EducatorsLenny for SchoolsLenny for Districts

Product

ExploreSign inCreateSupportAbout

Resources

Getting startedMTSS Acceleration Program

© 2026 Lenny Learning Inc.

TermsPrivacyAccessibility
LinkedInInstagramX
Lenny
Science & EngineeringLife ScienceLiving ThingsAnimalsPlantsBody SystemsTraitsAdaptationsCellsEcosystemsHeredityGenes to TraitsCell DivisionPhysicsComparing MaterialsShapes and PropertiesMagnetsMagnetismLightSoundLight and SoundMatterStates of MatterChanges of StateMixturesPhysical and Chemical ChangeHeating and CoolingHeat and Thermal EnergyEnergyForce and MotionElectrical CircuitsAtoms and MoleculesPeriodic TableMotion in One DimensionMotion in Two DimensionsScalars and VectorsForces and Laws of MotionCircular Motion and GravityMomentum and ImpulseWork, Energy, and PowerWavesElectromagnetic WavesGeometric OpticsElectricity and MagnetismSimple Harmonic MotionThermodynamicsNuclear PhysicsEarth Science & AstronomyWeatherWater CycleRocks and MineralsFossilsEarth's FeaturesEarth's ResourcesEarth's StructureWeather and ClimateEarth EventsFossils and Geologic TimePlate TectonicsHuman ImpactsAstronomyChemistryUnits and MeasurementAtomic StructurePeriodic TrendsChemical BondingNomenclatureMolecular StructureIntermolecular ForcesThe MoleStoichiometryProperties of GasesSolutionsChemical ReactionsBalancing EquationsEnergy ChangesRates of ReactionsEquilibriumAcids and BasesQuantum ModelBiologyClassificationCell StructureThe Chemistry of LifeBiomoleculesCellular TransportCell EnergyCell Growth and DivisionDNAProtein SynthesisMeiosis and Sexual ReproductionPatterns of InheritanceMulticellular OrganismsEvolutionEcologyBiodiversityComputer ScienceAlgorithms and Computational ThinkingProgramming LanguagesComputing SystemsNetworks and InternetData AnalysisCybersecurityAI and Machine LearningSoftware Design and DevelopmentBlockchainEngineering & AIDesigning ExperimentsEngineering PracticesDesign ThinkingEngineering Design ProcessMechanical EngineeringElectrical EngineeringMaterials and StructuresCAD and 3D DesignRoboticsArtificial Intelligence BasicsVibe CodingMachine LearningAI Ethics and SocietySystems ThinkingEntrepreneurship & InnovationEntrepreneurial MindsetBusiness Idea DevelopmentBusiness Plan BasicsMarketing & Customer DiscoveryFinancial Management for Startups

Porch Builders

A comprehensive 3-lesson career and technical education sequence guiding students through the architectural planning, masonry perimeter wall construction, and concrete slab pouring of a residential porch.

DGDebra Golden
Blueprint and Estimates

Students master architectural blueprints, site safety protocols, and essential construction mathematics to estimate concrete volume, gravel fill, and block counts for a porch foundation.

Footings and Perimeter

Covers excavation down to the frost line, pouring reinforced footings, and laying concrete masonry units with proper mortar joints, rebar ties, and compacted backfill.

Pour and Finish

Hands-on study of slab preparation including rebar grid tying, drainage pitch calculations, placing concrete, consolidation, screeding, floating, edging, and broom finish.

Porch Builders

A comprehensive 3-lesson career and technical education sequence guiding students through the architectural planning, masonry perimeter wall construction, and concrete slab pouring of a residential porch.

DGDebra Golden

A. Volume in Cubic Yards:

B. Total Tons to Order (Cu. Yd. × 1.4):

Task 5: Safety Protocol & Hazard Response

1. Why is an N95 or P100 respirator mandatory when mixing dry concrete bags or dry mortar, but safety glasses alone are insufficient?

2. A crew member's leather boots become soaked with wet concrete during the pour. What immediate danger exists and what corrective protocol must the supervisor enforce?

Lead Inspector / Instructor Sign-off: Material takeoff approved • Site safety quiz completed

Signature: Score:

Porch Construction Vocational Unit • Module 1: Layout & Math Page 2 of 2

Square:

Laying Sequence

• Corner Leads: Always lay corner blocks first. Adjust to exact elevation and level.

• Mason's Line: Stretch braided nylon line tightly between line blocks from corner to corner.

• Infill Blocks: Lay intermediate blocks to the line without touching it (leave a dime's thickness).

• Mortar Joints: Maintain uniform 3/8-inch Type S mortar joints.

Key Tool in Action: Use the wooden or rubber trowel handle to gently tap blocks into perfect alignment!


Core Grouting & Structural Backfilling

Internal Cavity Prep

Core Grouting

Pour high-slump masonry grout into CMU cells containing vertical rebar dowels, consolidating with a rod to eliminate air pockets.

Gravel Lifts

Fill the interior cavity with 3/4-inch crushed washed stone in maximum 4-inch increments (lifts) rather than dumping all at once.

Mechanical Tamping

Use a vibrating plate compactor over each 4-inch lift to reach 95% compaction, preventing future porch settling or cracking.

Critical Depth: Stop compacted gravel fill exactly 4 inches below the top block rim to leave precise space for the poured concrete cap slab!

Face Shell & Ear Buttering: Apply mortar along the horizontal face shells and butter the vertical ears of each block. Push firmly into place; tap true with trowel handle.

4

Striking the Joints: When thumbprint-hard, compress and smooth mortar joints using a concave jointer tool to shed rainwater and seal out moisture.

5

Core Grouting & Cleanout: Pour pea gravel concrete grout into block cores that contain rebar dowels, consolidating thoroughly to create solid concrete columns.

Phase 4: Interior Cavity Gravel Backfill

95% Standard Proctor

Improperly compacted fill will settle over time, leaving an unsupported air void under the concrete porch slab that leads to cracking and collapse.

Material Type: 3/4″ crushed washed stone (#57 stone) or dense-grade aggregate.

Lift Thickness: Maximum 4 inches loose per lift. Compact each lift before adding more.

Final Height: Stop exactly 4.0 inches below the finished top block line.

Quality Assurance Inspection Checklist

Inspection ItemSpecificationStatusInspector Notes
Trench bottom cleared of loose spoilsUndisturbed subsoil[ Pass / Fail ]
Footing rebar clearance from soil3″ minimum dobies[ Pass / Fail ]
Stem wall level, plumb, and square≤ 1/8″ in 10 ft variance[ Pass / Fail ]
Vertical rebar dowel alignmentCentered in grouted cores[ Pass / Fail ]
Backfill gravel compacted depthExactly 4″ below rim[ Pass / Fail ]

Lead Mason / Instructor Verification: Perimeter approved for Lesson 3 concrete slab pour

Signature: Date:

Porch Construction Vocational Unit • Module 2: Footings & Masonry Page 2 of 2

Never place rebar flat on gravel. It must sit at mid-depth (2 inches from top) to take tensile loads!

Porch Construction Vocational Unit • Module 3: Slab Placement & Finishing Page 1 of 2

Slab Placement, Consolidation & Finishing

Pouring 4,000 PSI concrete, screeding, bull floating, tooling, and broom texturing

Steps 5 – 8

Phase II: The Pour & Surface Craft Rapid cooperative teamwork. Concrete sets in 45–60 minutes.

Target Slump: 4″ • 4,000 PSI Mix

05

Placing & Consolidating Concrete

Chute / wheelbarrow placement • Spading edges to prevent honeycomb

Placement

Action:

Place concrete starting from furthest corner. Distribute evenly with come-alongs slightly higher than top block rim.

Tools:

Concrete placer (come-along), square point shovel, pencil vibrator or edge spading tool.

Rule:

Never pull concrete with a rake; raking drags large stones and causes aggregate segregation!

06

Screeding (Strike-off) & Bull Floating

Establishing plane • Embedding aggregate & bringing cement cream up

Strike & Float

Action:

Saw a 2×4 or aluminum screed back-and-forth riding the block rim. Immediately pass magnesium bull float across slab.

Tools:

Magnesium/aluminum screed board, 48″ bull float with tilt-action head, extension poles.

Bleed Water Rule:

STOP! Allow surface bleed water to completely evaporate before touching the slab again to prevent delamination.

07

Edging & Tooling Control Joints

Radius edging against CMU blocks • Joint depth 1/4 of slab thickness

Joinery

Action:

Tool 3/8″ radius rounded margins along the CMU block joint. Cut control joints every 6–8 feet at 1″ depth.

Tools:

Bronze or stainless hand edger (3/8″ radius), hand groover (1″ bit), straightedge guide board.

Crack Control:

Concrete will shrink as it dries. Grooving forces hairline shrinkage cracks into hidden joint lines.

08

Broom Texture & 7-Day Moisture Curing

Non-slip safety finish • Hydration maintenance for structural strength

Texture & Cure

Action:

Drag a damp horsehair concrete broom lightly across slab in perpendicular strokes. Apply curing compound or moist burlap.

Tools:

Concrete texturing broom, Hudson pump sprayer, wet burlap or curing membrane sheeting.

Hydration Fact:

Concrete does not "dry"—it cures chemically. Keeping moisture sealed in produces 50% higher compressive strength!

Final Porch Milestone Verification All 8 steps completed according to IRC residential building codes

Student Sign-off: _______________________

Porch Construction Vocational Unit • Module 3: Slab Placement & Finishing Page 2 of 2

Brings up: Draws rich cement paste (cream) to the surface for smooth finishing.

Step B: The Bleed Water Pause

Heavier solids settle, pushing free water to the top in a shiny sheen known as bleed water.

DO NOT TOUCH THE SLAB: Never trowel or broom while bleed water remains.

Sealing bleed water below the surface causes weak, powdery concrete, dusting, and scaling blisters!

Thumbprint Test: When the water sheen disappears and your thumb leaves an impression of only 1/4″, it is time to tool!


Edging, Broom Texture & 7-Day Curing

Final Finish

Radius Edging

Run a 3/8″ radius bronze edger between slab and block perimeter to compact the edge, creating a chip-resistant margin.

Broom Texture

Lightly pull a horsehair concrete broom across the slab perpendicular to foot traffic for a clean, non-slip texture in rain and snow.

7-Day Hydration

Apply a curing membrane or wet burlap cover for 7 days minimum. Maintaining moisture doubles surface wear resistance and strength!

The Project is Complete: A well-poured, properly cured block-perimeter porch will withstand freeze-thaw cycles and provide over 50 years of structural service life.

You might also like

Helix Studio Slides

Candy Code Sequence

A multi-day competency-based biology sequence exploring DNA architecture, complementary base pairing, and semi-conservative replication through tactile candy modeling and evidence-based assessment.

TM

Teri Minami

6
Replication Protocol Slides

Replication Protocol

Students simulate semi-conservative DNA replication by enzymatically unzipping candy strands and building complementary daughter helices, demonstrating competency through lab evidence and knowledge checks.

TM

Teri Minami

3
Hemoglobin Essentials Guide

Hemoglobin Essentials Guide

A clear, visually structured one-page explainer on hemoglobin designed for adult health education, covering molecular structure, oxygen transport, normal clinical reference ranges, and common conditions like anemia.

Lenny Avatar
Lenny
Helix Studio Slides

Candy Code Sequence

A multi-day competency-based biology sequence exploring DNA architecture, complementary base pairing, and semi-conservative replication through tactile candy modeling and evidence-based assessment.

TM

Teri Minami

4
Helix Studio Slides

Helix Studio

Students dissect nucleotide anatomy and discover base pairing rules by engineering an accurate candy double helix model with complementary nitrogenous bases and sugar-phosphate backbones.

TM

Teri Minami

3
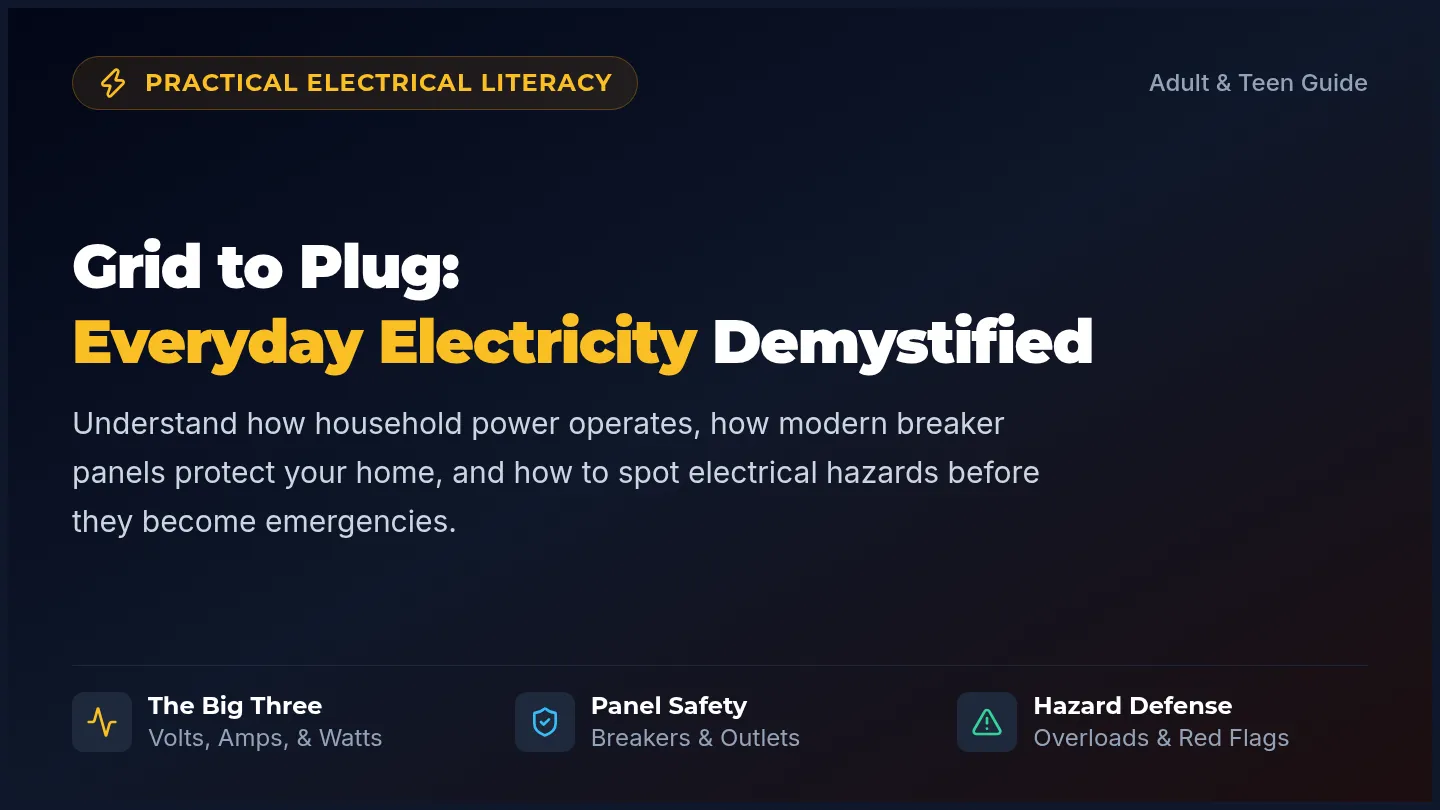
Grid to Plug Slides

Grid to Plug Slides

An engaging, practical 8-slide presentation designed for teens and adults covering home electricity fundamentals, including voltage and current, service panels, outlet anatomy, GFCI/AFCI protection, circuit overload limits, and critical safety rules.

JW

J Watson

Broadcast Breakthroughs Slides

Broadcast Tech Spotlight

A dynamic multimedia project sequence where students investigate cutting-edge sports broadcasting technologies, craft scripted storyboards, and produce professional recorded voiceover presentations.

S

Stacy.Bogart

5
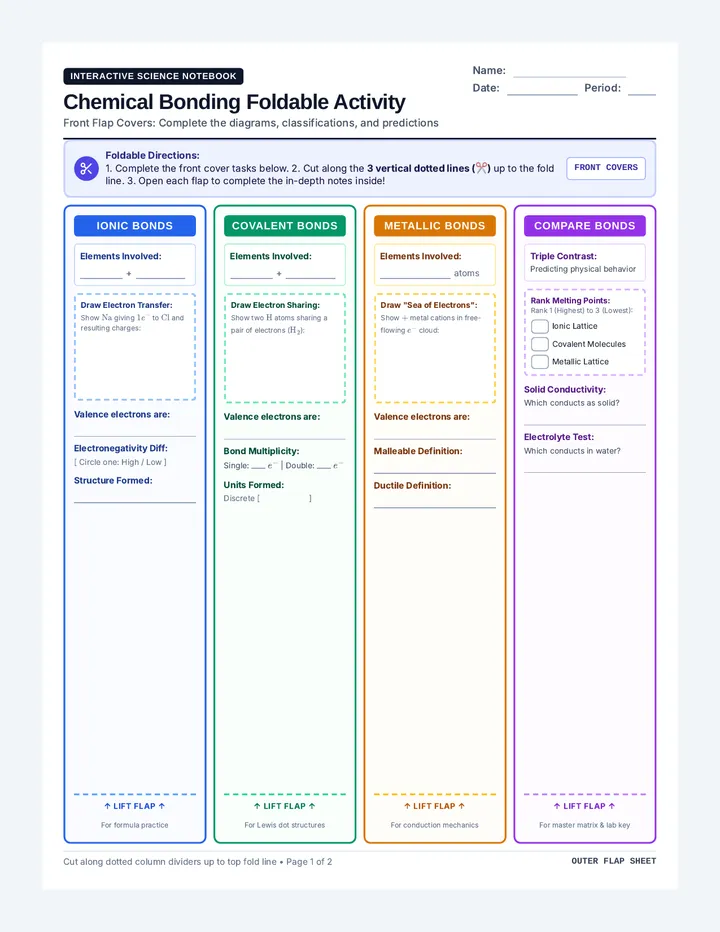
Chemical Bonding Foldable Activity

Chemical Bonding

A foundational chemistry lesson exploring ionic, covalent, and metallic bonding through interactive modeling, detailed reference notes, and comparative property analysis.

OM

Olutoyin Makinde

3
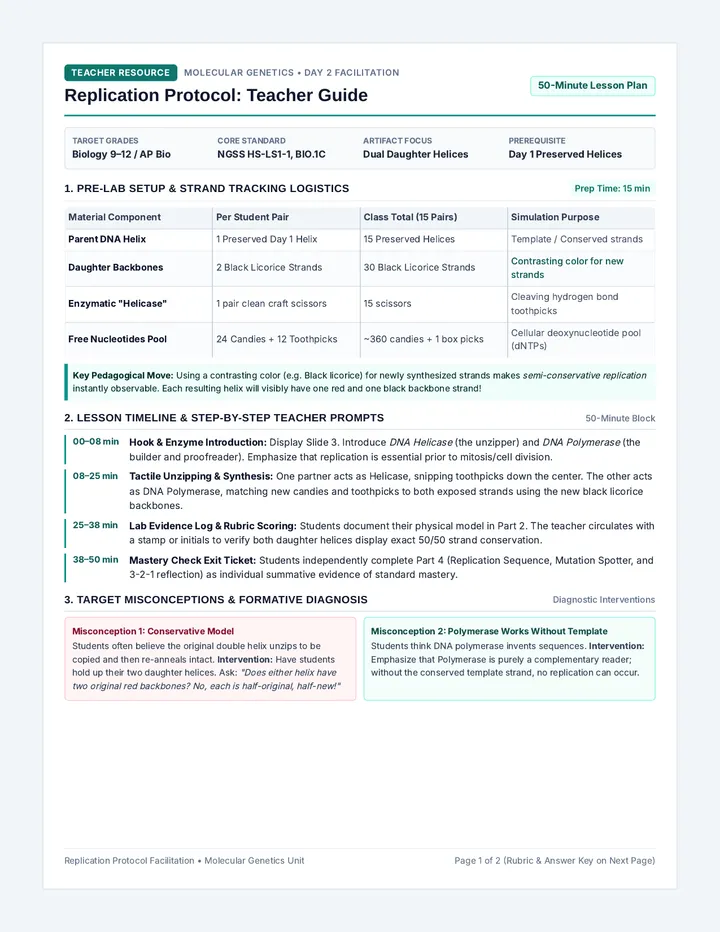
Replication Protocol Teacher Guide

Replication Protocol Teacher Guide

A complete 2-page teacher facilitation guide and rubric calibration key for Lesson 2 (Replication Protocol), detailing enzymatic unzipping logistics, strand tracking procedures, misconception remediation, and full answers for the competency assessment and exit ticket.

TM

Teri Minami

Building Blocks Slides

Atomic Foundations

A 3-part comprehensive scaffolded unit exploring matter, atomic architecture, subatomic particles, nuclear calculations, and atomic variations like ions and isotopes.

M

meagan_asp

6
Energy Web Slides

Energy Web

A high school life science lesson designed for WIDA Level 1 English learners exploring trophic levels, energy flow, and food webs through visual vocabulary, chunked texts, and sentence frames.

Lenny Avatar
Lenny
4
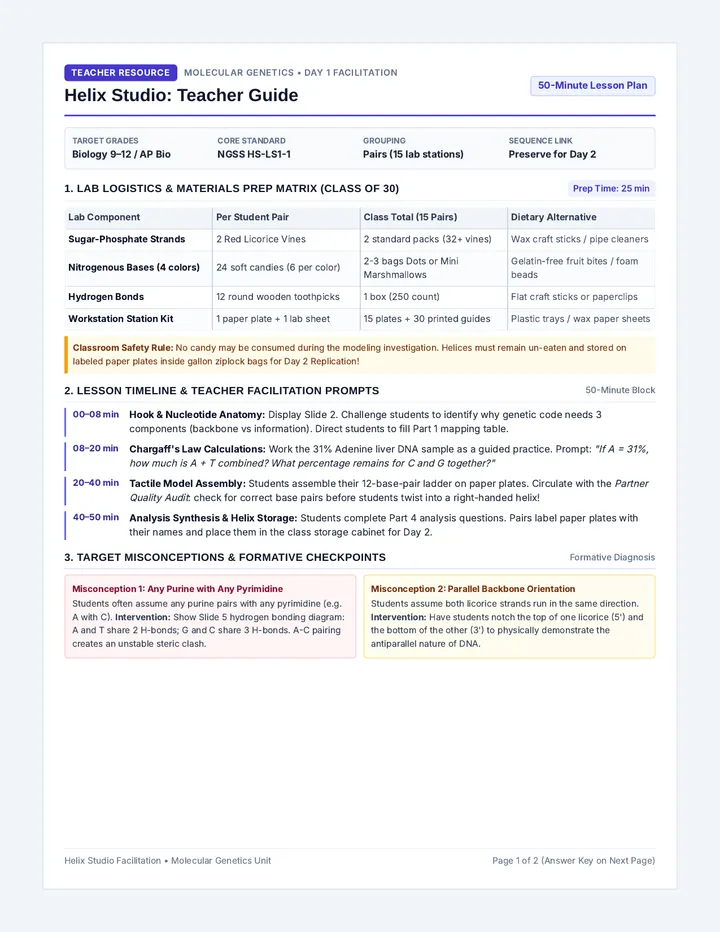
Helix Studio Teacher Guide

Helix Studio Teacher Guide

A comprehensive 2-page teacher facilitation guide and answer key for Lesson 1 (Helix Studio), featuring candy prep logistics, a 50-minute pacing timeline, misconception interventions, and complete mathematical and structural solutions for the student lab guide.

TM

Teri Minami