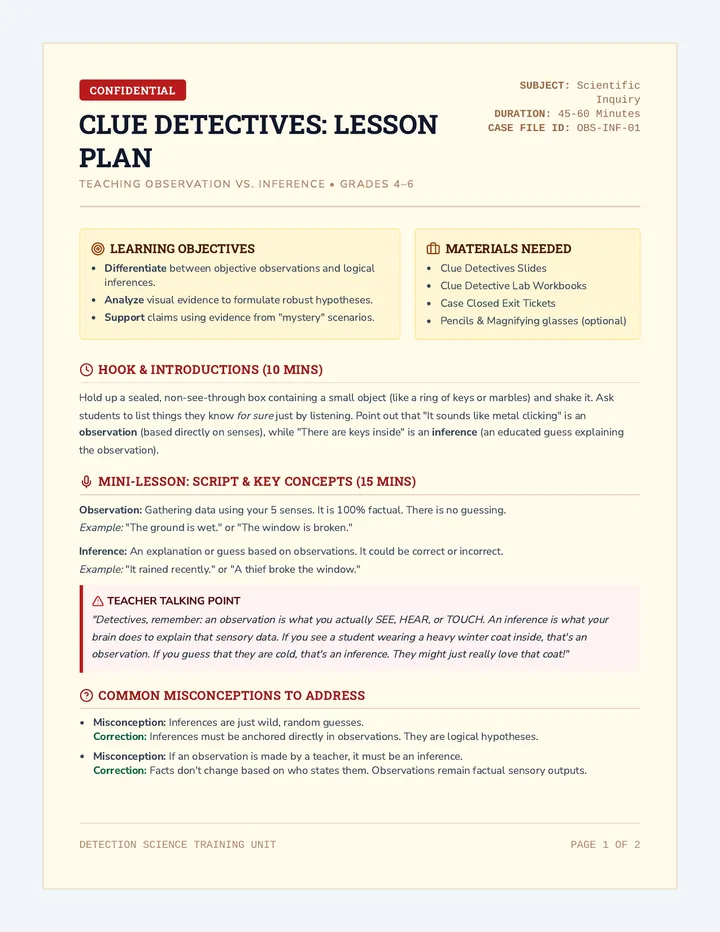
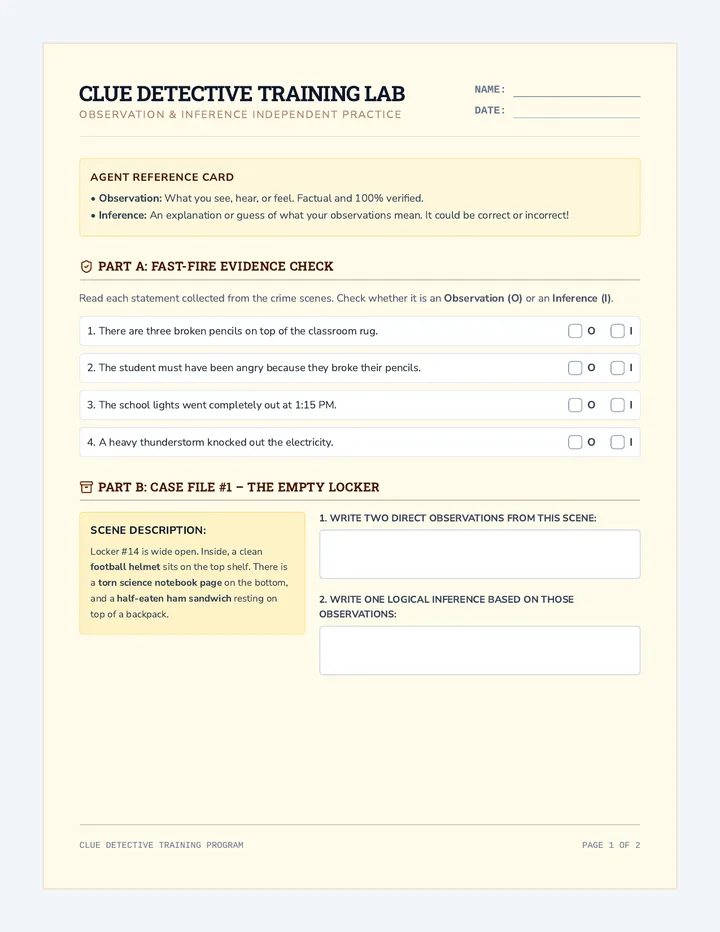
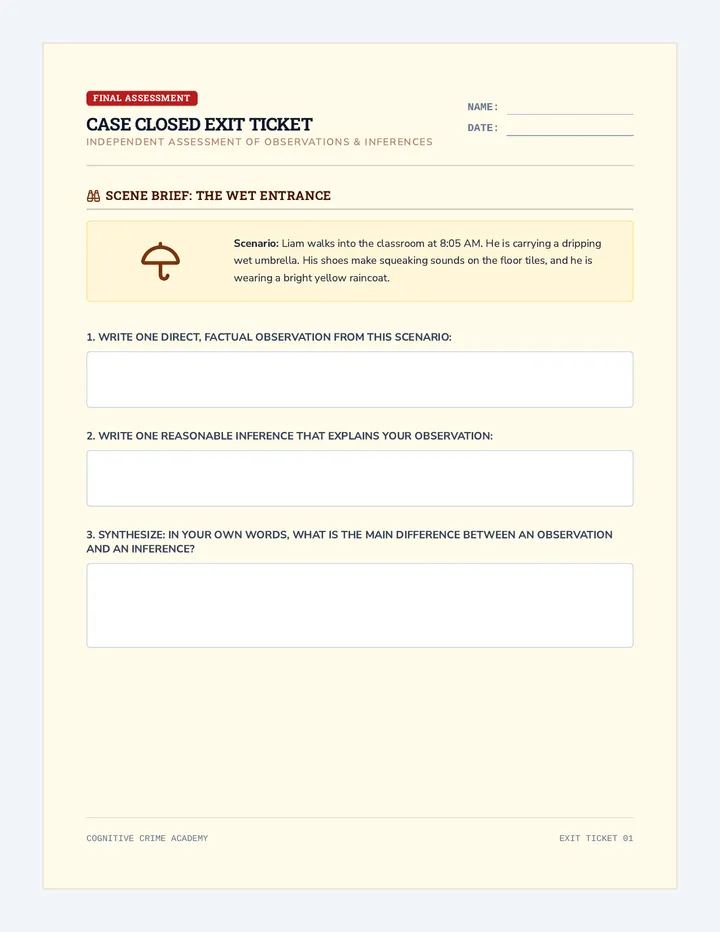
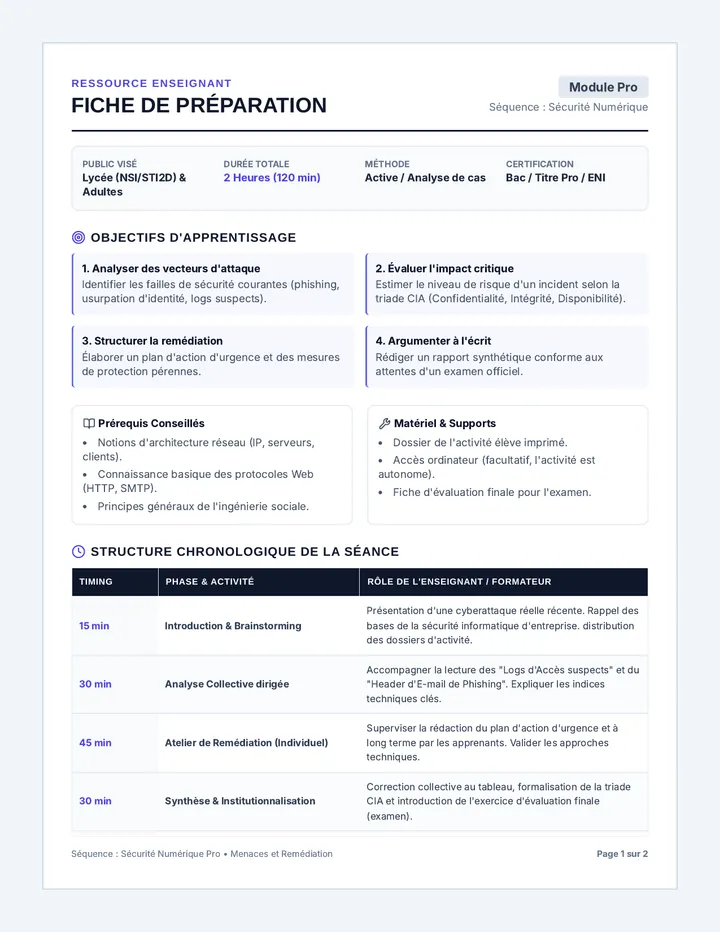
Sediment Secrets Slides Geology Field Unit
The Great Squeeze
How mountains, rivers, and millions of years of intense pressure craft solid sedimentary rock from tiny grains of sand.
Interactive Notebook Companion
Step 1 of 5 • Intro
Background
What is "Sediment"?
Before we can build a sedimentary rock, we need the raw materials: sediments.
Sediment is solid material that has settled to the bottom of a liquid.
Mineral Grains
Sand, mud, and clay particles washed from soils.
Organic Shells
Broken pieces of shells and skeletons from marine life.
Plant Matter
Decayed leaves and wood buried in ancient swamps.
Rock Chips
Tebbles and gravel smashed off larger crags.
How do these loose pieces become hard rock? Slide 2 of 9
Step 1
Weathering: The Great Break
Forces of nature tear solid bedrock apart.
Water gets into cracks, freezes, expands, and cracks the rock wide open. Wind blasts sand against cliffs like sandpaper. Plant roots wedge deep into crevices, splitting stone.
Mechanical Physical fracturing by ice wedging, root pressure, or wind grit.
Chemical Rainwater dissolves calcite minerals, creating cave systems.
Field Misconception
Weathering is NOT movement! It is solely the static breaking, crumbling, and cracking of rocks in place.
Before rocks can move, they must first crumble. Slide 3 of 9
Step 2
Erosion: The Great Escape
The Movers
Water (Rivers, Rain)
Wind (Storms, Dust Devils)
Gravity (Mudslides, Rockfall)
Glaciers (Slow Ice Plows)
Erosion is transportation in action.
Once weathering breaks rock fragments free, erosive forces sweep them away from their parent cliff.
As sediments bounce along riverbeds and roll across windy deserts, they bump together, becoming rounder and smoother over time.
Erosion is the actual dynamic moving of sediments away from home. Slide 4 of 9
Step 3
Deposition: Settling Down
When the wind or river slows, sediment drops.
Erosion loses energy. Gravity pulls the floating sediments downward to settle at the bottom of lakes, river deltas, and oceanic basins in horizontal layers.
Law of Superposition
The oldest, earliest layers are deposited at the bottom. Newer, younger layers sit on top of them.
Youngest Layer (Top)
New Sand & Mud
Middle Layer
Older Pebble Bed
Oldest Layer (Bottom)
Ancient Clay Floor
To "deposit" means to set down. Sediments build up layer by layer. Slide 5 of 9
Step 4
Compaction: Under Pressure
WEIGHT
Overlying water and heavy rock layers push downward with incredible force.
Squeezing out the voids.
As more sediment layers build up on top, their immense weight crushes the deeper sediment layers below.
This heavy pressure squeezes the sediment grains tight, forcing out trapped water and closing the blank pockets between particles.
Compaction means compressing or squishing tightly together. Slide 6 of 9
Step 5
Cementation: Earth's Glue
Nature locks the particles in stone.
Even under huge compaction pressure, tiny gaps remain. Water carrying dissolved underground minerals flow through these microscopic holes.
These minerals (like calcite, quartz, or iron oxide) crystallize out of the fluid, acting as natural cement that glues individual sediment grains into solid rock forever!
Common Natural Glues
Calcite Makes standard limestone
Silica (Quartz) Makes ultra-hard sandstone
Iron Oxide Adds red/rusty colors
Cementation finishes the process, creating durable sedimentary rock! Slide 7 of 9
Lab Preview
Lab Activity: Crayon Geology
1
Weathering
Shave colorful crayons using a coin edge or plastic knife to make "sediments".
2
Erosion
Carefully sweep the crayon shavings across the lab desk onto a square of foil.
3
Deposition
Pour shavings flat on top of each other, creating distinct layered bands.
4
Compaction
Fold the foil up and stand on it, or squeeze it under a heavy geology textbook!
5
Cementation
Warm slightly with hot tap water (do not melt) to complete the crystalline bond!
Get ready for a hands-on sedimentary cycle journey in today's lab! Slide 8 of 9
Recap
The 5-Step Rock Formula
W
Weathering
Break Rock Down
E
Erosion
Move Rock Away
D
Deposition
Drop Layers Flat
Co
Compaction
Squeeze Tight
Ce
Cementation
Glue in Place
W.E.D.Co.Ce — Remember this code, and you are officially a rock scientist! Slide 9 of 9
Layer by Layer Teacher Guide Teacher Resource Portfolio
Layer by Layer Lesson Plan
Unit 3: Earth Materials
A complete instructional roadmap for teaching the 5-step sedimentary rock formation process.
Duration: 60-75 Mins
Grades: 4th - 8th
Lab Focus: Hands-On
NGSS: MS-ESS2-1
Lesson Vision & Big Idea
Earth is a master recycler. This lesson demonstrates how giant mountains are ground down, moved, and recombined into brand new rocks. Students will master the precise 5-step sequence: Weathering, Erosion, Deposition, Compaction, and Cementation (W.E.D.Co.Ce) using a highly interactive blend of sensory slides, structured diagram reading, and an immersive crayon-shaving laboratory simulation.
Performance Objectives
Sequence the five steps of sedimentary rock formation in correct chronological order.
Differentiate clearly between weathering (breaking) and erosion (moving).
Model geological compression and mineral bonding using simulated materials (crayons/foil).
Essential Questions
How does mechanical breakdown in one location produce new solid formations miles away?
How do heavy water beds and minerals act as nature's ultimate heavy-duty hydraulic press and glue?
Materials Inventory & Lab Prep Checklist
Interactive Slides ("Sediment Secrets Slides")
3-4 multi-color wax crayons per lab pair
Plastic pennies or butter knives (for shaving)
Heavy-duty aluminum foil squares (approx. 6"x6")
Heavy textbook/clamp (for mechanical compaction)
Access to warm tap water (for cementation model)
Lesson Flow Timeline
Warm-Up 10 Mins
Core Slides 15 Mins
Hands-On Lab 25 Mins
Review 10 Mins
Exit 5 Mins
Layer by Layer Lesson Bundle • Teacher Guide Page 1 of 2
Step-by-Step Lesson Execution
1
Warm-Up & Hooks (10 Mins)
Begin by showing students a piece of crumbly sandstone or limestone. Ask: "If you hold this stone, you can easily rub off tiny grains of sand. If sand is so loose, how did this solid rock ever stay together?" Gather rapid brainstormed ideas on the board.
2
Direct Instruction: Sediment Secrets (15 Mins)
Utilize the Sediment Secrets Slides. Focus deeply on the distinct line between Weathering (breaking) and Erosion (movement). Emphasize that mountains are slowly carried away piece by piece to the seas. Write the acronym W.E.D.Co.Ce on the board to solidify the step order.
Crayon Rock Lab Sheet Geological Laboratory Workbook Class Block: ________
Crayon Rock Lab
Name: ______________________
Date: ______________________
Lab Overview
In this laboratory, you will act as the forces of nature! Using colorful crayons to represent parent mountains, you will break down, transport, deposit, press, and seal "sediments" into a brand-new, multi-layered Crayon Sedimentary Rock. Pay close attention to how each physical step models actual geological history.
My Materials Check
3-4 crayons (different colors) 1 scraping tool (penny or plastic blade) 1 square of aluminum foil (6" x 6") 1 heavy science textbook
Lab Safety Protocol
• Do NOT eat or taste the crayons.
• Point all scraper tool edges away from your body and your partner.
• Clean up crayon dust immediately to avoid slipping or staining clothes.
Part 1: The Breaking & Moving
1 Step 1: Weathering (The Break)
Take your scraper tool. Gently scrape the sides of your first crayon, letting the shavings pile onto your paper. Repeat this with at least three different colors. Keep the shaving piles separate!
OBSERVATION #1: Describe the crayon "sediment" particles:
COMPARED TO REAL EARTH: These crayon shavings represent smaller rocks broken off by wind, water, or ice.
2 Steps 2 & 3: Erosion & Deposition (The Trip & Settle)
Erosion: Gently blow, brush, or carry your crayon shavings from their individual piles toward your square of foil.
Deposition: Carefully pour your first color shaving onto the center of the foil in a flat pile. Pour your second color directly on top of the first. Pour your third color on top. Do not mix them up! Keep them in distinct layers.
OBSERVATION #2: Look at the side of your pile. What do you see?
Layer by Layer Lesson Bundle • Student Lab Workbook Page 1 of 2
Part 2: The Squeeze & Bind
3 Step 4: Compaction (The Squish)
Carefully fold the sides of the foil over your colorful sediment pile, making a neat, flat square packet. Put the packet on the floor. Put a heavy science textbook directly on top of the packet. Carefully stand on the textbook for 15 seconds (or press down on the textbook with all your body weight).
4 Step 5: Cementation (The Seal)
Bring your folded foil packet to the hot water station. Your teacher will submerge the foil in warm water for about 10-15 seconds. This slight heat acts as the mineral water deep inside Earth, warming the wax just enough to lock/cement the grains together. Dry off your packet and carefully peel open the foil!
Rock Specimen Sketch
Draw your layered crayon rock in full color above!
Rock Builders Reading Geological Reading Comprehension Class Block: ________
The Stone Builders
Name: ______________________
Date: ______________________
Field Passage
Deep in the heart of Grand Canyon, massive layers of red sandstone and grey limestone stand as giant stone monuments. These massive cliffs look permanent, but they tell a story of an ancient, moving earth. Sedimentary rocks are the crust’s history book, formed step-by-step from loose sand, shells, and mud.
The cycle begins with Weathering. Intense heat, freezing ice, and chemical acids break solid mountain peaks into millions of tiny grains called sediment. Once broken, gravity and rushing rivers take over in a step called Erosion. Rushing currents drag sediments down the mountain slopes, chipping away their sharp corners and rolling them smooth.
Eventually, rivers slow down as they dump into lakes or oceans. The water loses its energy, and gravity pulls sediments downward to settle flat in a step called Deposition. Over centuries, countless new layers settle on top, piling up massive weight. This top weight triggers Compaction. Deep underground, the sediment grains are squeezed so tightly that almost all trapped water is squirted out, pressing the grains into snug pockets.
The final transformation is Cementation. Mineral-rich water flows through the tiny remaining gaps. These dissolved minerals crystalize into natural stone glues (like calcite, quartz, and rust), binding the grains into a permanent, solid rock.
Fig 1. The Sediment Transport Pipeline
1. Mountain
Weathering breaks the peak
2. River
Erosion transports silt downstream
3. Ocean Delta
Deposition layers build up flat
4. Deep Basin
Compaction squeezes grains together
5. Bedrock
Cementation glues the sediment solid
Layer by Layer Lesson Bundle • Reading Comprehension & Diagram Page 1 of 2
Reading Verification Activities
Activity A: Vocabulary Match-Up
Match the sedimentary stage to its matching action term. Every option has identical styling.
A. Weathering Write letter
B. Erosion Write letter
C. Deposition Write letter
D. Compaction Write letter
E. Cementation Write letter
[ ] Grains settling down flat at the river mouth.
[ ] Heavy top loads squeezing out trapped fluids.
[ ] Rushing water pushing pebbles down slopes.
[ ] Ice freezing inside rock cracks, breaking rocks.
[ ] Crystal minerals gluing the loose bits together.
Sediment Squeeze Worksheet Geology Field Workbook Class Block: ________
Sediment Squeeze Worksheet
Name: ______________________
Date: ______________________
Section 1: The 5-Step Rock Cycle Flowchart
Fill in the blank step names in correct order. Write a one-sentence description of what happens in each step inside the white workbox.
Step 1: _________________
Describe step 1...
Step 2: _________________
Describe step 2...
Step 3: _________________
Describe step 3...
Step 4: _________________
Describe step 4...
Step 5: _________________
Describe step 5...
Section 2: Conceptual Practice Questions
1. What is the geological distinction between Weathering and Erosion?
A
Weathering freezes rocks; Erosion melts them
B
Weathering breaks; Erosion transports
C
Weathering dissolves; Erosion solidifies
2. In which step does gravity drag sediments flat into stacked horizontal beds?
A
Weathering
B
Compaction
C
Deposition
3. Why would a dry desert area with no running water form sedimentary rocks at a much slower rate than a wet river delta?
Layer by Layer Lesson Bundle • Graphic Organizer Sheet Page 1 of 1
Rock Maker Exit Ticket Exit Ticket • Form A
CYCLE SECRETS
Name: ______________________
Date: ________ Block: _____
Q1. Put the following three phases in correct chronological sequence: Deposition, Weathering, and Erosion.
1st: ________________
2nd: ________________
3rd: ________________
Q2. Why does Compaction (the squeezing of sediment) happen deep underground rather than at Earth's surface?
Q3. In the "Cementation" phase, what acts as Earth's natural glue to seal the loose sediment granules?
A
Clay Mud
B
Volcanic Ash
C
Mineral Water
Cut Here to Separate Tickets
Exit Ticket • Form B
CYCLE SECRETS
Name: ______________________
Date: ________ Block: _____
Q1. Put the following three phases in correct chronological sequence: Deposition, Weathering, and Erosion.
1st: ________________
2nd: ________________
3rd: ________________
Q2. Why does Compaction (the squeezing of sediment) happen deep underground rather than at Earth's surface?
Q3. In the "Cementation" phase, what acts as Earth's natural glue to seal the loose sediment granules?
A
Clay Mud
B
Volcanic Ash
C
Mineral Water