Downhill Derby Lesson Plan Downhill Derby Design
Classroom Lesson Plan • Grade K-5
Time
45 Minutes
Approach
Engineering Lab
Audience
K-5 Students
Why This Matters
This lesson fosters critical thinking, creativity, and collaboration by engaging students in a hands-on design challenge. It introduces fundamental concepts of physics in a fun, accessible way, making science tangible and exciting.
Learning Objective
Students will design, build, and test a miniature bobsled or ski course and vehicle using provided materials, applying basic engineering principles and understanding of forces like gravity and friction.
Teacher Preparation
Review Materials:
• Downhill Derby Slide Deck
• Downhill Derby Warm Up & Cool Down
• Downhill Derby Activity Guide
• Downhill Derby Design Worksheet
Setup (20 mins):
Gather craft materials: cardboard, paper, tape, glue, straws, pipe cleaners, string, wheels/beads, foil, and fabric. Prepare testing areas with cardboard ramps and marbles/balls.
Instructional Sequence
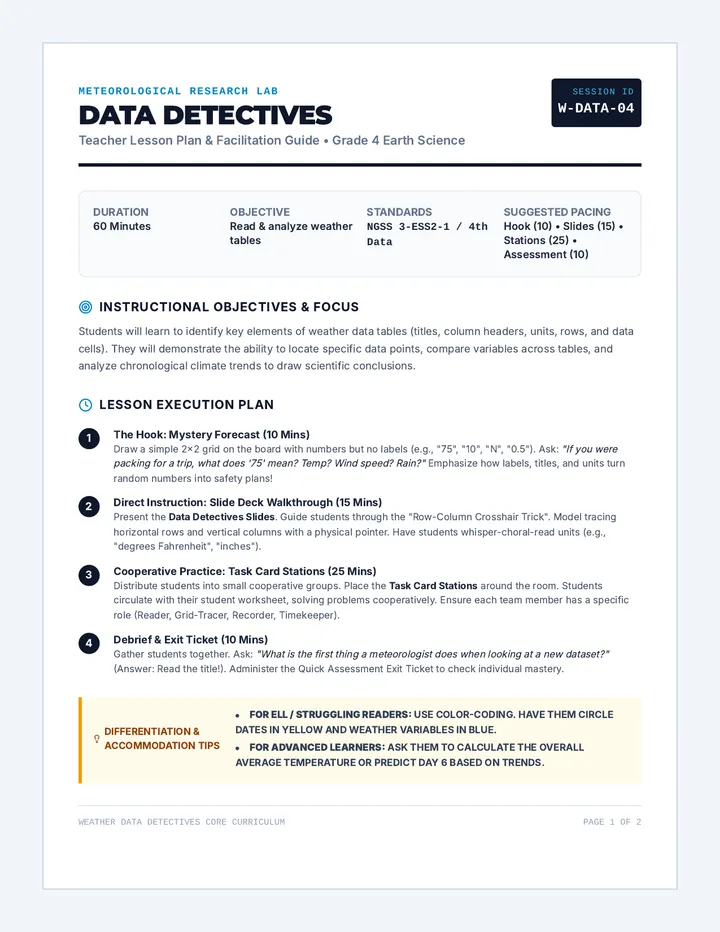
5m
Warm-Up: Ready, Set, Slide!
Start with the Warm Up activity. Ask students to think about things that slide or roll and what makes them go fast or slow. Discuss ideas as a class.
10m
Introduction: The Challenge Awaits
Use the Slide Deck to introduce the challenge. Explain that teams will build both a course and a vehicle. Highlight gravity (pull) and friction (slow down).
20m
Design & Build: Get Crafty!
Distribute the Activity Guide and Worksheet. Teams brainstorm and sketch designs before building. Circulate to ask probing questions about friction and speed.
5m
Test & Reflect: The Grand Finale
Groups test their creations on ramps. Facilitate a brief discussion on successes and challenges. Students complete the reflection on their worksheets.
5m
Cool-Down: Learning Wrap
Conclude with the Cool Down activity. Students summarize one new thing learned or an interesting observation made during the challenge.
Downhill Derby Slide Deck Downhill Derby
Design
Ready, Set, BUILD!
Today, we're becoming engineers!
The Engineering Challenge
Can you design a speedy bobsled or a super skier?
**Goal:** Build a course and a vehicle that slides down it.
**Teamwork:** Work together to brainstorm and create.
**Materials:** Use cardboard, tape, and more!
What Makes It Go? Gravity!
The Invisible Pull
Gravity pulls everything **down** towards the Earth. It's why things fall! It helps our bobsleds zoom downhill.
"The steeper the hill, the faster gravity can pull you!"
What Slows It Down? Friction!
What is it?
Friction happens when two surfaces rub together.
Try rubbing your hands! Feel the heat?
The Challenge:
How can we make our vehicles have **less friction** to go faster?
Smooth surfaces Wheels Runners
Inspiration: Bobsleds & Skiers
How do athletes go so fast?
• Pointy shapes to cut through air.
• Smooth runners to glide on ice.
• Heavy weights to let gravity pull harder.
Your Engineering Mission
1
BRAINSTORM
Talk with your team about ideas!
2
SKETCH
Draw your course and vehicle.
3
BUILD
Start Constructing!
4
TEST
Try it out on the ramp!
5
IMPROVE
Make it even better!
Time to Test!
The Launch
Find a ramp. Send your bobsled down! Did it stay on the track? Was it fast?
The Data
What worked well? What didn't? How can you fix it?
Watch Closely!
Engineers in Action!
You designed, built, and tested today. You mastered gravity and friction!
Reflection Question 1
What was the most challenging part?
Reflection Question 2
What was your favorite part?
Downhill Derby Warm Up Ready, Set, Slide!
Downhill Derby Warm-Up
Name: ____________________________
Date: _____________________________
Think about things that go downhill!
What makes them go fast ? What makes them go slow ?
Draw or write your ideas below:
Downhill Derby Activity Guide The Engineering Mission
Downhill Derby Challenge Guide
The Challenge
Your team will become engineers! Your mission is to design and build a miniature bobsled or ski course AND a vehicle that can travel down it safely and quickly.
Think Like an Engineer:
🚀 How can you make your vehicle go fast?
🛤️ How can you make sure it stays on the course?
🛠️ What materials will work best for your design?
Materials:
• Cardboard
• Paper
• Tape & Glue
• Straws
• Pipe Cleaners
• String
• Wheels/Beads
• Foil
• Fabric
• Riders (Marbles)
1
Brainstorm & Design (5 Minutes)
"Think about gravity and friction!"
Talk with your team: What kind of course will you build? Steep? Curvy? Sketch your ideas on your worksheet first.
2
Build Your Creation (15 Minutes)
Work together to construct your course and vehicle. Use tape and glue to make things strong. Remember to make your vehicle smooth for less friction!
3
Test & Improve (10 Minutes)
Place your vehicle at the top and let it go! Watch closely. Did it stay on the track? Was it fast? Did it crash?
The Engineer's Secret:
Most first designs don't work perfectly. That's okay! Talk with your team and make changes to improve your design.
4
Share Your Design (5 Minutes)
Be ready to show your course and vehicle to the class. Explain what you built, what you learned, and any challenges you faced.
Teamwork Rules
Everyone on the team should have a job. Share the materials and listen to everyone's ideas. Great things happen when we work together!
Downhill Derby Worksheet Downhill Derby Blueprint
Design Worksheet & Reflection
Team Name:
Engineers:
Part 1: The Design
Course Sketch:
Draw your ramp, turns, and bumps!
Vehicle Sketch:
Draw your bobsled or skier!
Part 2: Test & Improve
Our First Test:
What happened? Did it go fast? Did it stay on course?
Improvements We Made:
What did you change to make it better?
What We Learned:
What makes a vehicle go fast down the hill?
Downhill Derby Cool Down Victory Lap
Downhill Derby Cool-Down
What is one new thing you learned or one interesting observation you made today during our challenge? Downhill Derby Answer Key Judge & Engineer Guide
Answer Key & Discussion Points
This key provides guidance for assessing student work and facilitating discussions. Since the challenge is open-ended, use these points to prompt deeper thinking about gravity and friction.
Warm-Up: Ready, Set, Slide!
Likely Responses: Fast
• Smooth surfaces (ice, metal)
• Steep slopes (more gravity)
• Wheels or rollers
• Pointy shapes
Likely Responses: Slow
• Rough surfaces (carpet, grass)
• Flat slopes
• Wide or flat shapes
• Heavy rubbing (friction)
Worksheet Part 1: Design
Assessment Tip: Look for effort in sketching. Younger students (K-1) may draw simple shapes; older students should include labels and specific materials (e.g., "tape for the ramp", "straws for runners").
Discussion Prompt: Ask, "What part of your vehicle will touch the track? How can you make that part super smooth?"
Worksheet Part 2: Testing
Our First Test:
Expected observation: "It fell off the side," "It stopped halfway down," or "It went really fast!" Assess based on their ability to describe motion.
Improvements Made:
Look for problem-solving. Example: "We added walls to the track," "We smoothed the bottom with foil," "We made the ramp steeper."
Key Learning:
Concept Check: Gravity makes it go down; Friction makes it go slow.