Energy Flip Worksheet Energy Flip Worksheet
Lesson 1: Investigating Energy Transformation
Name: __________________________
Date: ___________________________
Energy Basics
Energy cannot be created or destroyed, only transformed. In this sequence, we focus on Electrical Energy and Mechanical Energy (Motion).
Part 1: The Input-Output Challenge
Identify the Input Energy (what goes in) and the Output Energy (the main job it does) for each device below.
Electric Fan
Input:
Output:
Hand-Crank Flashlight
Input:
Output:
Power Drill
Input:
Output:
Wind Turbine
Input:
Output:
Part 2: The Relationship
Look at your answers above. What do you notice about the relationship between Mechanical (Motion) and Electrical energy?
In your own words, what is the difference between a Motor and a Generator ?
Part 3: The Energy Flip Schematic
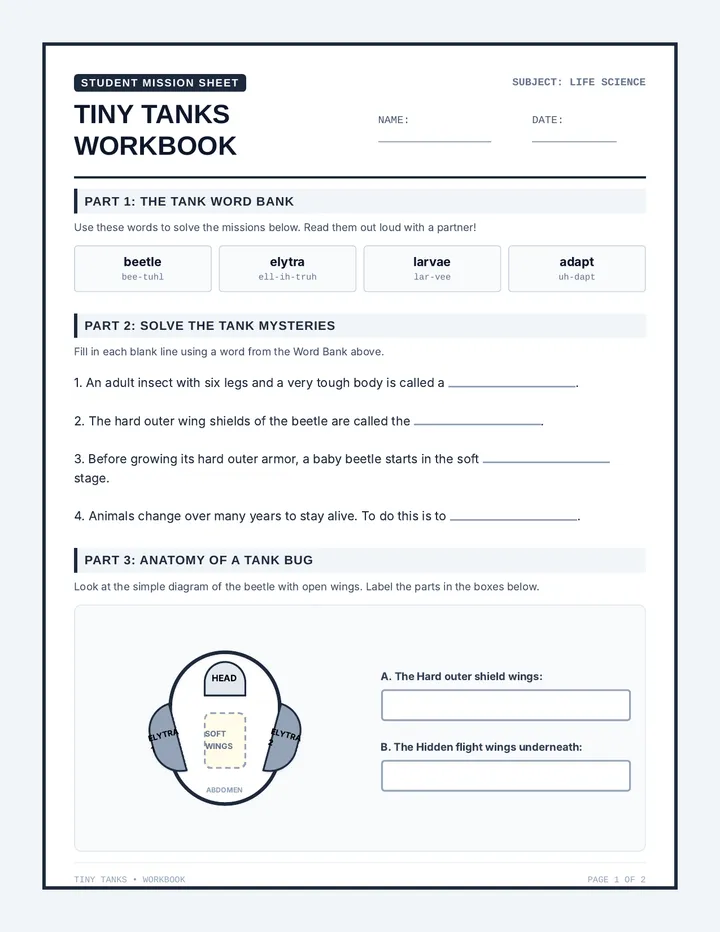
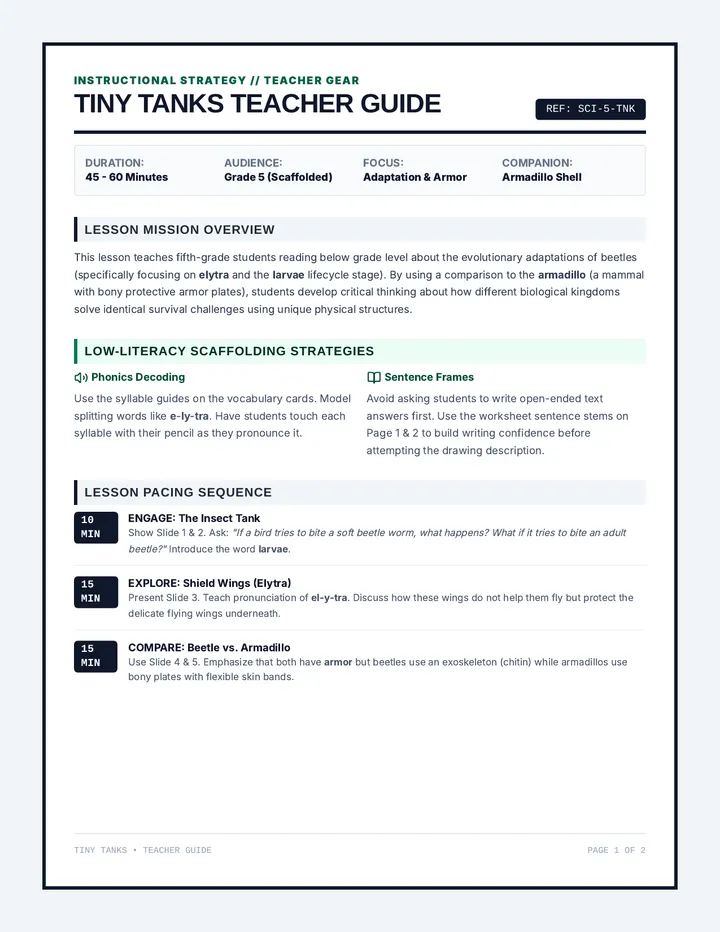
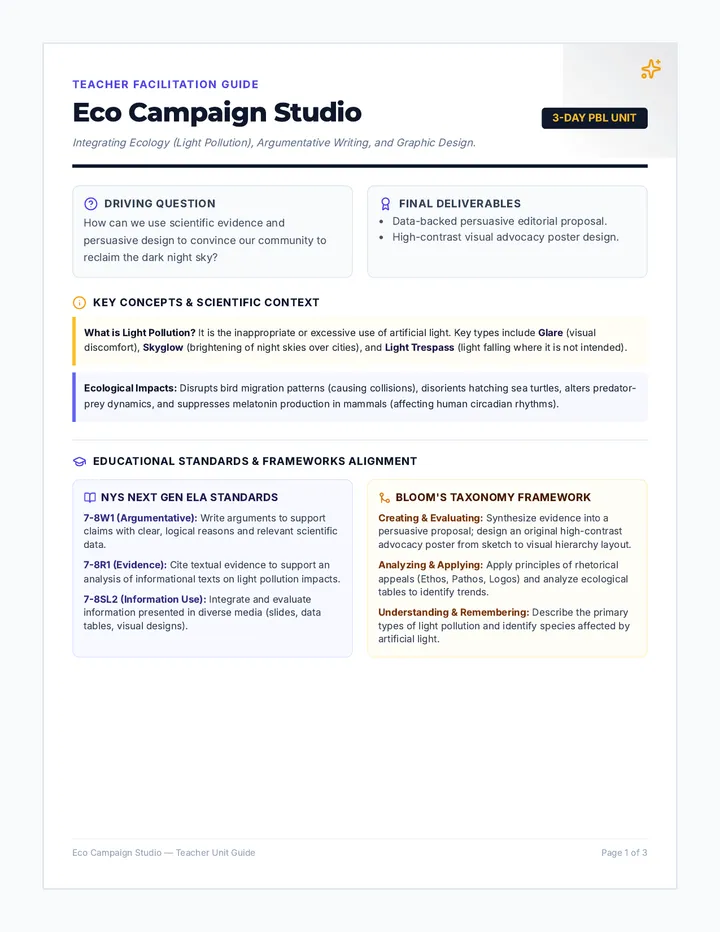
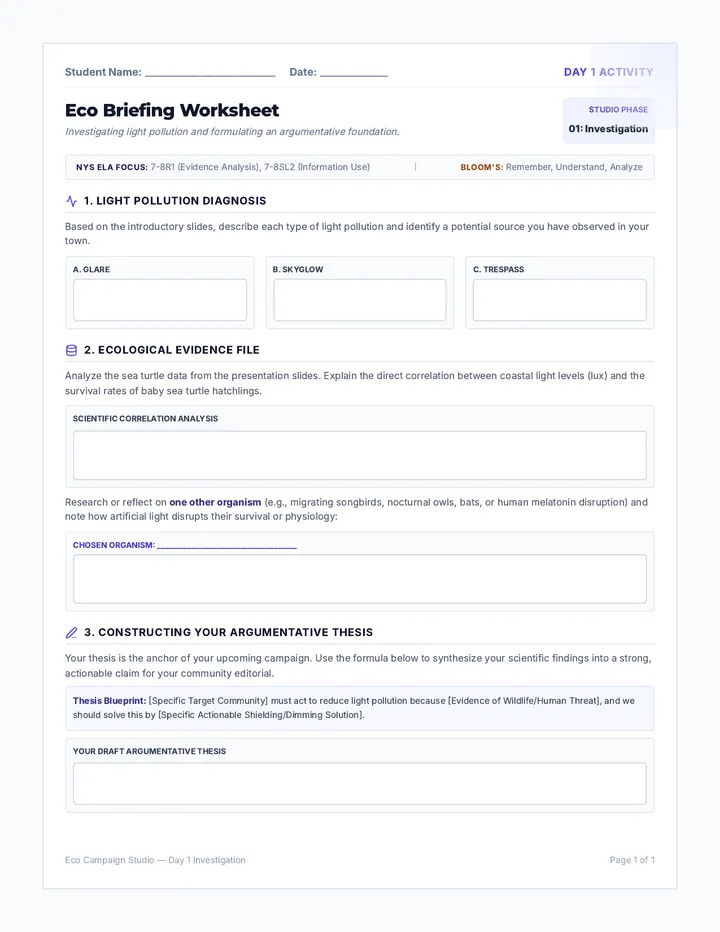
Draw a diagram of a device that uses a hand crank to power a small light bulb . Label where the energy transformations happen.
DRAFTING SPACE
Checklist:
Input Motion (The Crank)
The Transformation (Generator)
The Delivery (Wires)
Output Energy (The Light)
Reflection:
How would the device change if you wanted to use a battery to make the crank spin on its own ? Explain the "flip".
Energy Flip Slides Lesson 1: Physics in Action
Energy Flip
Discovering the secret link between motion and electricity.
The Mystery Device
Imagine this...
You have a flashlight with no batteries. You spin a crank on the side for 30 seconds. You press a button, and the light turns on.
Where did the energy come from?
Your Muscles
Mechanical
Electricity?
The Energy Flip
1. The Motor
Electricity
Motion
"I take a zap and make a spin."
Examples: Fans, Blenders, Drills
2. The Generator
Motion
Electricity
"I take a spin and make a zap."
Examples: Wind Turbines, Dams, Hand-cranks
Discussion Time
"Could the exact same machine be both a motor and a generator?"
Turn & Talk
2 Minutes
Energy Flip Answer Key Energy Flip Answer Key
Teacher Resource • Lesson 1
Part 1: Input-Output Challenge
Electric Fan
Electrical
→
Mechanical (Kinetic)
Hand-Crank Flashlight
Mechanical (Kinetic)
→
Electrical (then Light)
Power Drill
Electrical
→
Mechanical (Kinetic)
Wind Turbine
Mechanical (Kinetic)
→
Electrical
Part 2: Relationship & Definitions
The Relationship
"They are inverse processes. If you put electricity in, you get motion. If you put motion in, you get electricity. They are two sides of the same coin."
Motor vs. Generator
Motor: Converts electrical energy into mechanical energy.
Generator: Converts mechanical energy into electrical energy.
Part 3: Reflection on the "Flip"
Teacher Note: Students should identify that the internal components (coils and magnets) are identical in principle. By replacing the crank (mechanical input) with a battery (electrical input), the device reverses its function. This realization is crucial for Lesson 2 and 3.
Motor Magic Slides Lesson 2: The Motor Effect
Motor Magic
How to turn a battery and a magnet into a spinning engine.
The Lorentz Force
When an electric current flows through a wire placed in a magnetic field, the wire feels a push.
Current
Magnet
=
MOTION
The Rule
It's called the "Right Hand Rule" (or Left Hand for motors):
1 Thumb = Current
2 Fingers = Magnet Field
3 Palm = Push (Force)
Workshop: The Homopolar Motor
One battery, one magnet, one piece of wire.
Lab Time
Step 1
Stack It
Place your neodymium magnet on the bottom (negative end) of your AA battery.
Step 2
Shape It
Bend your copper wire into a "heart" or "dancer" shape so it touches the top of the battery and the side of the magnet.
Step 3
Spin It
Balance the wire on the tip. Watch as the "Lorentz Force" kicks in and starts the rotation!
Troubleshooting Tips
Short Circuits
The battery might get hot! If the wire isn't spinning, lift it off the battery to let it cool down.
Balance Issues
The wire needs to be symmetrical. If it wobbles and falls, adjust the "arms" of your wire shape.
Think Like an Engineer:
What happens if you flip the magnet upside down? Will it spin the same way or reverse?
Predict Before You Try!
Homopolar Motor Lab Sheet Homopolar Motor Lab
Lesson 2: Dissecting the Electric Motor
Section: _________
Name: __________________________
Date: ___________________________
Materials
1 AA Battery
1 Neodymium Magnet
8" Copper Wire
Pliers (for bending)
Safety Warning
The wire and battery can become HOT . If the motor is not spinning, do not leave the wire connected. Neodymium magnets are extremely strong—keep them away from electronics and credit cards.
Part 1: Initial Observations
Place the magnet on the flat end of the battery. Balance your wire. Once it starts spinning, observe carefully.
Direction of Rotation
Clockwise
Counter-Clockwise
Speed Observation
Describe the motion (smooth, wobbly, fast, slow):
Part 2: Engineering Variables
Predict and test how changes to the system affect the motor.
Variable Change Prediction (What will happen?) Result (What actually happened?) Flip the Magnet Upside Down Turn the Battery Upside Down Use Two Magnets instead of One
Part 3: Conclusion
Based on your results, what are the two main things that determine which way a motor spins?
Mapping the Motor Effect
Sketch Your Motor Build Here
(Include arrows for current flow and the magnetic field lines)
Scientific Explanation
Using the words Current , Magnetic Field , and Lorentz Force , explain why the wire spins.
Engineering Connection
Every electric motor (in a Tesla, a fan, or a drone) works on this exact same principle. If you wanted to build a motor that was 10x stronger than your lab model, what is one thing you would change?
Motor Mechanics Reference Sheet Motor Mechanics Reference
Cheat Sheet • Lesson 2
The Motor Rule
T
THUMB
Motion (Force)
F
FIRST FINGER
Field (Magnet)
S
SECOND FINGER
Current (Zap)
Flemings's Left-Hand Rule for Motors
Key Parts
Stator The part that stays still (usually the magnets).
Rotor The part that rotates (the wire coil or armature).
Commutator The "switch" that reverses current to keep it spinning.
The Big Secret
"A motor and a generator are physically the same thing. If you spin a motor by hand, it makes electricity. If you give it electricity, it spins. It's all about which way the energy flows!"
Engineering Unit: 2B
Induction Insights Slides Lesson 3: The Spark Lab
Induction Insights
Discovering how to "squeeze" electricity out of a magnetic field.
The Generator Effect
If electricity can create motion (Lesson 2)...
Can motion create electricity?
The answer is YES. It's called Electromagnetic Induction.
Faraday's Law:
A changing magnetic field induces a current in a wire.
The Mystery Lab Lab
What you'll do:
Wrap copper wire around a tube 50 times.
Connect the ends to a Galvanometer (measures tiny current).
Slide a magnet in and out of the coil.
Crucial Fact:
"The magnet must be moving. If the magnet sits still inside the coil, the needle stays at zero. Static magnets don't make sparks!"
Engineering the Spark
How do we get MORE power?
More Coils
What happens if we wrap the wire 100 times instead of 50?
Faster Motion
What happens if we move the magnet really fast?
Stronger Magnet
What happens if we use a giant neodymium magnet?
The Spark Lab Log The Spark Log
Lesson 3: Understanding Electromagnetic Induction
Scientist Name: __________________________
Lab Station: ___________
Mission Objective
To observe how a moving magnetic field generates electrical current and to identify variables that increase current strength.
Phase 1: Detecting the Spark
Follow the setup instructions on the slides. Connect your coil to the galvanometer.
Action: Magnet is Still
Needle Position:
Action: Magnet is Moving
Needle Position:
Observation: What happens to the needle if you move the magnet in and then stop it mid-way?
Phase 2: Power Up (The Variables)
Experiment with the following variables and record the galvanometer response (Small deflection vs. Large deflection).
Variable Tested Trial 1 (Control) Trial 2 (Changed) Effect on Current Number of Coils 20 Wraps 60 Wraps Speed of Motion Slow Slide Rapid Flick Magnet Strength 1 Magnet 3 Magnets
Scientific Analysis
1. The "Why" Question
Why does the needle go back to zero when the magnet is sitting still, even if it is sitting right in the middle of the coil?
2. Directionality
Notice the direction the needle moves when the magnet enters the coil vs. when it leaves. What do you observe?
Generator Blueprint Thinking:
If you had to build a machine that powered a whole city, what are 3 "rules" you would follow based on today's lab?
1
2
3
Induction Teacher Guide Teacher Guide: Induction Demo
Instructional Support • Lesson 3
The Gear List
Enamelled Copper Wire (28-32 AWG)
Analog Galvanometer (-50 to +50 range)
Strong Neodymium Magnets
Sandpaper (to strip wire ends)
Discussion Prompts
"Watch the needle as I pull the magnet out. What happened? Why did it go to the other side?"
Goal: Identify that changing magnetic flux direction flips the current direction (AC concept).
"If I keep the magnet in my hand and move the COIL instead, do we still get a spark?"
Goal: Understand that relative motion is the key, not just the magnet moving.
Common Roadblocks
No Reading?
Check the wire ends. Enamelled wire has an invisible coating. Use sandpaper to scrub the tips until you see the bright copper underneath.
Needle Jiggles Too Much?
Ensure the coil is wrapped tightly. Loose coils lose induction efficiency. Use a cardboard tube to keep the shape consistent.
The Core Truth
The magnet doesn't "give" electricity to the wire. The moving magnetic field pushes the electrons already inside the wire. Motion + Magnetism = Electrical Flow.
Generator Genius Slides Lesson 4: Project Phase
Generator Genius
From lab sparks to real-world power solutions.
The Challenge
Critical Mission
Survival Scenario
You are stranded on a deserted island. You have salvaged a magnet and some copper wire. You need to charge a survival radio.
"Design a system to keep a magnet spinning near a coil using only natural forces."
Wind
Water
Muscle
Other?
Engineering Specs
01. THE COIL
The Armature
How many wraps? How close to the magnet? The closer the field lines, the better the spark.
02. THE SPIN
The Shaft
How will you mount the magnet so it spins without flying off? Friction is your enemy.
03. THE BLADES
The Capture
What shape will catch the wind or water most effectively? Think surface area!
Fail Fast, Learn Faster
1
Sketch
2
Test
3
Adjust
"Your first design probably won't light an LED. That's okay! Engineers spend 90% of their time tweaking and 10% celebrating."
Survival Generator Project Guide Survival Generator Brief
Design Challenge • Engineering Phase
CODE: GENERATOR-GENIUS-6
The Problem
Mechanical motion must be converted into at least 0.5V of electricity using induction. Your "power source" (wind/water) is simulated by a hairdryer or a pouring pitcher.
Constraints
Must be "hands-free" once started.
Must use only provided materials (Magnets, Wire, Cardboard, Dowels, Cups).
Must be stable enough to run for 60 seconds.
Team Members
Step 1: Ideation & Sketching
Draw your proposed generator design. Label the Shaft , the Magnets , the Coil , and the Blades .
Step 2: Testing & Iteration
Trial # Modifications Made Voltage Output (V) Observations 1 Initial Prototype 2 3
Engineering Reflection
What was the single most difficult part of keeping the magnet spinning efficiently?
The Pivot
If you had access to any material in the world, what would you add to your generator to double its power?
Prototype Phase Iteration Loop 1.0 Final Spec
Generator Design Rubric Design Rubric
Generator Genius Assessment
40 PTS TOTAL
Criteria
Expert (10)
Practitioner (7)
Novice (4)
Function Does it actually work?
Consistently produces >0.5V. Runs smoothly for full 60s.
Produces measurable voltage. Runs with minor help or wobbles.
Produces trace voltage. Requires constant hand-holding.
Design Engineering choice
Uses creative blade shapes and clever shaft mounting to reduce friction.
Solid standard design. Effective use of basic mechanics.
Basic assembly with minimal thought to efficiency or friction.
Theory Faraday's Law
Can explain exactly how coil wraps and magnet speed affected their output.
Explains that "motion made the spark" but struggles with specifics.
Unable to connect the design to the principles of induction.
Iteration The Project Log
Log shows clear trial and error with 3+ distinct improvements noted.
Log is complete with some notes on testing.
Log is incomplete or shows only one attempt.
Feedback & Scores
/40
Journey of a Joule Slides Lesson 5: Grid Connection
Journey of a Joule
Tracing electricity from the spinning turbine to your toaster.
Step 1: The Power Plant
A power plant is just a giant version of your lab project.
The Magnet: Multiple tons
The Coil: Miles of copper wire
The Spin: Driven by steam or water
3,600 RPM Standard Turbine Speed
The Electric Grid
Gen
Turbine spins magnets to make current.
Step Up
Transformer boosts voltage to 500,000V for travel.
Trans
Wires carry energy across the country.
Step Down
Substations lower voltage to a safe 120V for home.
Why boost the voltage? To prevent energy loss as heat! High voltage is like high-pressure water—it travels further.
The War of Currents
DC (Direct Current)
Flows in one direction (Battery). Great for laptops and phones.
AC (Alternating Current)
Shakes back and forth (Generator). Perfect for the Grid!
Exit Thought:
"When you look at the Earth from space at night, you aren't seeing light. You are seeing billions of turbines spinning in the dark."
End of Engineering Unit 2
Power Path Graphic Organizer Power Path Map
Lesson 5: The Power Grid Connection
Name: __________________________
Unit Score: ________ / 20
The Journey Map
Fill in the boxes to trace the journey of electricity. Use the Word Bank below.
Power Plant Turbine
[ LABEL 1 ]
[ LABEL 2 ]
High-Voltage Wires
Neighborhood Station
[ LABEL 3 ]
Word Bank
Step-Up Transformer Step-Down Transformer Residential Outlet
Critical Thinking
Why do we use Alternating Current (AC) for the grid instead of Direct Current (DC)?
A "transformer" changes voltage. Based on Lesson 3, what two things must be inside a transformer to make it work?
Grid Guru Exit Ticket Grid Guru Exit Ticket
Unit: Motors & Generators
Lesson: 05 Wrap-up
Name
Date
1. Which device "flips" mechanical motion into electrical energy?
An Electric Motor
An Electrical Generator
A Battery
2. To induce a current in a wire using a magnet, the magnet MUST be...
Sitting perfectly still inside the coil
Moving relative to the wire
Connected to a power source
3. The Final Reveal
Explain in ONE sentence how a wind turbine in a field provides the power to charge your phone at home.