Rainbow Sorting Teacher Guide Rainbow Sorting Party
Teacher Facilitation Guide
Lesson 1
Learning Objectives
Identify and name primary and secondary colors.
Sort a variety of objects into groups based strictly on color.
Explain the reasoning for placing an object into a specific color category.
The Hook: Rainbow Mess!
Prepare a "Rainbow Mess" bin filled with a variety of colorful items (counting bears, blocks, buttons, crayons). Start the lesson by acting surprised!
"Oh no! I had all my toys organized by color, but they all got mixed up in this big bin! It's a Rainbow Mess! Can you help me fix it? How should we start?"
Materials
Mixed bin of colorful manipulatives
Colored sorting mats (Red, Blue, Yellow, Green)
Rainbow Sorting Slides
Glue and scissors (for worksheet)
Key Vocabulary
Sort Group Attribute Match
Instructional Steps
1
Introduction (5-7 mins)
Use the slides to review color names. Show objects on the screen and have students shout out the color. Introduce the word Attribute - something we can see about an object.
2
Guided Practice (10 mins)
Bring out the "Rainbow Mess" bin. Pull out one item at a time. Ask: "What color is this bear? Which mat should it go on?" Model placing items on the matching color mat.
3
Small Group Sorting (15 mins)
Give each table or pair a small bin of mixed items and 4 sorting mats. Challenge them to clear their bin by matching everything to a color mat.
4
Reflection & Assessment (5 mins)
Walk around and ask students: "How did you know this button went here?" Use the Color Match Worksheet for independent practice.
Differentiation Tip:
For students needing more support, provide only 2 colors at a time (e.g., Red and Blue). For those ready for a challenge, add items with multiple colors or shades and ask them to decide where they best belong.
Rainbow Sorting Slides Rainbow Sorting Party!
Let's learn how to sort by color!
What do you see?
Everything has an attribute !
An attribute is something we can see, like COLOR .
"This apple is RED."
🍎
Is it RED?
🍓
🚒
🦀
Yes! These all belong in the RED group!
Is it BLUE?
🐬
👖
🫐
Yes! These all belong in the BLUE group!
OH NO! RAINBOW MESS!
🍎 🐬 🍌 🥦 🍇 🫐 🚒 🐥
Can you help me sort them back into groups?
How to Sort
1. LOOK at the object's color.
2. PICK it up.
3. PUT it on the matching mat!
Rainbow Match Worksheet Rainbow Match
Sorting by Color
Name:
Date:
Cut and Paste!
Cut out the pictures at the bottom. Paste them into the box that matches their color.
RED
BLUE
YELLOW
GREEN
Cut along the dotted lines
🍎
🐳
🍌
🥦
🍓
🫐
🍋
🥬
Shape Detectives Teacher Guide Shape Detectives
Teacher Facilitation Guide
Lesson 2
Learning Objectives
Identify and name circles, squares, and triangles.
Sort objects by geometric shape, regardless of color or size.
Explain why two objects belong together based on their form.
The Hook: The Mystery Bag
Place several large foam or plastic shapes into an opaque cloth bag.
"I have some mystery shapes hidden in my bag! I need a brave Shape Detective to reach in—NO PEEKING—and feel the edges. Is it round? Does it have pointy corners? What shape do you think it is?"
Materials
Mystery Bag with large shapes
Sorting Buckets or Hoops (3)
Shape Detective Slides
Blocks, buttons, and shape tiles of varying colors
Key Vocabulary
Circle Square Triangle Sides Corners
Instructional Steps
1
Shape Review (5-7 mins)
Use the slides to trace shapes in the air with fingers. Emphasize attributes: "A circle goes round and round, no corners!" "A triangle has 3 pointy corners!"
2
Guided Practice: The "Distraction" (10 mins)
Show two triangles of different colors (e.g., Red and Blue). Ask: "Are these the same?" (Wait for answers). "They are different colors, but look at the shape! They both have 3 corners. They belong together in the Shape Bucket!"
3
Active Sorting Game (15 mins)
Place three hula hoops on the rug labeled with a shape picture. Give students a handful of mixed attribute blocks. Have them "race" to place their blocks in the correct hoop.
4
Independent Check (5 mins)
Students complete the "Shape Scavenger Hunt" worksheet, identifying shapes in the classroom or on the page.
Teaching Tip:
Focus on the edges and corners . Encourage students to touch the corners and count them as they sort. This reinforces the physical reason why a shape belongs in a certain group.
Shape Detectives Slides Shape Detectives!
Look closely... what do you see?
This is a Circle
🍕
Pizza
🍩
Donut
🛞
Tire
This is a Square
🎁
Present
🪟
Window
🧊
Ice Cube
This is a Triangle
🍉
Watermelon
⛺
Tent
📐
Ruler
Can you ignore the COLOR?
Red Square
Blue Square
THEY MATCH!
They are both Squares! Color doesn't matter for this sort!
Shape Hunt Worksheet Shape Hunt
Sorting by Geometric Form
Name:
Date:
?
Draw a line to match each object to its matching shape!
🍕
🎁
🍉
Detective Bonus:
Look around your room. Can you find something that is a CIRCLE ? Draw it here:
Big and Small Teacher Guide Big and Small World
Teacher Facilitation Guide
Lesson 3
Learning Objectives
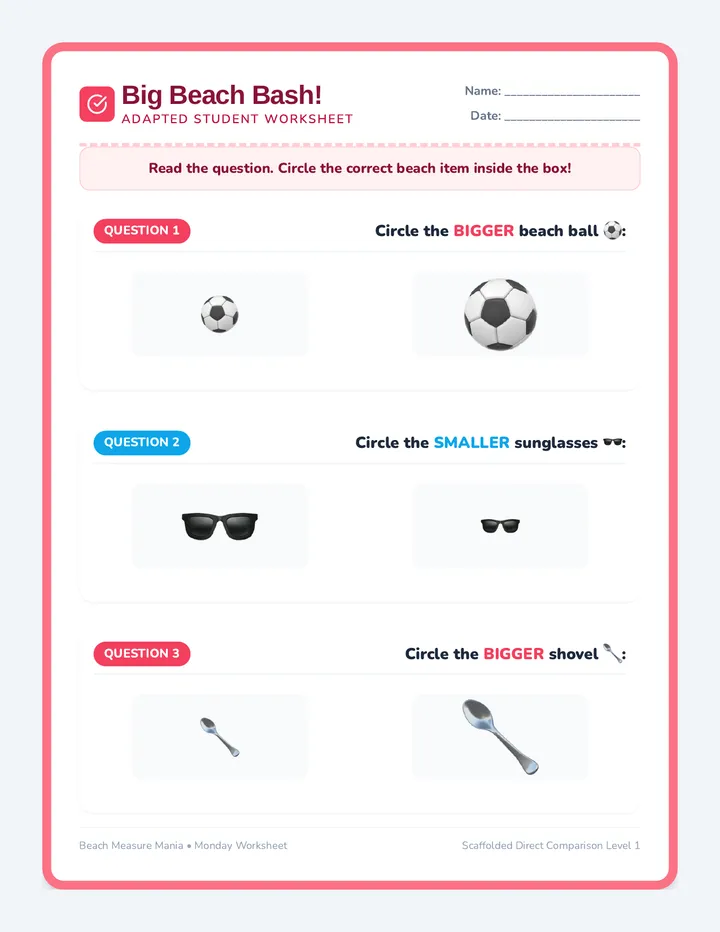
Compare two objects and identify which is "big" and which is "small."
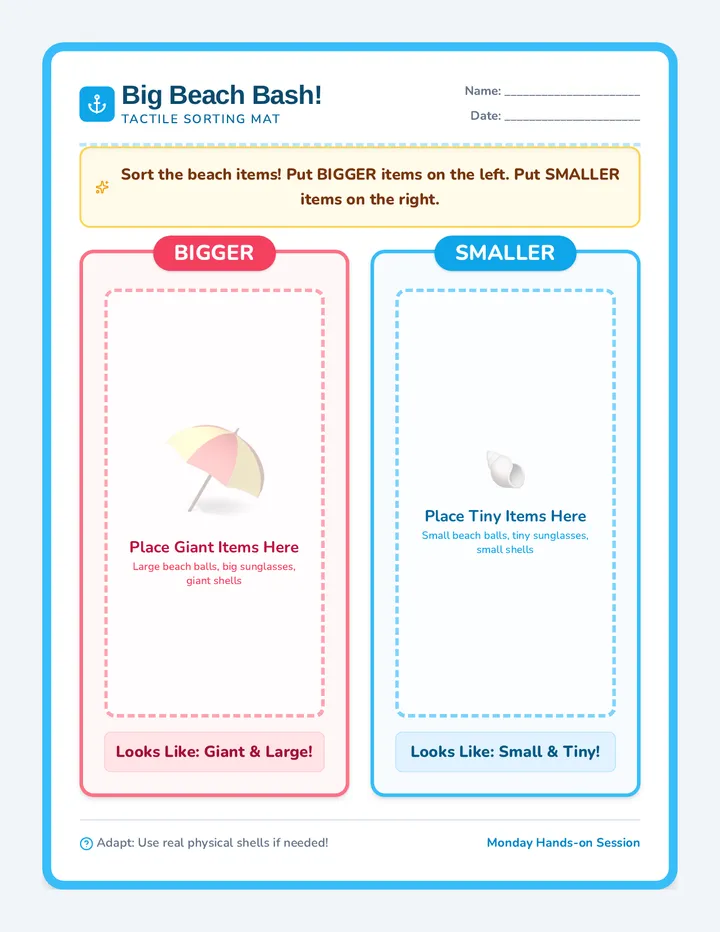
Sort a collection of objects into two categories based on size.
Use comparative vocabulary (bigger, smaller, huge, tiny) correctly.
The Hook: The Giant and the Tiny
Hold a giant beach ball in one hand and a tiny marble in the other.
"Look at these two things! This ball is ENORMOUS, and this marble is TEENY-TINY! If I had a small shoe box, which one would fit inside? Why? Today, we are going to be Size Explorers!"
Materials
Stuffed animals or toys of varying sizes
Two large bins labeled "BIG" and "SMALL"
Big and Small World Slides
Classroom items (erasers, books, chairs)
Key Vocabulary
Big Small Large Tiny Compare
Instructional Steps
1
Comparing Objects (5 mins)
Show pairs of objects (a big book and a small sticky note). Ask: "Which one takes up more space?" Introduce Relative Size : something might be big compared to a bug, but small compared to an elephant!
2
Body Sizes (10 mins)
Have students make themselves "as big as a mountain" (stretching high) and "as small as a mouse" (curling into a ball). Use the slides to practice identifying big and small animals.
3
The Sorting Station (15 mins)
Provide a "Mixed Size Bin." Have students work in pairs to place items into the "BIG" bin or the "SMALL" bin. Encourage them to hold two items next to each other to decide.
4
Wrap-Up: Size Hunt (5 mins)
Point to things in the room. "Is the whiteboard BIG or SMALL?" (BIG). "Is my pencil BIG or SMALL?" (SMALL).
Challenge Tip:
Add a "Medium" category for students who have mastered Big/Small. Ask them to find an item that is bigger than the small one, but smaller than the big one.
Big and Small Slides 🐘 🐭
Big and Small World
Let's compare sizes!
Some things are BIG!
🐋
WHALE
🦖
DINO
✈️
PLANE
Some things are SMALL!
🐜
ANT
🐞
BUG
🐝
BEE
Compare Them!
🏢
BIG
🏠
SMALL
The building is MUCH bigger than the house!
Make Yourself...
BIG AS A MOUNTAIN!
Stand tall on your tippy-toes!
SMALL AS A MOUSE!
Curl up into a tiny ball!
Size Sort Worksheet Size Sort
Comparing Big and Small
Name:
Date:
Cut out the pictures. Glue them into the correct box!
BIG
SMALL
🌳
TREE
🌱
SPROUT
🚢
SHIP
⛵
BOAT
🐘
ELEPHANT
🐭
MOUSE
Count the Groups Teacher Guide Count the Groups
Teacher Facilitation Guide
Lesson 4
Learning Objectives
Count objects in a sorted group up to 10 with one-to-one correspondence.
Identify that the last number counted tells "how many" are in the group (cardinality).
Compare two groups to see which has "more" or "fewer."
The Hook: The Counting Challenge
Show a sorted collection (e.g., 3 red bears and 5 blue bears).
"We did a great job sorting these bears by color! But now I have a mystery... I want to know which color has MORE bears. How can we find out? We need to use our counting fingers!"
Materials
Sorting bears or counters
Ten-frames or small plates for counting
Count the Groups Slides
Numeral cards (1-10)
Key Vocabulary
Count How Many More Less Group
Instructional Steps
1
One-to-One Review (5 mins)
Model touching each object as you count: "One, Two, Three..." Show that we don't skip any and we don't count any twice. Use the slides to practice counting dots.
2
Sorting and Counting (10 mins)
Sort a small pile of items by an attribute (e.g., color). Then, count each group. Have students hold up the number of fingers that match the count.
3
Group Comparison (15 mins)
"We have 4 Red and 6 Blue. 6 is a bigger number than 4, so we have MORE Blue!" Practice using the words More and Less (or Fewer ) with different sorted sets.
4
Independent Counting (5 mins)
Students use the "Count and Circle" worksheet to practice counting sorted groups and identifying the correct number.
Scaffolding Tip:
For students struggling with counting, have them move each object from one pile to another as they count. This physical action helps reinforce that each object is counted only once.
Count the Groups Slides 1
2
3
How Many?
Counting our sorted groups!
Touch and Count
Use your finger!
Touch each item only one time.
Don't skip any!
The last number is how many!
How many RED items?
🍎 🚗 🍓 🎈
1
2
3
4!
Who has MORE?
BLUE GROUP
🐳🐳 🐳
3
VS
YELLOW GROUP
🐥🐥🐥 🐥🐥
5
YELLOW has MORE!
Counting Practice!
Get your sorting bin ready.
Sort them by color.
Then, count how many are in EACH group!
Count and Circle Worksheet Count & Circle
Quantifying Sorted Groups
Name:
Date:
Count the objects in each group. Circle the correct number!
🍎🍎🍎
1
2
3
4
🐳🐳🐳 🐳🐳
4
5
6
7
🍌🍌
2
3
4
5
🥦🥦🥦 🥦🥦🥦
5
6
7
8
Which group has the MOST items? Circle its color name below:
RED BLUE YELLOW GREEN
Graphing Our Finds Teacher Guide Graphing Our Finds
Teacher Facilitation Guide
Lesson 5
Learning Objectives
Create a concrete bar graph using physical objects sorted into lines.
Interpret the graph by identifying which line is longest or shortest.
Relate the height/length of a group in a graph to its quantity.
The Hook: The Parking Lot
Roll out a floor mat with "lanes" or use masking tape on the carpet.
"Welcome to the Rainbow Parking Lot! I have all these toy cars, but the parking rules say each color must park in its own lane. Let's see which lane gets filled up the most!"
Materials
Toy cars or large blocks
Masking tape or large butcher paper (for floor graph)
Graphing Our Finds Slides
Small sticky notes or counting bears
Key Vocabulary
Graph Line Up Longest Shortest Most
Instructional Steps
1
Introduction to Graphing (5 mins)
Show students a pile of bears. "It's hard to see which has more when they are in a pile. Let's line them up like they are waiting for a bus!" Use slides to show "Messy Pile" vs. "Neat Graph."
2
Building a Concrete Graph (15 mins)
As a class, sort items (like snack boxes or blocks) into vertical lines. Ensure each item is touching the one below it so the comparison is fair. Start all lines at the same "base line."
3
Analyzing the Data (10 mins)
Ask: "Which line reaches the highest?" "Which line is the shortest?" "How many are in the Red line?" Connect the visual length to the number counted in Lesson 4.
4
Small Group Graphing (10 mins)
Students use the "My First Graph" worksheet to paste objects into a simple grid, creating their own bar graph.
Key Concept Check:
The "Base Line" is crucial! Make sure students understand that every group must start at the same bottom line, or we won't know which one is really taller.
Graphing Our Finds Slides Let's Graph!
Lining up our sorted groups!
Which is easier to count?
A Pile
🧸 🧸 🧸 🧸 🧸
"I'm not sure which color has more..."
A Graph
🧸 🧸 🧸
🧸 🧸 🧸 🧸 🧸
"Wow! I can clearly see this line is taller!"
Graph Rules
1
Start at the BOTTOM line.
2
Put one item in each BOX.
3
Look for the LONGEST line!
Who has the MOST?
2
🚗
🚗
RED
4
🚗
🚗
🚗
🚗
BLUE
3
🚗
🚗
🚗
YELLOW
BLUE is the LONGEST line! It has the MOST!
Your Turn!
Take your sorted bears.
Line them up carefully on your grid mat.
Which line is the SHORTEST?
My First Graph Worksheet My First Graph
Lining Up the Groups
Name:
Date:
Cut out the cars. Glue them into the correct lane to make a graph!
RED
BLUE
YELLOW
🚗
🚗
🚙
🚙
🚙
🚕
Hint: There are 2 red, 3 blue, and 1 yellow car!