Double Exposure Magic Lesson Plan Double Exposure Magic
Lesson Plan • Digital Arts & Design
30 MIN
Single Session
Why This Matters
Mastering the double exposure technique allows students to create stunning, artistic compositions, enhancing their digital art skills and creative expression in Photoshop.
Audience
9th Grade Students
Essential Materials
Computers with Adobe Photoshop
Double Exposure Slide Deck
Double Exposure Script
Double Exposure Worksheet
Prep Checklist (15m)
Learning Objective
"Students will create a double exposure effect in Adobe Photoshop by selecting complementary images, utilizing layer masks, and applying blending modes to achieve a seamless artistic blend."
Instructional Sequence
1
Warm-Up & Introduction
5 MIN
Spark interest with a quick discussion: "What is a double exposure, and where have you seen it?" (Think movie posters or album art). Use initial slides to define the concept and set the objective.
2
Guided Demonstration
15 MIN
Model the technical workflow live on screen:
• Selection: Complementary images.
• Layering: Subject on bottom.
• Blending: Screen/Overlay modes.
• Masking: Non-destructive refining.
• Polish: Contrast/Saturation tweaks.
3
Hands-On Practice & Support
10 MIN
Students begin their own projects. Distribute the Double Exposure Worksheet for step-by-step reinforcement. Circulate to troubleshoot technical hurdles and encourage creative image pairings.
Teaching Approach
HANDS-ON GUIDED PRACTICE
VISUAL DEMONSTRATION
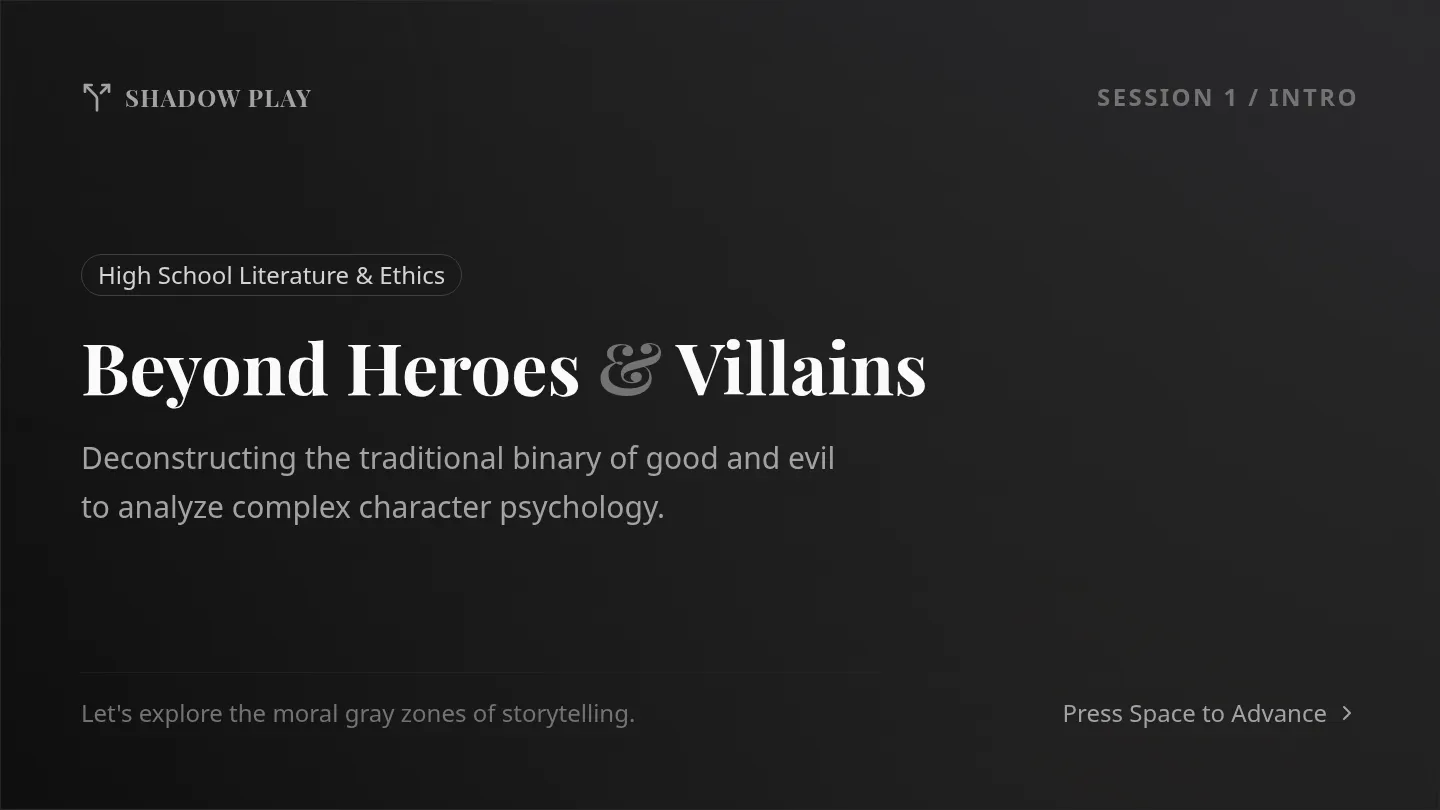
Double Exposure Presentation Slides What is Double Exposure?
A creative way to merge two photos into one.
Adds a dreamy, surreal, and artistic touch.
Seen in: Movie Posters • Album Art • Editorial Design
The Magic of Blending
Image A
Blend
Image B
"It's like a visual story where two different images become a single, unique artwork."
Step 01
Choose Your Images
1 Main Subject
Clear human portrait
Strong silhouettes
Clean background
2 Overlay Texture
Lush landscapes
Abstract patterns
Urban cityscapes
💡 Tip: Think about how the shapes and lines of both images might overlap!
Step 02
Layering Setup
Open both images in Photoshop.
Drag the texture image on top of your main subject.
The Golden Rule:
TOP: Texture / BOTTOM: Subject
Step 03
The Heart of Blending
Layers Panel
Normal
Screen
Lighten
Overlay
Screen
Hides dark areas, keeps light parts. Perfect for a classic, ethereal double exposure look.
Lighten
Keeps the lightest pixels from both layers. Great for clean silhouettes.
Overlay
Mixes layers while boosting contrast and color. Best for rich textures.
Step 04
Refining with Layer Masks
1
Select top layer and click 'Add Layer Mask' icon.
2
Pick a soft-edged Brush (B) .
BLACK hides
Reveal bottom
WHITE reveals
Show top layer
"Don't erase. Just mask."
Masking is non-destructive, meaning you can always undo your changes!
Step 05
Final Touches
Adjust Curves: Fix brightness and contrast.
Saturation: Fine-tune the color intensity.
Crop/Resize: Perfect the composition.
Save! Export as .PSD and .JPG.
Your Turn!
Double Exposure Teaching Script Double Exposure Magic
Teaching Script • 30-Minute Session
Status
Live Delivery
Teacher Note
Use this script in conjunction with the slide deck. Text in bold quotes is meant to be spoken aloud. Actions are in [brackets].
Part 1: Warm-Up & Introduction (5 Minutes)
Slide 01
Introduction
[Display Slide 1: What is Double Exposure?]
"Good morning, everyone! Today, we're diving into a really cool digital art technique in Adobe Photoshop. Has anyone ever seen an image where it looks like two different photos are blended together, creating a kind of dreamy, ghost-like effect?"
"Maybe on a movie poster, an album cover, or even a book cover? That artistic technique is called double exposure. It’s a way to merge two separate images into a single, visually stunning composition."
Slide 02
The Magic
[Display Slide 2: The Magic of Blending]
"Today, our goal is to learn how to create our very own double exposure images. By the end of this lesson, you’ll be able to select images, use layering, blending modes, and masks to craft a unique digital artwork. It's about blending, not just stacking."
Part 2: Guided Demonstration (15 Minutes)
Slide 03
Image Selection
[Display Slide 3: Step 1: Choose Your Images]
"The first step is choosing your images. You'll want two types: Image 1 is your Main Subject, like a portrait or a strong silhouette. Image 2 is your Texture—think landscapes, cityscapes, or patterns."
[Action: Show the portrait and forest example on your screen.]
Slide 04
Layering
[Display Slide 4: Step 2: Layering Setup]
"Now, let's get these into Photoshop. Drag your texture image on top of your subject so they are in the same document on separate layers. Remember the golden rule: Texture on Top, Subject on Bottom."
Slide 05
Blending
[Display Slide 5: Step 3: Blending Modes]
"Here’s where the magic happens: Blending Modes. Select your top layer and click the dropdown that says 'Normal'. Try 'Screen'—it makes dark areas transparent. Or 'Overlay' for a punchier contrast."
[Action: Demonstrate clicking through Screen, Lighten, and Overlay in Photoshop.]
Slide 06
Masking
[Display Slide 6: Step 4: Refining with Layer Masks]
"To refine the blend, we use Layer Masks. Click the mask icon, grab a soft brush, and remember: Black hides, White reveals. If I want to see the face more clearly, I paint with black on the forest layer's mask."
Double Exposure Student Worksheet Double Exposure Magic
Student Lab Worksheet
Name
Date
Mission: Combine two images into one artistic masterpiece. Follow the steps below and record your process.
1 Choose Your Images
• Subject: Portrait or silhouette.
• Texture: Landscape or pattern.
Describe your image pairings and why they work together:
2 Layering Setup
Open both images in Photoshop.
Drag texture image on top of subject.
Confirm: Top = Texture, Bottom = Subject.
3 Experiment with Blending Modes
Select your top layer and try: Screen, Lighten, or Overlay.
Which mode worked best? Why?
4 Refine with Layer Masks
1. Click the icon at the bottom of the Layers panel.
2. Select Brush (B) + Soft edges.
3. Use BLACK to hide parts of the texture.
How did masking improve your blend?
5 Final Touches: Adjust Curves & Save!
Project Reflection
1. What was the most challenging technical part of this project, and how did you solve it?
2. How could you use this double exposure technique to tell a specific "story" in your future art?
Photoshop Magic: Mission Complete