A vibrant introduction to jump rope basics for kindergarteners, focusing on rope sizing, the basic jump, and building confidence through fun progressions.
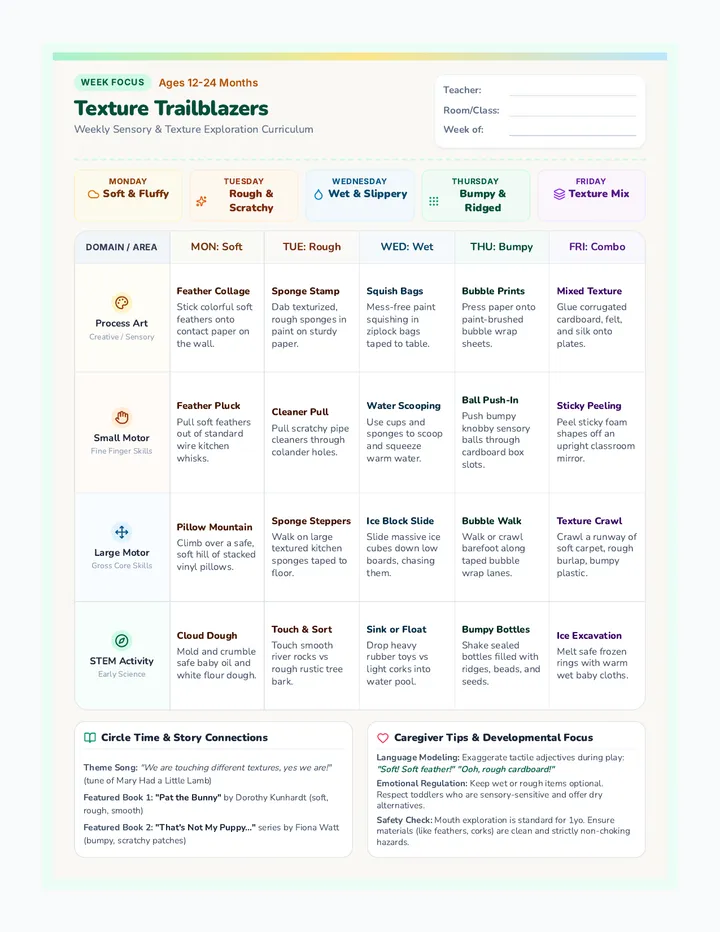
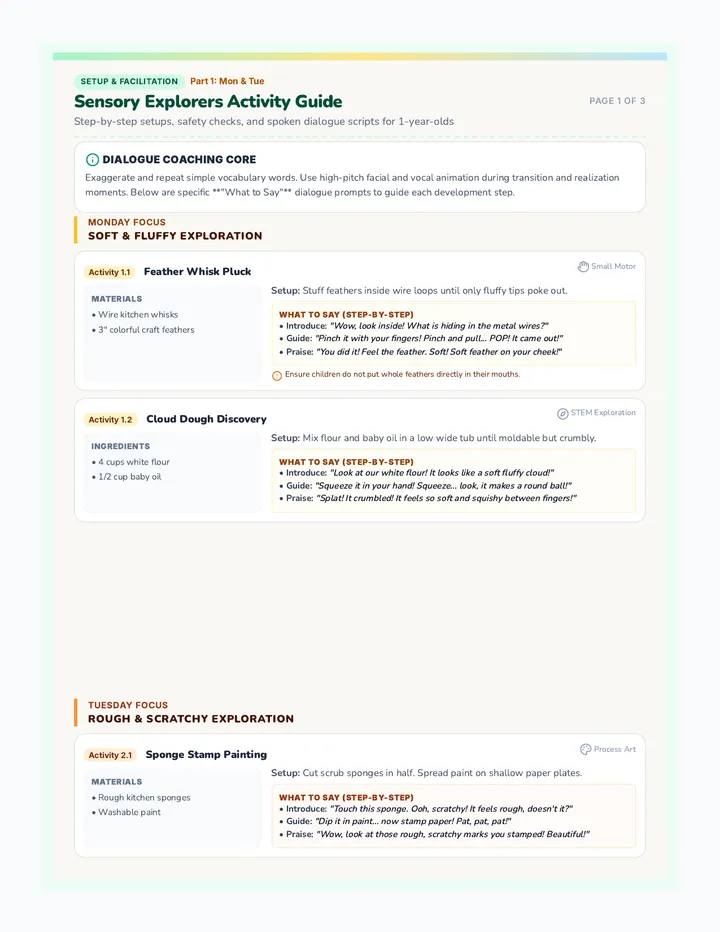
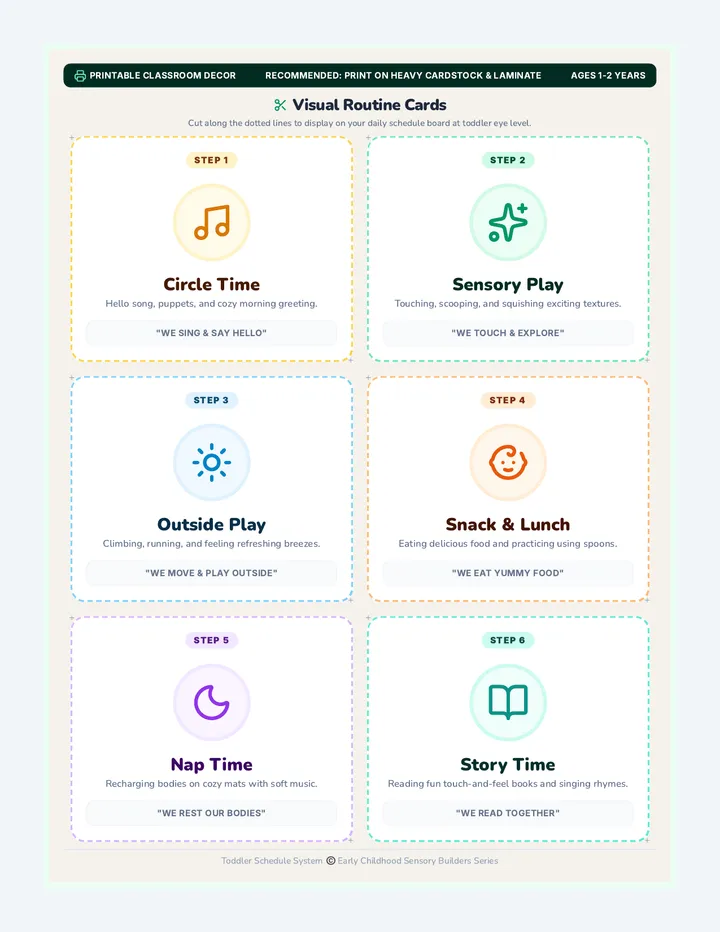
A theme-based weekly curriculum series for one-year-old toddlers, targeting sensory development, sensory-motor skills, and gross and fine motor coordination.
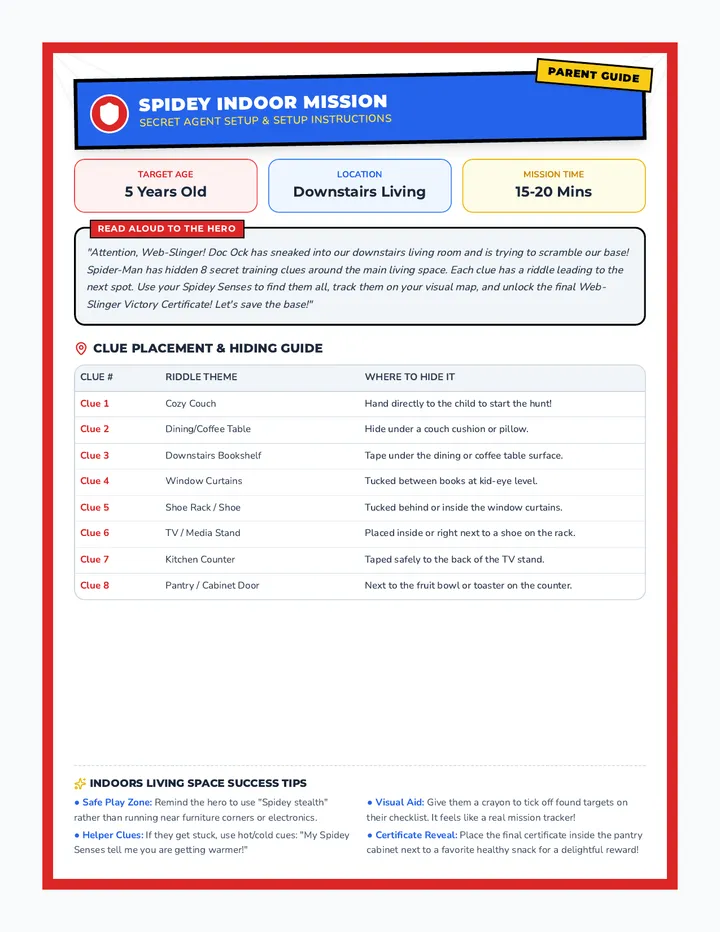
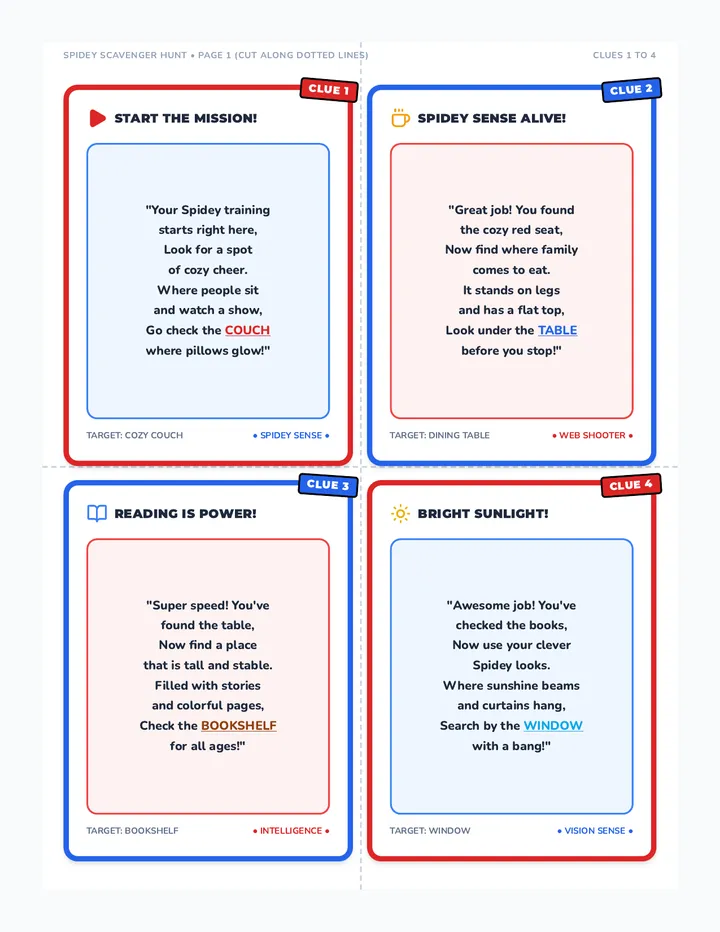
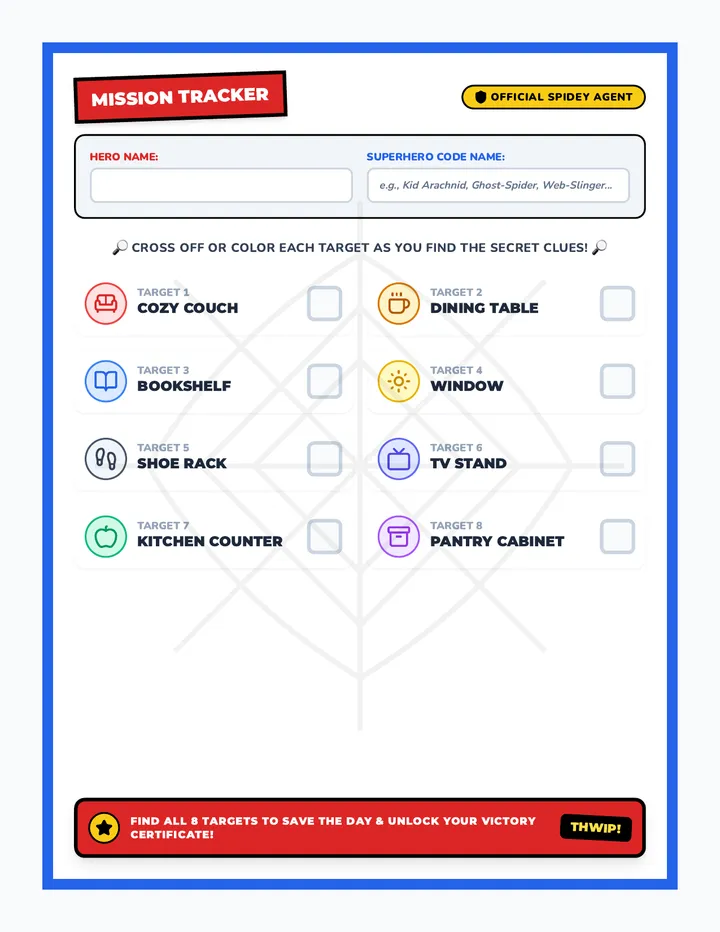
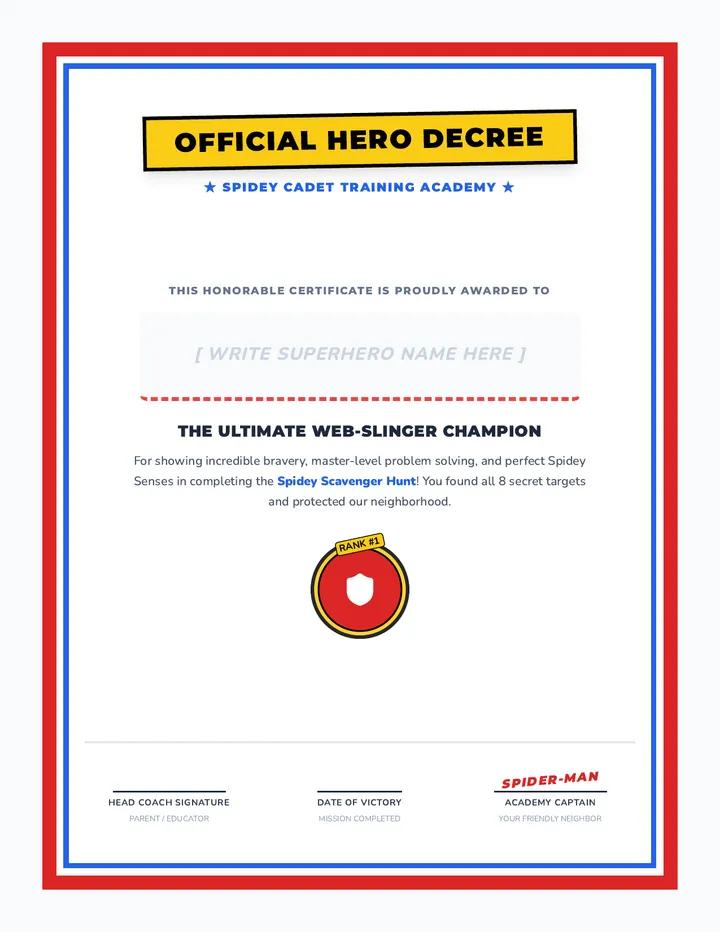
An exciting outdoor Spiderman-themed scavenger hunt adventure designed for 5-year-olds, including a parent/teacher setup guide, rhyming clue cards, a visual checklist map, and a hero certificate.
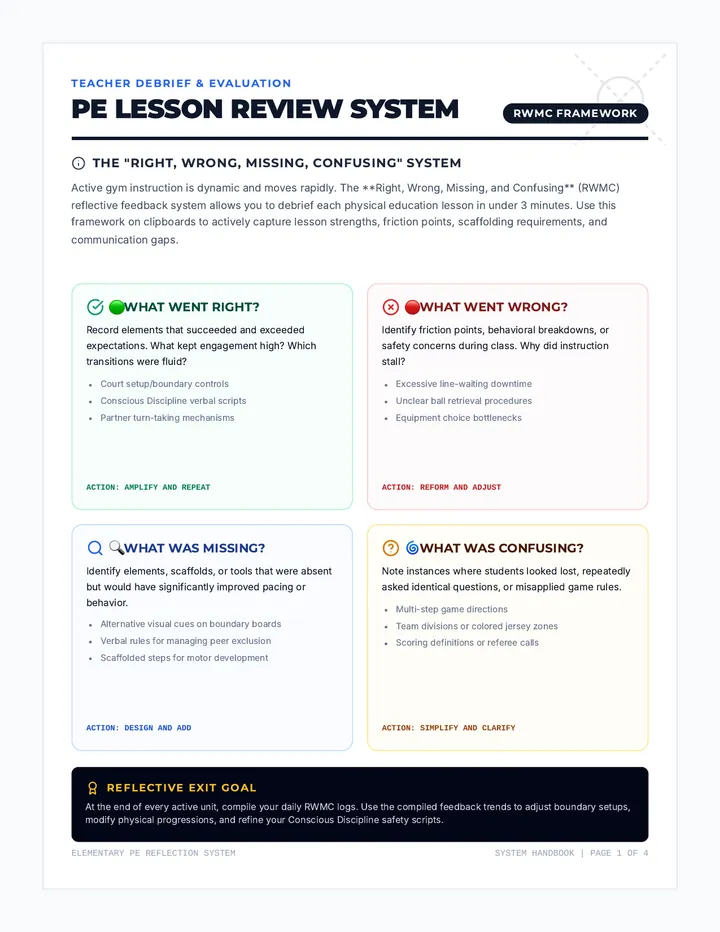
A highly polished, 4-page printable feedback and notes handbook for Elementary PE teachers. Features a structured 'Right, Wrong, Missing, and Confusing' (RWMC) lesson review system, daily and quarterly log templates, and a full-page portrait graph-paper court planner.
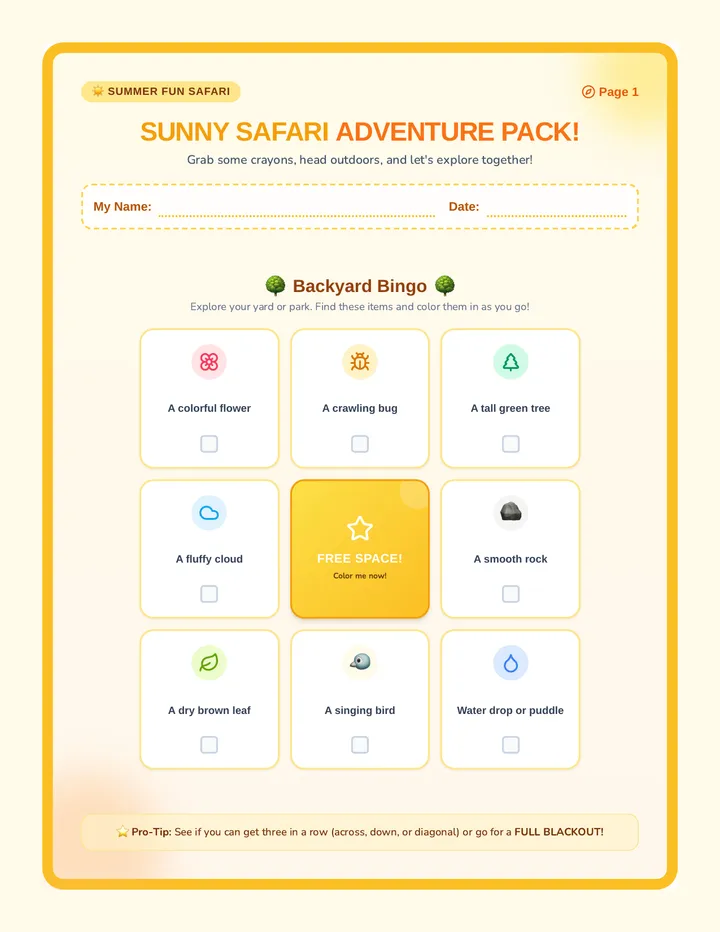
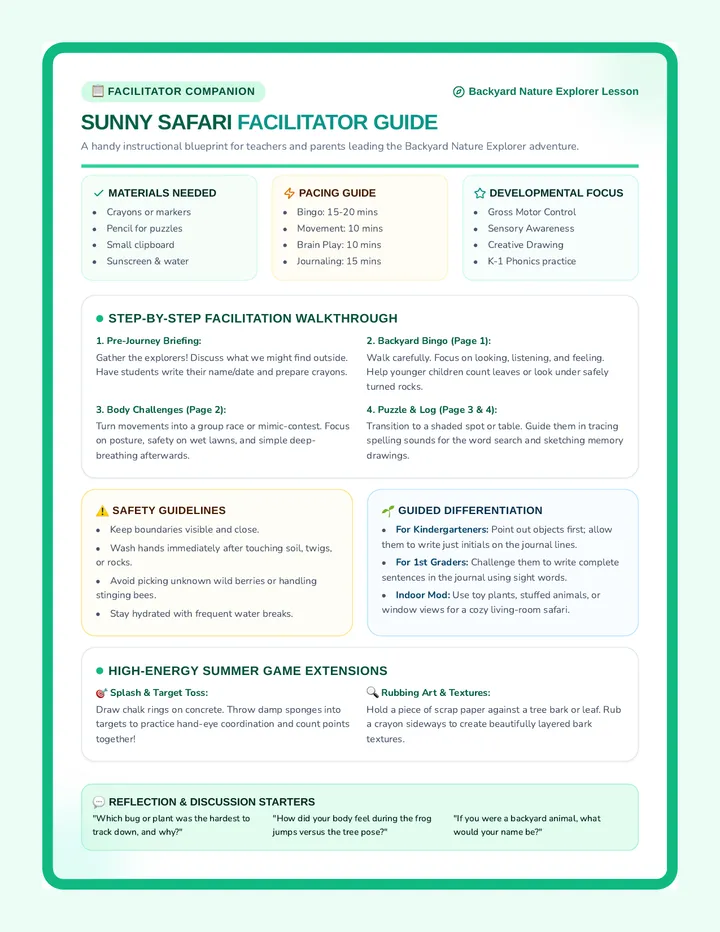
A fun and active summer curriculum sequence designed for kindergarteners and first graders, focusing on screen-free movement, nature exploration, and creative play.
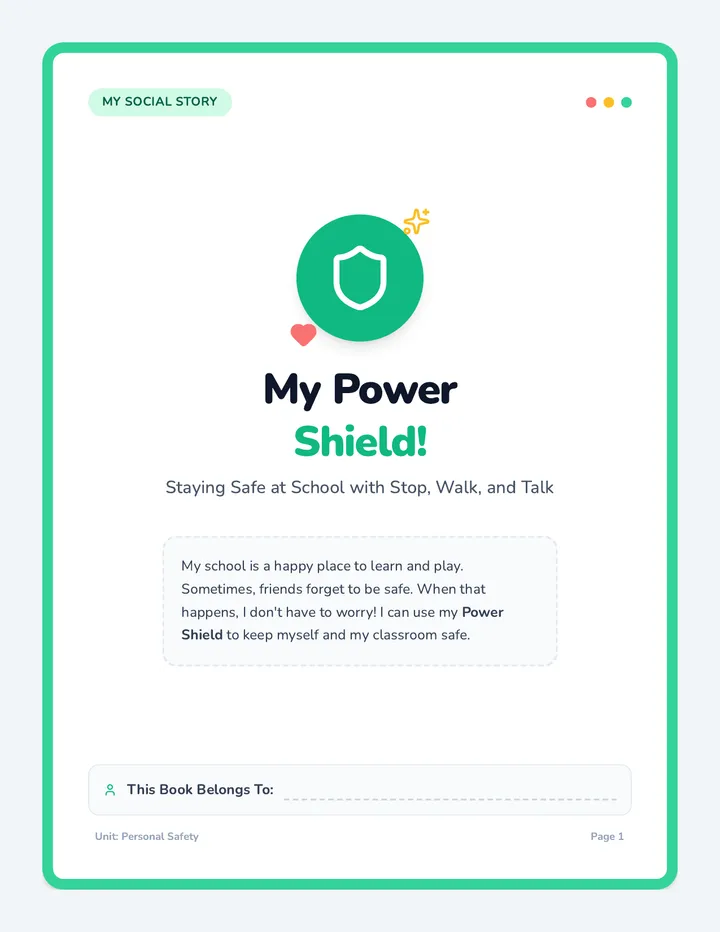
A lesson for Kindergarten students on responding to unsafe peer behaviors using the Stop-Walk-Talk strategy. It includes a printable social storybook and interactive self-advocacy activities.
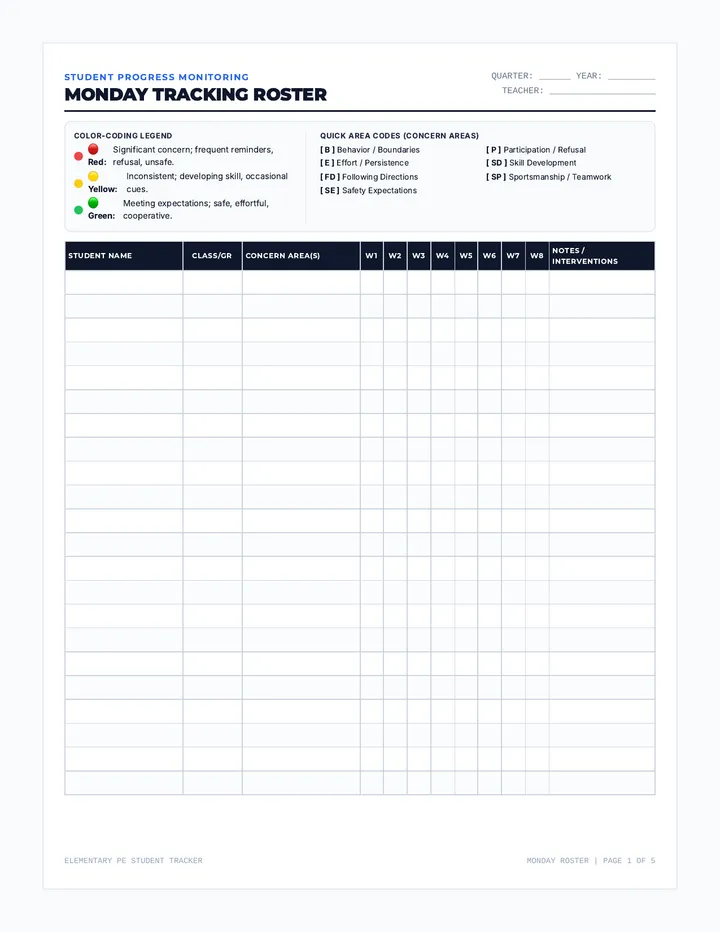
A professional, 5-page printable Student Progress Monitoring Tracker for Elementary PE teachers. Organized by day of the week (Monday-Thursday, skipping Friday), with expanded 22-row tracking rosters on each page to monitor behavior, participation, effort, and skills, concluding with an action-planning quarterly summary page.
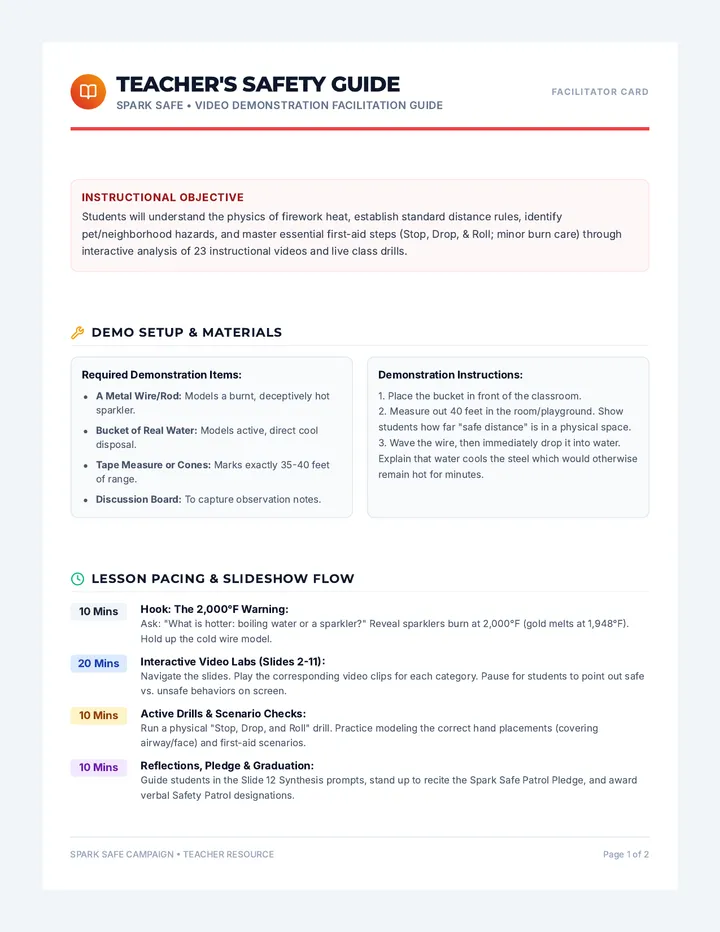
A comprehensive firework safety lesson covering spectator distance, safe sparkler handling, community laws, and emergency first aid. Includes a visually rich presentation, student worksheet, and teacher guide.
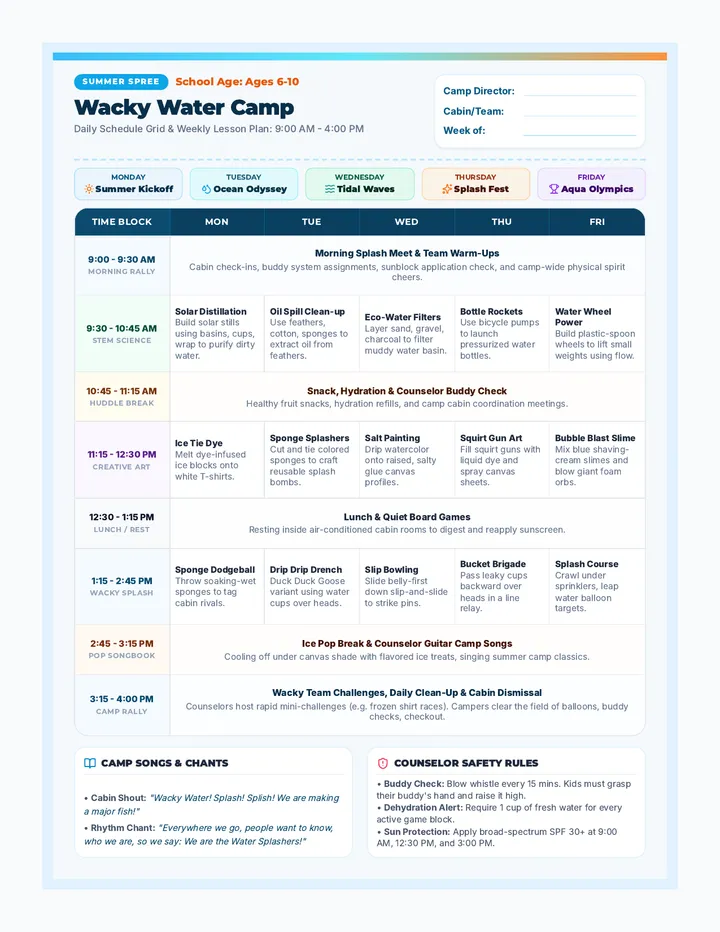
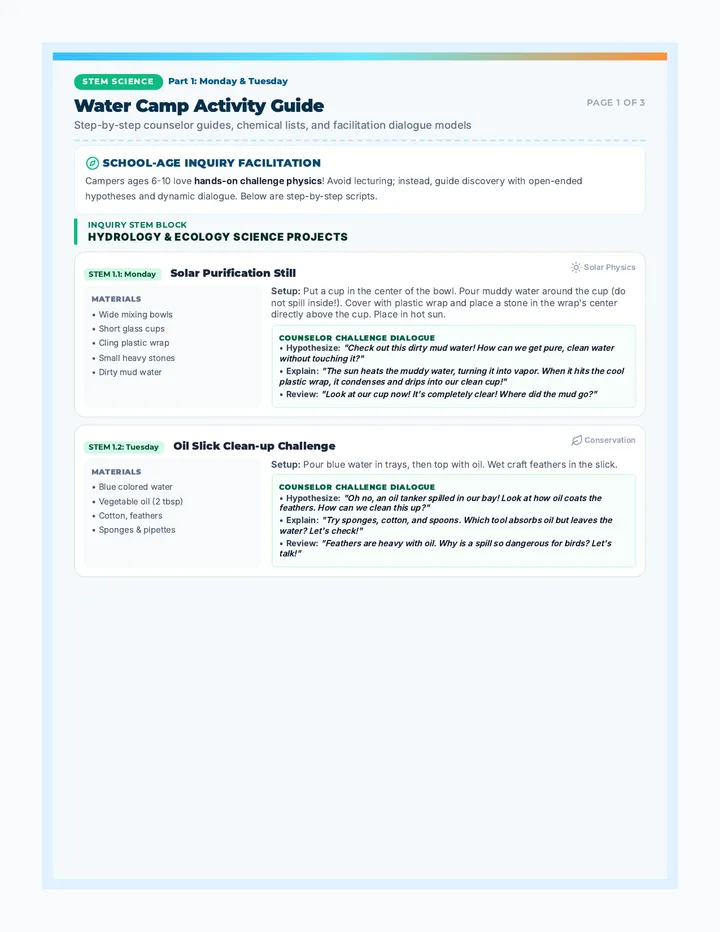
A high-energy, wet, and wild summer camp curriculum designed for school-age children (ages 6-10), featuring water science, team-building relay races, and creative summer arts from 9:00 AM to 4:00 PM.