Awareness Codes Slides Awareness Codes
Mastering the Art of Noticing
Spot the Difference
The Challenge:
In a moment, look around this room. In 30 seconds, I will change 5 subtle things while your eyes are closed.
Can you find them all?
01
Most people walk through life in a "mental fog."
02
Criminals look for people who aren't paying attention.
03
Awareness is your first and strongest layer of defense.
Cooper's Color Code
WHITE
Unaware
Daydreaming, looking at phone, "off the clock." Completely surprised by a threat.
YELLOW
Relaxed Alert
Scanning the environment. No specific threat, but you are "present."
ORANGE
Focused Alert
A specific "anomaly" is identified. You have a plan: "If he does X, I will do Y."
RED
Fight / Flight
The threat is real. Action is required NOW. The plan is executed.
Live in Yellow
Condition Yellow is not paranoia. It is preparedness.
HEAD UP
Scanning 360 degrees around you periodically.
NO PHONES
Keep devices away when walking in public spaces.
Scanning Scenarios Worksheet Scanning Scenarios
Situational Awareness & Threat Assessment
Name:
Date:
Instructions
Read each scenario below. Identify which Color Code (White, Yellow, Orange, or Red) you are currently in. Then, describe the specific "Anomaly" (the weird thing) you noticed and your Immediate Plan .
01
"You are walking home from school. You have your headphones in, listening to a new album. You realize you haven't looked up in three blocks."
Current Color Code
The Danger of this State
How do you shift back to Condition Yellow?
02
"While waiting for a bus, you notice a person sitting on a bench across the street. They aren't looking at a phone or waiting for a bus; they are staring directly at you and keeping their hands in their pockets."
New Color Code
Specific Anomaly Observed
The "If/Then" Plan (If they move toward me, then...)
03
"You are in a grocery store. Suddenly, you hear a loud crash and screaming three aisles over. People start running toward the exits."
Immediate Color Code
Primary Objective
Your First Physical Action
Awareness Training Guide Awareness Training Guide
Teacher Facilitation Resource
Learning Objective
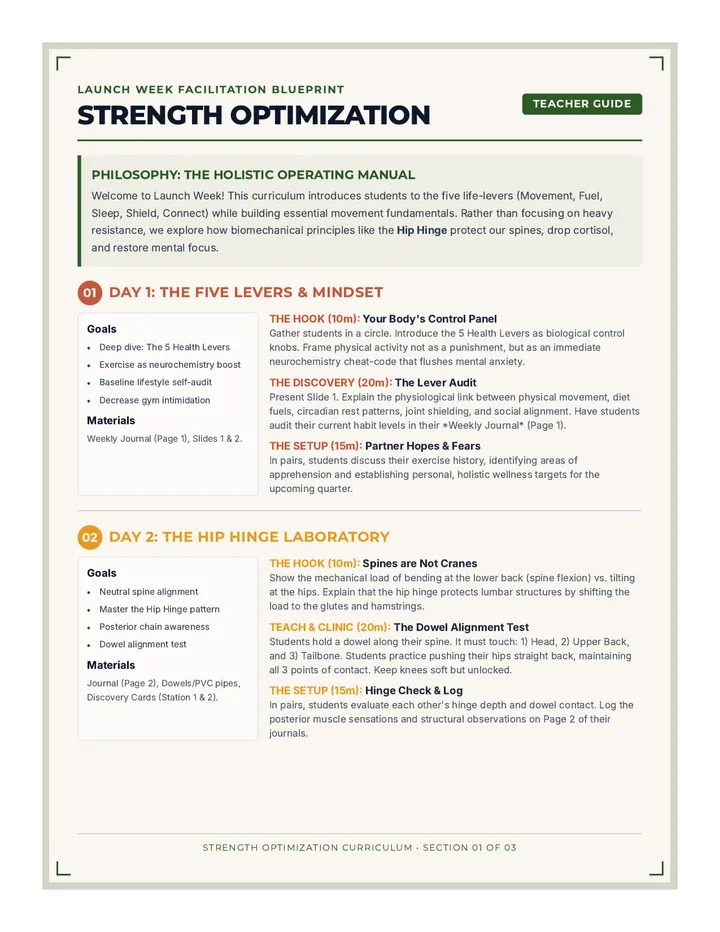
Students will be able to differentiate between states of mental awareness using Cooper's Color Code and identify "anomalies" in their environment that require a shift in mental state.
Quick Specs
Grade: 7th Grade
Duration: 50 Minutes
Prep: Low
The Hook: Spot the Difference (10 Mins)
How to run it:
Tell students to enter the room normally and take their seats.
Once everyone is settled, ask them to close their eyes.
Quickly change 5 items in the room (e.g., move a chair, turn a poster upside down, open a window, put a hat on, erase part of the whiteboard).
Have students open their eyes and try to list the 5 changes without talking.
The Debrief: Ask, "Why didn't you notice these things before?" and "What else do we miss when we are on 'autopilot'?"
Pacing & Instruction
00-10
Hook & Intro
Run the 'Spot the Difference' game. Define "Condition White" as the default state students are currently in.
10-25
Color Code Direct Instruction
Use the slides to explain White, Yellow, Orange, and Red. Focus on Yellow as the target state for daily life.
25-45
Scenario Analysis
Students work on the 'Scanning Scenarios' worksheet. Have them share their "If/Then" plans with a partner.
45-50
The 360 Scan
Exit ticket: Before leaving, students must perform a slow 360-degree scan of the hallway and identify one "anomaly" (something unusual but not necessarily a threat).
Key Discussion Questions
"Is being in Condition Yellow exhausting? How can we make it a habit rather than a chore?"
"What are some common 'distraction traps' for 7th graders today?" (Phones, headphones, large friend groups).
"Why is Condition Orange the most important for avoiding a fight?" (It allows for planning and de-escalation before contact).
Boundaries Speak Slides Boundaries Speak
VERBAL DEFENSE & THE POWER OF NO
The Volume Meter
"NO" can mean many things depending on how you say it.
Level 1
"no..." (Whisper/Uncertain)
Level 5
"No!" (Conversational/Firm)
Level 10
"STAY BACK!" (Command/Projection)
Today's Goal:
Find the "Command Voice." It's not about being mean or angry. It's about being unmistakable .
The "Stop Hand"
The Physical Shield
Arm extended, palm flat facing out. Creates a physical barrier and visual signal.
Eye Contact
Don't look at the ground. Look at the person's chest or eyes (without staring them down).
Stable Base
Feet shoulder-width apart. One foot slightly back for balance.
Project the Limit
Assertive vs. Aggressive
ASSERTIVE
Tells the person what to do.
Clear, calm, and loud.
"Stay back," "I don't like that," "Stop."
Goal: Stopping the behavior.
AGGRESSIVE
Insults the person or threats.
Shrill, high-pitched, or "out of control."
"You're a jerk," "I'll hit you," "Shut up."
Goal: Winning the fight.
Boundary Script Worksheet Boundary Scripts
Non-Verbal & Verbal Defense Training
Name:
The Assertive Command Checklist
Short & Direct
Action Oriented
No Insults
Stop Hand Up
Level 8-10 Volume
Eye Contact
A
"Someone you don't know is following you too closely and asking you for money."
Write your verbal command (3-5 words):
Describe your body language (feet, hands, eyes):
B
"A peer at school tries to grab your bag and won't let go when you ask them nicely."
Write your assertive command (must be a specific action):
How does this differ from "aggression" in this case?
C
"A stranger in a car pulls over and tells you to 'come here for a second' while you're walking."
Write your loudest possible response:
What is your immediate physical follow-up action?
Reflection Question:
Why is it harder to be assertive than to be aggressive or passive? How does practice help?
Verbal Defense Rubric Verbal Defense Rubric
Simulation Performance Assessment
Use this rubric during the "Boundary Setting" simulation. Observe each student pair twice. Once for the "Passive" attempt (baseline) and once for the "Assertive" attempt.
Criteria Mastery (3) Developing (2) Beginning (1)
Voice Projection
Volume and clarity of the command.
|
Unmistakable "Command Voice." Loud, clear, and coming from the diaphragm.
|
Audible but lacks authority. May sound like a question or a shout rather than a command.
|
Whispering, mumbling, or overly shrill/out of control.
|
|
Non-Verbal Signal
The "Stop Hand" and posture.
|
Firm stop hand, stable feet, and direct eye contact throughout.
|
Hand is up but limp; eyes shifting or feet too narrow/unbalanced.
|
Hands at sides, looking at floor, or aggressive pointing/poking.
|
|
Verbal Content
What was actually said.
|
Clear 3-5 word command. No insults. Identifies exactly what to do.
|
Verbally confusing. Uses "Please" (making it a request) or is too wordy.
|
Aggressive insults, threats, or inability to find words.
|
Observation Quick-Log
Student Name Score / 9
Posture Power Slides Posture Power
The Silent Shield
The Silent Walk
In a moment, three students will walk across the "stage."
Based ONLY on their walk, try to guess:
CONFIDENT
NERVOUS
TIRED
DISTRACTED
Predator vs. Prey
Studies show that aggressors select victims based on Gait (the way you walk) and Posture.
Anatomy of Confidence
Head Up
Eyes on the horizon, not the pavement.
Shoulders Back
Broad base, not slumped or hiding.
Purposeful Pace
Steady walk. Not too fast (panic), not too slow (lost).
Hands Free
Swinging naturally. Ready to react.
Target Hardening
Looking like a "Hard Target" means you appear difficult and high-effort to attack.
The Hard Target Rule:
Show them you see them.
A simple nod of acknowledgement signals that you are in Condition Yellow.
Body Language Matrix Worksheet Body Language Matrix
The Science of Non-Verbal Signals
Student ID:
Class Period:
1. Analyzing Gait and Posture
Compare the following body language traits. How would an observer (or a potential threat) interpret these signals?
Target Signal Hard Target Behavior Soft Target Behavior Eye Level Scanning the horizon; checking surroundings. Looking at phone or ground. Shoulders Pulled back; chest open. Slumped; rounded forward. Walking Speed Purposeful; rhythmic. Hurried (panic) or hesitant (lost). Hands Free and swinging. In pockets or holding bags tightly.
2. Performance Reflection
Self-Assessment:
"When I walked across the room, my partner noted that my shoulders were..."
"One specific change I made to appear as a 'Hard Target' was..."
Scenario Focus:
"You are in a crowded mall. Explain how your posture signals that you are in Condition Yellow without looking like you are 'looking for a fight'."
The Takeaway
Awareness is 50% internal (what you see) and 50% external (what you project). If you look like a victim, you are more likely to be targeted.
Gait Analysis Guide Gait Analysis Checklist
Teacher Activity Guide
How to run the "Silent Walk" Activity
Setup:
Designate a "stage" area across the gym or classroom. Choose 3-5 student volunteers. Give each volunteer a "State Card" (Confident, Nervous, Lost, Tired, or Aggressive) which they should keep secret.
Execution:
Volunteers walk across the stage one at a time. The rest of the class uses the checklist below to observe specific markers before guessing the state.
Observation Markers
Head & Eyes
Level/Scanning (Confident)
Tucked/Hidden (Nervous)
Wandering/Unfocused (Lost)
Shoulders & Torso
Open/Wide (Confident)
Rounded/Small (Nervous)
Pushed Forward (Aggressive)
Hands & Arms
Swinging naturally (Relaxed)
Fidgeting/Pockets (Nervous)
Clenched/Static (Stressed)
Gait & Pace
Steady/Rhythmic (Victorious)
Staccato/Jerky (Anxious)
Sluggish/Heavy (Tired)
Critical Debrief Questions
"Which marker was the hardest to fake?" (Usually the eyes or hands).
"If you see someone walking with 'Nervous' markers, how should you adjust your awareness level?" (Shift to Yellow/Orange to monitor).
"How does having your phone out affect your 'Marker Profile'?" (Instantly makes you a Soft Target).
Cool Down Slides Cool Down
The Art of De-escalation
Lower the Temperature
De-escalation is the act of using verbal and non-verbal skills to reduce the intensity of a conflict.
The De-escalator's Mindset:
"I don't need to win. I just need to leave."
Avoid the "Ego Trap"
Don't mirror their anger
Keep an exit strategy
The "Loop" Technique
1. ACKNOWLEDGE
"I hear that you're upset about the project..."
2. RESTATE BOUNDARY
"...but I am not going to let you scream at me. Back up."
Loop until the situation changes
The Escalation Triggers
Invalidating
"Chill out, it's not a big deal."
Insulting
"You're acting like a baby right now."
Commanding
"Shut up and sit down." (Aggressive tone)
Scripted Conflict Activity Conflict Loop Scenarios
Role-Play & De-escalation Workshop
Team:
The Loop Method
"I hear [Their Point/Emotion], but [My Boundary/Action]."
Case 01
The Social Trap
The Aggressor says:
"Come on, just take the shortcut through the dark alley. Don't be such a baby. Everyone else is doing it. Are you scared?"
The De-escalator Loop:
Acknowledge then restate boundary...
Case 02
The Shoulder Bump
The Aggressor says:
"[Bumps into you hard in the hallway] Hey! Watch where you're going, loser. You think you're better than me?"
The De-escalator Loop:
Acknowledge then restate boundary...
Role-Play Performance Tips
Keep it short: Don't explain your reasons.
Hands up: Use the "Stop Hand" at waist level.
Exit: Once the loop is finished, start moving away.
No apology: Don't apologize for things you didn't do.
Exit Strategy Slides Space Mapping
The Strategy of Escape
The Zombie Run
In our final activity today, you must cross the "Danger Zone."
The Rules:
Avoid the "Zombies" (Taggers).
Reach the Safety Zone.
Use your periphery to scan.
Periphery Power
Your peripheral vision (what you see out of the corners of your eyes) is better at detecting motion than your central vision.
Scanning the Space
Primary Exit
The way you came in. Usually the most crowded.
Secondary Exit
Side doors, back halls, or windows. Know where they are.
Obstacles
Tables, crowds, or dead ends. Avoid getting pinned.
Exit > Engagement
Winning a fight means not having one.
The Golden Rule:
Move while you talk.
Don't wait for permission to leave. De-escalate with your words while your feet take you to an exit.
Space Mapping Project Worksheet Environmental Map
Strategic Planning & Exit Analysis
Location Analyzed:
1. Sketch the Space
Sketch a bird's-eye view of a common area (the cafeteria, gym, or local park). Mark all Primary Exits (P) , Secondary Exits (S) , and High-Obstacle Zones (X) .
Exit
Obstacle
Anomaly
Exit Strategy
Which exit is safest if the main entrance is blocked?
List three "anchors" (safe spots) in this room:
Anomaly Detection
What is one "Blind Spot" in this environment?
Where would you go if you needed to use your "Command Voice"?
The Awareness Mindset
"I am not looking for danger. I am looking for the path to safety. By knowing the space, I control my exit."
Zombie Run Guide The Zombie Run
Sequence Capstone Activity
The Objective
Students must navigate from one side of the gym/field to the other without being tagged by a "Zombie." The focus is on using peripheral vision , scanning for exits , and maintain condition yellow .
Materials Needed
Cones for boundary lines
Pinnies/Vests for Zombies
"Safe Zone" markers
Phases of Play
Phase 1
Static Scanning:
Students stand in the center while Zombies move in their periphery. Students must point to a Zombie without looking directly at them.
Phase 2
The Navigation Run:
Students cross the field. Zombies can only move sideways (on a line). Students must find the "gap" in the defense.
Phase 3
Verbal Out:
If cornered, the student must use an assertive "STOP!" command to 'freeze' the zombie for 3 seconds to escape.
The Assessment Checklist
Head position
Eyes stay up, scanning the whole field.
Hand positioning
Hands free and ready to signal boundaries.
Decision speed
Rapidly choosing a path when a threat appears.
The Final Debrief
"How did using your peripheral vision change the way you moved?"
"When did you have to shift from Condition Yellow to Condition Orange?"
"What felt more powerful: the run or the assertive command?"