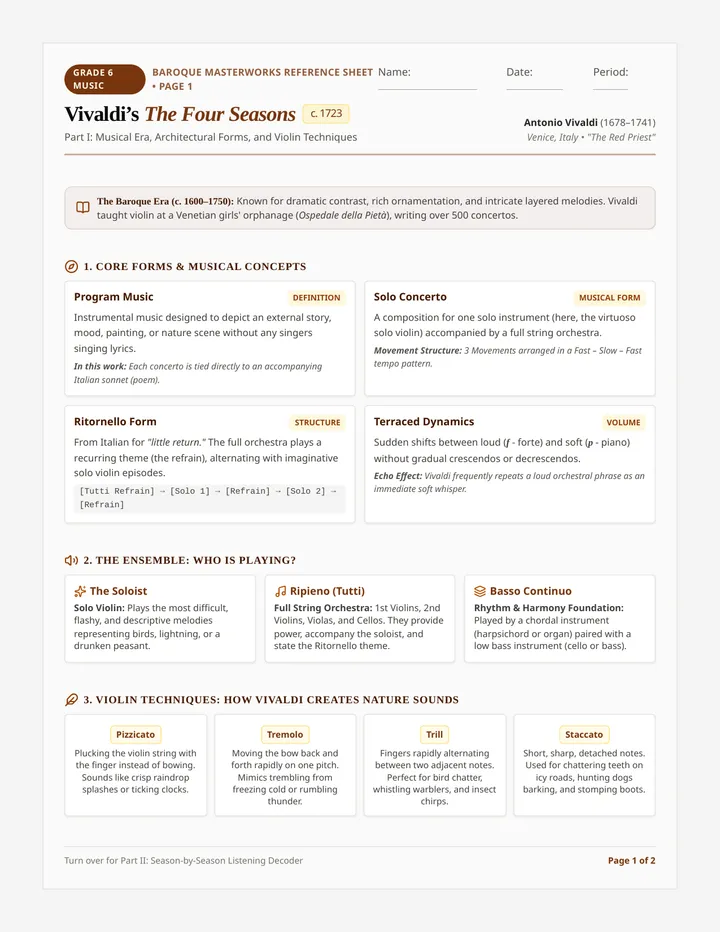
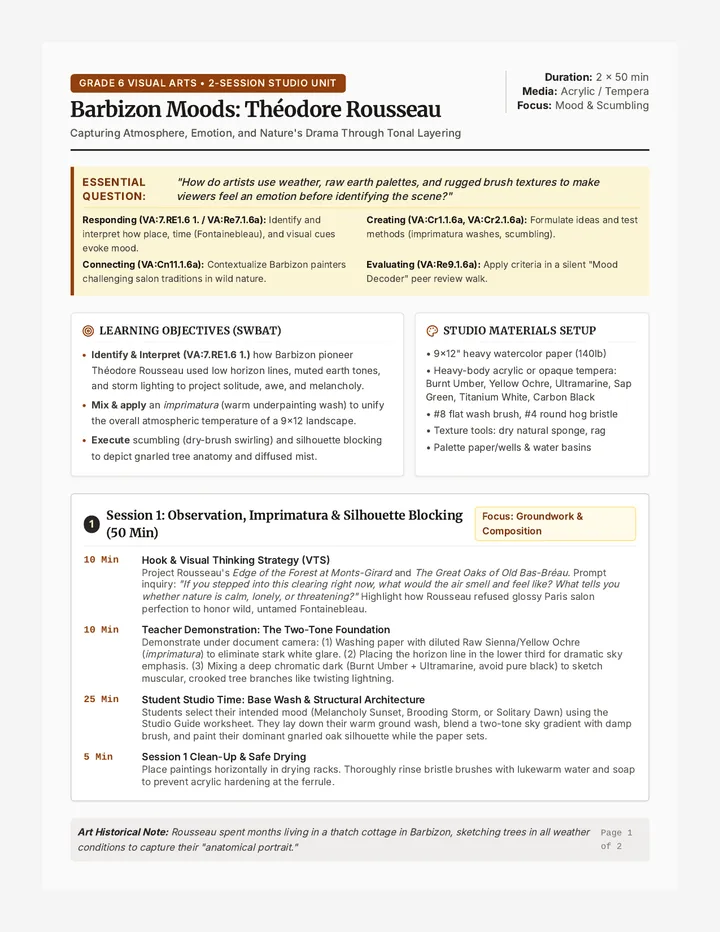
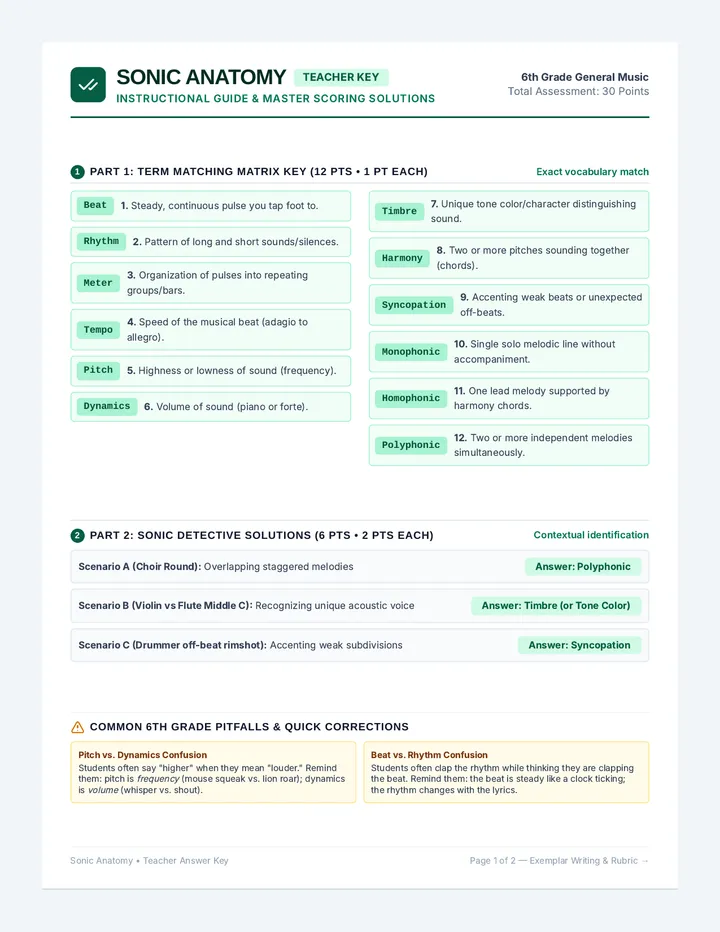
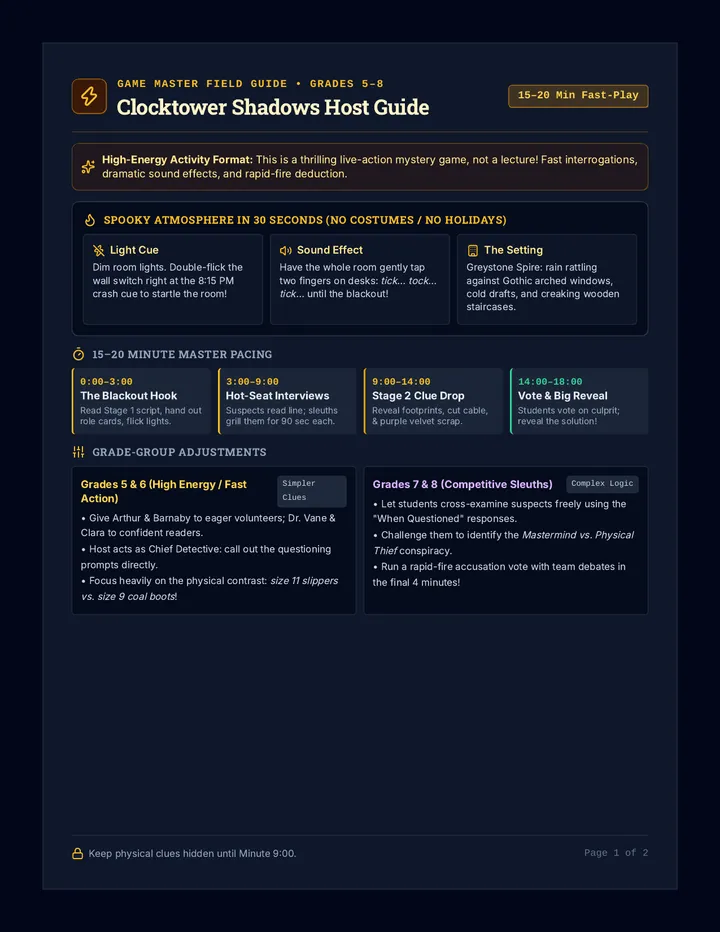
Frame Focus Slides Frame Focus
Lesson 01: The Art of Inclusion
The Vision Challenge
Look through your physical viewfinder. Your mission is to find one "boring" object in this room.
Can you make it look interesting just by how you frame it?
What is a Frame?
1
The Boundary
The edge of your photograph. It determines where the world ends and your art begins.
2
Selection
Choosing what to include and—more importantly—what to leave out.
3
Intent
Directing the viewer's eyes to exactly what you want them to see.
The viewfinder is your editor.
Context is Everything
Shot A: Wide
A messy hallway with a trash can in the corner. It feels cluttered and unimportant.
Shot B: Tight
A close-up of light reflecting off the metallic rim of the trash can. It looks like abstract modern art.
By changing the frame, you change the story.
What is the focal point?
What distractions did we remove?
How does the "vibe" change?
Activity: Viewfinder Voyagers
Today's Goals:
Take your physical frame cutout.
Explore the room from high and low angles.
Find 3 distinct subjects.
Sketch your best composition on your worksheet.
Viewfinder Voyager Worksheet Viewfinder Voyagers
Composition Workshop: Lesson 1
Name:
Date:
The Mission
Use your physical frame cutout to "hunt" for interesting compositions in the classroom. Focus on turning something ordinary into something extraordinary by choosing what to include and what to exclude.
1
The "Boring" Subject
Identify a mundane object (a pencil sharpener, a chair leg, a stack of paper). Describe it below:
Why did you pick this object? What makes it "boring" normally?
Viewfinder Sketch
Sketch how you framed the "boring" object to make it look like art.
2
Inclusion vs. Exclusion
Look at your sketch. What is one specific thing that was included in your frame that adds interest?
What is one thing that was just outside the frame that you excluded to avoid distraction?
Exit Thought
How does changing your physical position (getting closer, standing on a chair, crouching low) change what fits in your frame?
Rule of Thirds Slides The Power Grid
Lesson 02: The Rule of Thirds
Which feels more alive?
Image A: Centered
Static, balanced, but a bit "still".
Image B: Off-Center
Dynamic, creates movement and interest!
The 3x3 Formula
Break your image into 9 equal parts using two vertical and two horizontal lines.
Why does it work?
Studies show that our eyes naturally gravitate toward the intersection points rather than the center of a page.
These are the Power Points!
Pro Tips for Placing
Landscapes
Don't put the horizon line in the middle! Align it with the bottom third for a dramatic sky, or the top third for a detailed foreground.
People
Place your subject's eyes on the top horizontal line. This makes the portrait feel much more natural and engaging.
Activity: Grid Hunter
1. Grab your camera (phone or tablet).
Photo A
Subject perfectly centered.
Photo B
Subject on a Power Point.
Grid Hunter Lab Report Grid Hunter Lab Report
Composition Workshop: Lesson 2
Investigator:
Mission Objective
"Prove that off-center placement creates more visual energy than centered placement."
1
Control Group: The Dead Center
Find a subject and place it exactly in the middle of your grid. Describe the subject:
How does this photo feel? (e.g., still, boring, formal, stuck)
Sketch Centered Shot
2
The Variable: Power Point Placement
Sketch Rule of Thirds Shot
Move your subject to one of the four intersections. Which point did you choose?
Top-Left
Top-Right
Bottom-Left
Bottom-Right
Where is the viewer's eye drawn now? Why does it feel different?
The Power Conclusion
If you wanted to take a photo that felt active and professional , which technique would you use? Explain your choice using one of our vocabulary words (balance, grid, dynamic, intersection ).
Line Logic Slides Line Logic
Lesson 03: Leading Lines
The Maze Challenge
Your eyes are like travelers. They need a road to follow.
Look at the image on the right. Where do your eyes land first? Why?
Follow the path
Lines "point" to the subject.
Directing Traffic
Converging
Two lines that meet at a single point, like railroad tracks or a long hallway.
Curving
An "S" curve that winds through the photo, taking the viewer on a journey.
Diagonal
Lines that go from one corner toward the center, creating speed and energy.
Leading lines invite the viewer to look deeper.
Lines are Everywhere
Architecture: Stairs, railings, windowsills.
Nature: Tree branches, paths, riverbanks.
Invisible: A person's gaze or pointing finger.
Find the flow
Line Hunt
Scavenger Hunt Rules:
Find one converging line (hallway/path).
Find one diagonal line that points to a subject.
Find one geometric shape (circle/triangle) that frames a subject.
Draw your "path" on the scavenger hunt sheet!
Line Hunter Scavenger Hunt Line Hunter
Scavenger Hunt: Lesson 3
Hunter:
Your Mission
Find these visual "roads" in the world around you. For each discovery, take a photo AND sketch the dominant lines in the boxes below.
1
The Converging Path
"Find two lines that meet at a point in the distance."
Where did you find it?
Sketch the line path
2
The Energy Slope
"Find a diagonal line that slices through the corner of your frame."
Where did you find it?
Sketch the line path
3
Geometric Frame
"Find a circle, square, or triangle in the architecture that frames a subject."
Where did you find it?
Sketch the line path
The "Maze" Reflection
Pick your favorite photo from the hunt. If your eye followed the lines like a maze, where did the "road" end? What was the final subject?
Perspective Play Slides Perspective Shift
Lesson 04: Angles & Power
LVL: 04 // HEIGHT: VARIABLE
The Power of Position
How can you turn a Lego Figure into a towering Beast?
It's not about the camera...
It's about where YOU stand.
Angle A: Looking Down
Angle B: Looking Up
The Monster Shot
Bird's Eye
From Above
1
Makes the subject look small or vulnerable.
2
Perfect for showing patterns on the ground.
3
"The Map Maker's View"
From Below
1
Makes the subject look powerful or heroic.
2
Makes buildings or people look gigantic.
3
"The Giant Slayer's View"
Worm's Eye
Mission: Perspective Swap
Angle Architect Challenge
Task 01: Vulnerability
Find a subject. Take a photo from a high Bird's Eye angle to make it look small and insignificant.
Task 02: Power
Take a photo of the SAME subject from a low Worm's Eye angle to make it look brave and mighty.
Note: You may have to lie on the floor or stand on a safe chair!
Angle Architect Worksheet Angle Architect
Perspective Workshop: Lesson 4
Architect:
The Height Mission
Today you are not just a photographer; you are an architect of perspective. Choose one subject and capture it from two extreme heights.
00. The Subject Selection
What object or person are you photographing?
01
Bird's Eye
"Shoot from high above looking down."
Sketch your composition here
Observation:
How does the subject feel from this height? (e.g., weak, small, patterned, part of a map)
02
Worm's Eye
"Get as low as possible and look up."
Sketch your composition here
Observation:
How does the subject feel from this height? (e.g., giant, brave, powerful, scary)
Perspective Analysis
Q
Which angle made your subject look the most interesting ? Why do you think that is?
Portfolio Critique Slides The Gallery Showcase
Final Portfolio & Critique
What is Curation?
A curator doesn't show everything. They choose the best images that tell a story.
Is it technically clear? (Focus & Light)
Does it follow a composition rule?
Does it make the viewer feel something?
Select 4 photos that represent your journey this week.
The Art of the Critique
T
Tell
Tell the photographer something you like or something that caught your eye immediately.
A
Ask
Ask a question about their process. "Where were you standing?" or "What made you choose this frame?"
G
Give
Give a suggestion for a "next step." How could they make this even more dynamic?
Constructive Vocabulary
Use these words during your review:
Balance
Focal Point
Path
Power
Distraction
Intention
Critique Rule #1
"Critique the work, not the person. Our goal is to help each other see the world more clearly."
The Gallery Walk
01
Finalize your 4 portfolio selections on your worksheet.
02
Rotate to a neighbor's desk and view their digital gallery.
03
Complete 2 Critique Cards for your peers.
Gallery Curator Worksheet The Gallery Curator
Final Portfolio & Critique
Curator:
Portfolio Curation
Select your best 4 images from the week. For each, identify the primary composition rule you used and why it works.
Selection 01
Rule:
Why it works:
Selection 02
Rule:
Why it works:
Selection 03
Rule:
Why it works:
Selection 04
Rule:
Why it works:
Gallery Critique (TAG Model)
Visit two peers' galleries and provide constructive feedback using the TAG model.
Critique Card 01
Artist:
T
Tell:
A
Ask:
G
Give:
Critique Card 02
Artist:
T
Tell:
A
Ask:
G
Give:
Curator's Reflection
Of all the composition techniques we learned (Framing, Rule of Thirds, Leading Lines, Perspective), which one "clicked" for you the most? How has it changed how you look at the world, even when you don't have a camera?