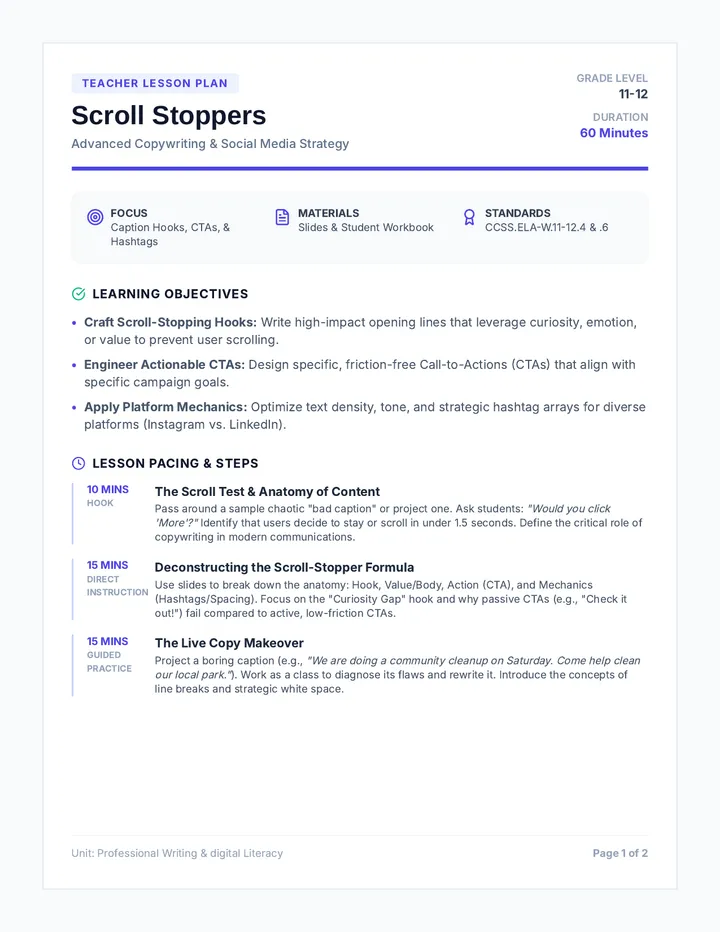
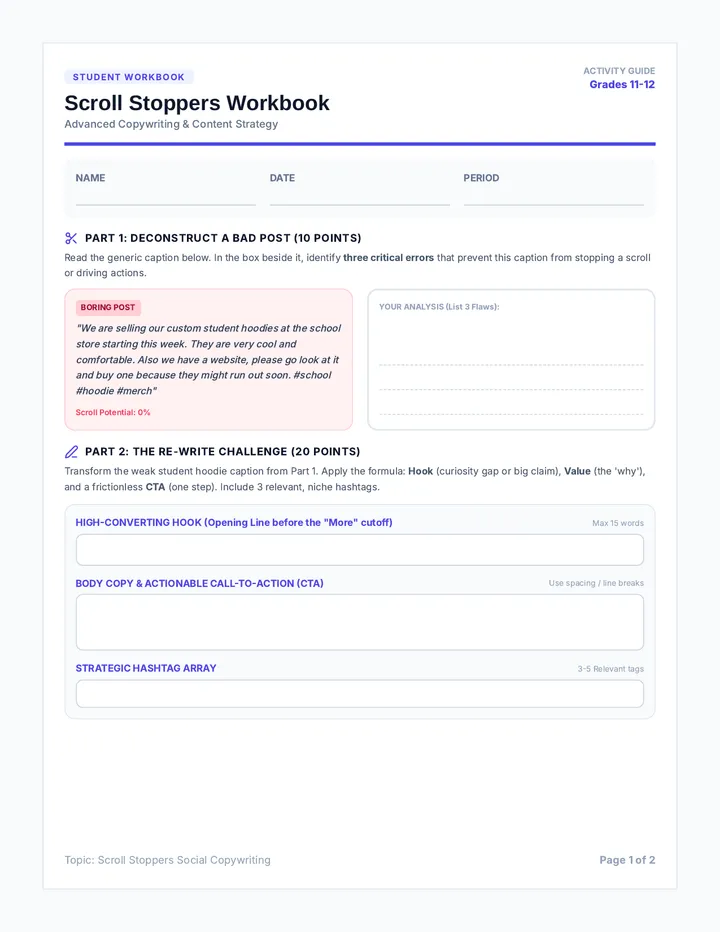
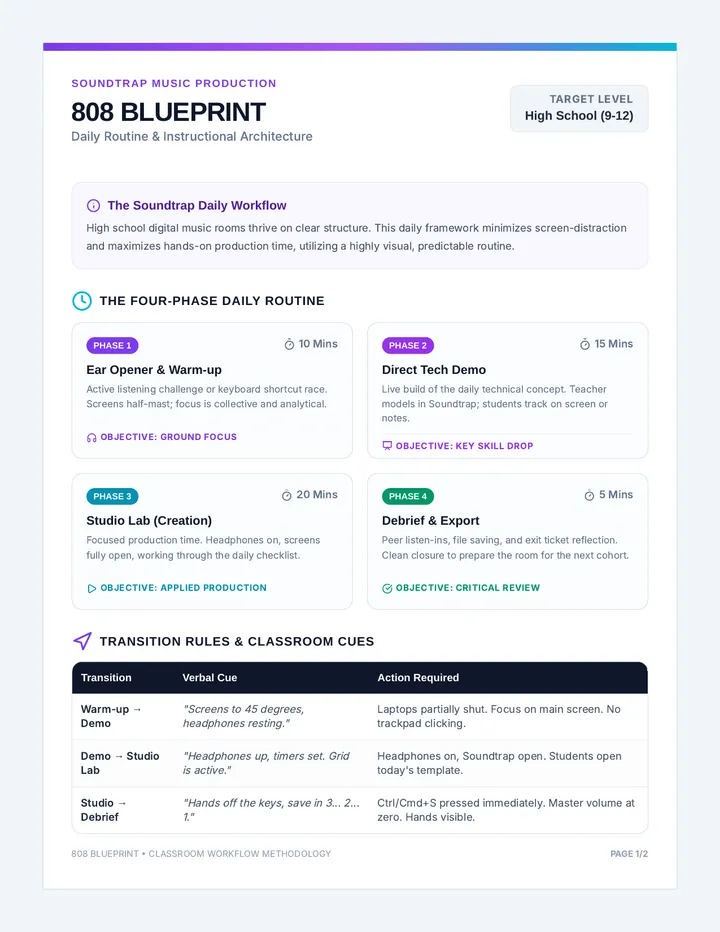
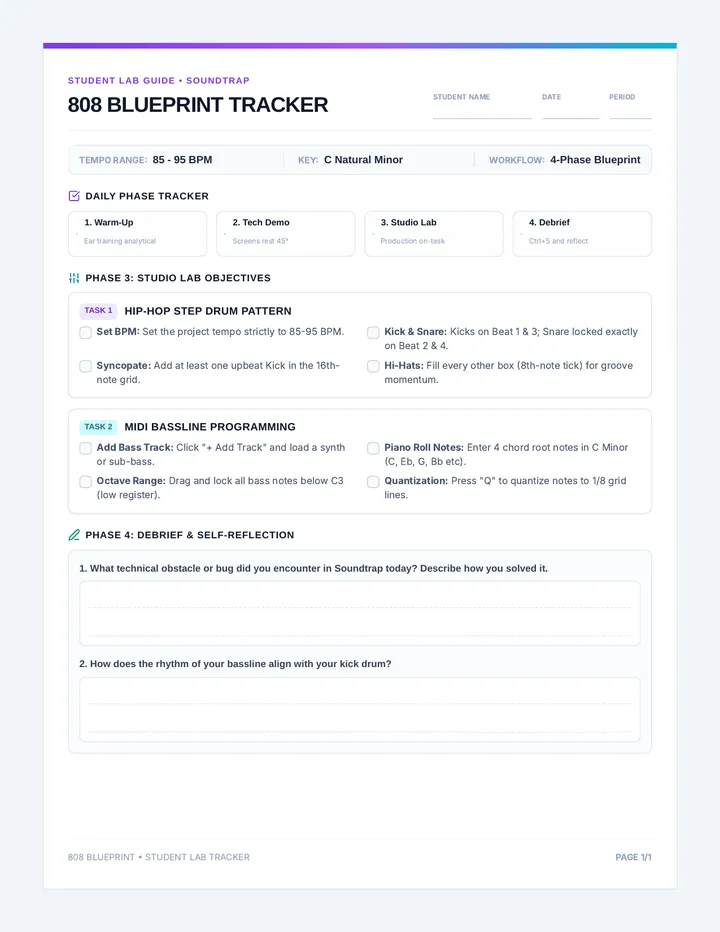
Maquette Blueprint Worksheet Maquette Blueprint
Volumetric Planning & 360° Analysis
Name: ____________________ Date: ___________
The Objective
Before attacking your block, you must understand the mass from every angle. Use this blueprint to map your primary planes and negative spaces. Remember: once material is removed in subtractive sculpture, it cannot be returned.
Phase 1: Three-Point Volumetric Mapping
Sketch your intended form from three distinct perspectives. Focus on the silhouette and the major planes.
01. Front View
Primary Mass Distribution
02. Profile View (Left or Right)
Depth & Curvature Analysis
03. Top-Down View
Footprint & Overhead Balance
Phase 2: Plane Analysis
Identify the Dominant Plane: Which angle provides the strongest visual impact? How will you maintain that strength in the round?
Identify Negative Space: Where will you remove the most material to create internal movement?
Maquette Checklist
Does the clay model stand without external support?
Is there interest (movement/rhythm) from all 360 degrees?
Are the primary masses clearly defined (blocked out)?
Have you identified the "Danger Zones" (thin areas likely to snap)?
Critical Synthesis
How does the 3D maquette differ from your initial 2D mental image?
Identify one "technical hurdle" you discovered during the clay modeling phase. How will you solve it in the carving block?
Sculpting the Void Slides Lesson 01
Sculpting
the Void
Maquette Planning & Volumetric Analysis
The Blind Angle
In a moment, you will be handed a complex object. Your task:
1 Draw it from three distinct angles.
2 The catch? Do not look at your paper while drawing.
"We think in 2D, but we live in 3D. Art bridge the gap."
Essential Question
How does the strategic removal of material reveal the essence of a form?
Removal
Essence
Perception
Additive vs. Subtractive
Additive
Building volume by joining pieces together. You can always add more.
• Clay Modeling
• Welding
• Assemblage
Subtractive
Revealing volume by taking material away. Every cut is permanent.
• Stone Carving
• Wood Whittling
• Plaster Reduction
The Maquette: The Blueprint in 3D
A small-scale model used to test ideas before the final commitment.
Analyze Mass Distribution
Ensure 360° Interest
Identify Structural Weakness
Volumetric Planning
Technique: Plane Mapping
Primary Planes
The largest, flattest surfaces that define the basic silhouette.
Negative Space
The 'holes' or indentations where air passes through the form.
Rhythm
How the viewer's eye is led around the piece as they rotate it.
The Studio Challenge
01 Sketch your vision on the Blueprint Worksheet.
02 Build a 1:4 scale clay maquette.
03 Rotate 360°: Does it look good from every angle?
Target Time: 90 Minutes
Maquette Masterclass Teacher Guide Maquette Masterclass
Teacher Facilitation Guide | Lesson 01
Timeframe
120 MINS
Focus
Spatial Planning & Prototyping
Approach
Workshop / Studio Practice
Output
1:4 Scale Clay Maquette
The Hook: Blind Angles
"The translation of 3D objects to 2D thought is the first hurdle in sculpture."
Facilitation Notes
Distribute complex, non-geometric objects (e.g., a twisted tree branch, a crushed soda can, an old boot).
Instruct students to draw from the front, profile, and top. Crucial: They must maintain eye contact with the object, not the paper.
Debrief: Focus on the 'misalignment' between what their hands did and what they saw. Explain that the maquette fixes this disconnect.
The Technical Demo
Demonstrate the shift from "blob" to "block."
Key Term: Volumetric Analysis
Breaking a complex form into its simplest geometric masses (cubes, spheres, cylinders).
Key Term: Primary Planes
The first 'cuts' or surfaces that define the outer boundaries of the form.
Teacher Tip: When demoing the clay maquette, use a wire cutter or a palette knife to "shave" the clay rather than adding it. This mimics the subtractive process students will soon face.
Studio Facilitation & Support
Common Misconceptions
"I can just fix the shape later in the foam."
Correction: 12th graders often underestimate the physical toll of carving. Stress that every 10 minutes spent on the maquette saves 2 hours in the block.
"It only looks good from the front."
Correction: Force students to stand up and walk around their tables. If they aren't moving, they aren't sculpting.
Differentiation Strategies
For Advanced Portfolios: Challenge students to incorporate internal negative space (holes) that spiral or change shape as the viewer moves.
For Developing Skills: Provide "Block Templates"—pre-cut rectangular clay blocks that match the final foam dimensions exactly to help with spatial mapping.
Check for Understanding: Ask: "If you cut 1 inch into the block right here, what happens to the plane on the opposite side?"
Lesson Exit & Review
Evidence of Learning
Completed Maquette Blueprint with at least three distinct views and plane labels.
Critique Prompt
Block to Body Slides Lesson 02
Block to Body
Roughing Out & Primary Planes
Point of No Return
"One deep cut can ruin 20 hours of work."
Subtractive sculpture is a philosophy of calculated courage. Today, we move from the safety of clay to the reality of the block.
MEASURE
Twice
CUT
Once
Extreme Caution
The Carver's Toolkit
Chisels
For removing large geometric chunks. Precise, but high-impact.
Rasps
The workhorses. Used for shaping and defining primary planes.
Saws
Essential for clearing out large voids and deep negative space.
Safety
Goggles, dust masks, and gloves are non-negotiable.
Strategy: The "Box" Method
01. Transfer
Draw your maquette silhouette directly onto all six sides of your block.
02. Square Up
Cut straight down. Don't worry about curves yet. Think in rectangles.
03. Establish Planes
Identify the 4-6 major surfaces. Knock off the corners to reveal the "bulk."
A
B
C
D
Roughing Out Traps
Chasing Detail Too Early
If you carve an eye before you've established the head's volume, the face will be flat. Details are the last 10%.
Ignoring the Bottom
The base is part of the sculpture. If you don't plan for stability, your work will collapse or tilt.
Static Sculpting
If you sit down, you lose perspective. You must walk around the work constantly.
Fighting the Material
Let the tool do the work. Don't force a cut; feel the grain and the density.
The 60% Rule
By the end of today's studio session, 60% of your material should be on the floor. If your block still looks like a block, you haven't started.
Release the Form
Carvers Safety Manual Carver's Safety Manual
Studio Protocols & Tool Maintenance
Level 4
Hazard Room
01. Essential Protection (PPE)
Eye ProtectionImpact-resistant goggles must be worn at all times. Fine dust and high-velocity chips are constant hazards.
RespiratoryN95 or higher respirator mask is required. Plaster and high-density foam particles can cause permanent lung damage.
Hand SafetyLeather or cut-resistant gloves should be used during saw and chisel work. Avoid loose jewelry.
HearingOptional but recommended during heavy chisel and pneumatic work to prevent fatigue.
The Golden Rule
"Always carve AWAY from your body. Your block can be replaced; your hands cannot."
02. The Subtractive Arsenal
The Roughing Saw
High Risk
Used for removing massive voids. Maintain a 45-degree angle to the surface. Never force the blade; if it binds, back out and clear the dust.
MAINTENANCE: Check blade tension every 30 mins STORAGE: Hang vertically on the pegboard
Italian Riffler Rasps
Medium Risk
Ideal for defining primary planes and cleaning up saw marks. Use long, sweeping strokes. Clean teeth frequently with a wire brush to prevent clogging.
MAINTENANCE: Clean with wire brush STORAGE: Layout flat in foam tray
Point & Flat Chisels
High Risk
For aggressive mass reduction. Ensure the mallet strike is square to the chisel head. A mushroomed chisel head is a shrapnel hazard—report to teacher immediately.
MAINTENANCE: Inspect heads for cracks daily STORAGE: Tips protected in leather sheath
Studio Safety Pledge
"I understand that the sculpture studio is a high-risk environment. I commit to wearing all PPE, using tools as instructed, and maintaining a clean workspace. I will report any broken tools or safety concerns immediately."
Student Signature
Date
Primary Plane Progress Tracker Primary Plane Tracker
Roughing Out Phase | Technical Log
Artist: ____________________
Step 1: The Grid Transfer
Ensure your maquette measurements are accurately marked on the block. Use a charcoal pencil or graphite to draw the silhouettes.
Current Block Dimensions
H ____ in
W ____ in
D ____ in
Tools Selected
Roughing Saw Flat Chisel Point Chisel Coarse Rasp
Phase 02: Mass Reduction Log
Primary Plane / Mass Reduction Technique Depth of Cut Notes / Obstacles
Mid-Process Reflection
What is the most difficult angle to access with your current tools?
Look at your 60% Rule. How much material is currently on the floor?
Is your sculpture standing independently? If not, what mass needs to be shifted?
Refining the Silhouette Slides Lesson 03
The Transition
Refining Form & Secondary Planes
The Tactile Truth
Sculpture isn't just for the eyes. It's for the hands.
In our next activity, you will close your eyes and identify objects by transition alone.
Is the edge sharp (abrupt transition)?
Is the surface organic (soft transition)?
FEEL THE FORM
Primary vs. Secondary
Primary Planes
"The Skeleton"
The major silhouette.
Established in Lesson 02.
High mass reduction.
Secondary Planes
"The Muscle"
Sub-surfaces within the large masses.
Create movement and rhythm.
Defined by transition (sharp or soft).
Intentional Transitions
Geometric
Sharp Edges
Suggests tension, industrialism, structure, and strength. Transitions are immediate.
Organic
Soft Curves
Suggests nature, movement, fluid, and biological life. Transitions are gradual.
The Rotating Eye
Mastery Checklist
Balance
Does the visual weight feel distributed evenly? No side should feel "neglected."
Silhouette
If the piece were a shadow, is the outline interesting and dynamic?
Rhythm
Does one curve lead into another? Create a path for the viewer's eye.
The Fine Tool Phase
Locate the 'corners' of your primary planes.
Use Riffler Rasps to smooth or sharpen transitions.
Stand 5 feet back. Rotate. Adjust. Repeat.
Tactile Transition Lab Worksheet Tactile Transition Lab
Sensing Volume Through Touch
Lesson 03 Workshop
Activity 01: The Blind Identification
Without looking, feel the object provided by your instructor. Describe the "geometry of the transition" for each sample.
Sample A
Unknown
Transition Quality (Circle One)
Abrupt / Sharp Gradual / Organic
Tactile Description
Sample B
Unknown
Transition Quality (Circle One)
Abrupt / Sharp Gradual / Organic
Tactile Description
Phase 02: Planar Synthesis
Apply what you felt to your own sculpture. Map the Secondary Planes currently emerging from your roughing out phase.
Sketch: Transition Zone 1
Where 2 primary planes meet
Sketch: Transition Zone 2
Curved redirection of mass
Sketch: Intersection
Meeting point of 3+ planes
The Visual Silence
When you closed your eyes, what aspect of the form became more obvious than when you were looking at it?
Identify one area of your sculpture that feels "unresolved" or "awkward" when you run your hand over it. How will you refine that transition?
Peer Review Rubric Cards Studio Feedback Cards
Cut along the dotted lines | Lesson 03 Peer Review
Critique Card
Sculptor Name:
Reviewer Name:
"The 360° Walkaround"
Rotate the sculpture. Identify the angle with the most dynamic silhouette. What makes it successful?
Identify one secondary plane that needs more definition (sharpening or softening).
Critique Card
Sculptor Name:
Reviewer Name:
"The 360° Walkaround"
Rotate the sculpture. Identify the angle with the most dynamic silhouette. What makes it successful?
Identify one secondary plane that needs more definition (sharpening or softening).
Critique Card
Sculptor Name:
Reviewer Name:
"The 360° Walkaround"
Rotate the sculpture. Identify the angle with the most dynamic silhouette. What makes it successful?
Identify one secondary plane that needs more definition (sharpening or softening).
Critique Card
Sculptor Name:
Reviewer Name:
"The 360° Walkaround"
Rotate the sculpture. Identify the angle with the most dynamic silhouette. What makes it successful?
Identify one secondary plane that needs more definition (sharpening or softening).
Texture and Grit Slides Lesson 04
Skin & Grit
Surface Treatment & Textural Contrast
Texture is Narrative
Two identical forms. Two different "skins."
High Polish
Reflects light. Feels futuristic, clean, and precious.
Raw Texture
Absorbs light. Feels ancient, brutal, and biological.
Which story
are you telling?
Texture isn't a cover-up for bad carving. It's the final emotional layer of your work.
The Sanding Ladder
80 GRIT
Removes tool marks & deep scratches.
220 GRIT
Refines planes & prepares for finish.
400 GRIT
Removes visible sanding lines.
800+ GRIT
Polishing Phase: High Gloss.
Pro Tip: Never skip a grit. If you jump from 80 to 400, the deep scratches will remain visible forever.
Strategy: Visual Contrast
Use texture to guide the eye. A focal point is often defined by a shift in surface.
Polish the areas you want the viewer to touch.
Texture the areas that represent internal mass or support.
Crosshatch
Stipple
Linear
Mirror
The Finishing Lab
01 Retrieve 2-3 scrap pieces of your material.
02 Test three distinct texture techniques on them.
03 Choose the winner for your final sculpture.
Masks on! Fine dust is active.
Texture Experiment Log Worksheet Textural Lab Log
Finishing Phase | Scrap Material Analysis
Experiment
Phase
"Do not experiment on your masterpiece. Use scrap pieces of your primary carving block to test the emotional and visual impact of different surface treatments."
Test Case 01
Attach Scrap Sample Here
Technique Used
Tool / Grit Level
Visual Impact (Shadow/Light interaction)
Emotional Resonance (The "Vibe")
Test Case 02
Attach Scrap Sample Here
Technique Used
Tool / Grit Level
Visual Impact (Shadow/Light interaction)
Emotional Resonance (The "Vibe")
Test Case 03
Attach Scrap Sample Here
Technique Used
Tool / Grit Level
Visual Impact (Shadow/Light interaction)
Emotional Resonance (The "Vibe")
Final Aesthetic Strategy
Based on your experiments, what is your plan for the final work? Where will you emphasize contrast?
Finishing Roadmap Reference Finishing Roadmap
A Master's Guide to Surface & Grit
01. The Sanding Sequence
80
Coarse
Removes rasp marks, level primary planes, and clears deep scratches.
150
Medium
Smooths the 80-grit scratches. Refines secondary plane transitions.
220
Fine
Final shaping. Prepares the surface for sealant or high-grit polishing.
400+
Polish
Wet sanding phase. Creates a high-sheen, mirror-like finish.
02. Beyond Sanding: Manual Textures
Stippling (Pointillism)
Use a pointed punch or nail to create thousands of tiny divots. Creates a matte, stone-like appearance that absorbs light.
Hatching / Rasping
Leave rhythmic tool marks from a coarse rasp in specific directions. Suggests movement, wind, or muscle fiber.
Burnishing
Rubbing the surface with a hard, smooth object (like a spoon). Compresses the material for a natural, subtle glow without sanding.
The 3-Second Rule
Check your progress every 3 seconds. Sanding happens faster than you think, especially in foam or soft plaster. Once a plane is gone, it’s gone.
Lighting Test
Turn off the overhead lights and use a single desk lamp to "rake" light across your surface. This reveals hidden scratches you missed.
Final Step Before Critique
Dust Removal
Ensure all crevices are cleaned with compressed air or a soft brush before photography. Dust ruins highlights.
Shadow and Soul Slides Lesson 05
Shadow
& Soul
Portfolio Critique & Lighting Analysis
The Narrative of Light
A sculpture doesn't exist without light.
We are going to light one piece from three angles. Notice how the story changes.
Below
Eerie / Heroic
Side
Dramatic / Textural
Top
Natural / Solid
The lens is the final viewer.
The Digital Portfolio
The Context
Use a seamless neutral background (Grey or Black). No distractions. No messy studio desks.
The "Hero" Shot
Your most dynamic angle. Usually shot at eye level or slightly below for impact.
The Detail
Macro shots of your texture transitions. Show the "hand of the artist."
Eye Level
Soft Lighting
Fixed Focus
Formal Critique
Mass vs. Space
Did the removal of material improve the visual weight of the form? Is the negative space intentional?
Surface Narrative
Does the texture support the concept? Is the transition between planes seamless and intentional?
"We don't critique to find fault. We critique to find the next move."
Release the Form
The block is gone. Only the vision remains.
12
Portfolio Ready Pieces
1
Final Critique Session
College Prep Standard
Form and Focus Photography Guide Form & Focus
3D Documentation Guide
01. The Studio Setup
Background: Use a seamless "Infinity Curve" (a large sheet of paper or fabric taped to a wall and curved onto the floor). Neutral grey or charcoal is best for showing form.
Lighting: Avoid direct flash. Use one "Key Light" at a 45-degree angle to create shadows that define the volume. Use a "Fill Light" (or white foam board) on the opposite side to soften deep shadows.
Stability: Use a tripod. Even a slight hand tremor will blur the intricate textures you worked hours to create.
02. Required Shots
01
The Hero: The most dynamic, 3/4 view that shows front and side depth simultaneously.
02
The Profile: A pure side view focusing on the silhouette and balance.
03
The Macro: A extreme close-up of a textural transition or a deep carving detail.
Tech Specs
Aperture (f-stop)
f/8 to f/11. You need a "Deep Depth of Field" so the front and back of the sculpture are both in focus.
ISO
100 or 200. Keep it low to prevent "digital noise" or graininess in the dark areas.
Focal Length
50mm or higher. Wide-angle lenses (like phone cameras) can distort the proportions of your sculpture.
White Balance
Set to 'Tungsten' or 'Daylight' depending on your lamps. Avoid 'Auto' to keep colors consistent.
Final Documentation Checklist
Background is wrinkle-free
No "hot spots" (glare) on polish
Shadows show planar depth
Sculpture is dust-free
Edges are sharp in frame
Shot from "the round"
Subtractive Synthesis Rubric Worksheet Subtractive Synthesis
Final Performance Rubric & Artist Reflection
Artist: ____________________
The Artist Statement
Reflect on the journey from the block to the body. How did the material dictate your final form?
Identify the most significant decision you made during the 'Roughing Out' phase. How did it change the final outcome?
How does your final surface treatment guide the viewer’s eye through the sculpture’s 360-degree volume?
Performance Evaluation
Criteria Mastery (4) Proficient (3) Developing (2) Volumetric Planning Clear evidence of maquette transfer. 360° interest is seamless. Maquette transfer is accurate. Interest from most angles. Minor errors in transfer. One angle feels flat/unresolved. Planar Refinement Exceptional clarity in transition between primary/secondary planes. Secondary planes are present and define the form well. Transitions are present but may feel inconsistent or soft. Surface Narrative Deliberate contrast in texture. Zero tool marks unless intentional. Effective texture use. Minimal stray scratches or marks. Surface lacks contrast. Some unintentional tool marks visible. Documentation Professional portfolio shots. Light defines volume perfectly. Clear documentation. Lighting is effective but maybe standard. Documentation is present but lacks professional lighting/focus.
Total Synthesis Score
Advanced 3D Sculpting Standards
/16
Instructor Feedback & Curatorial Notes: