Static Balance Slides Finding Center
Mastering Static Balances
The Flamingo Challenge
Can you stand on one leg longer than a flamingo without wobbling?
"Balance is the ability to maintain our center of gravity over our base of support."
Stand Up & Try It!
Essential Question
How do we maintain stability while moving in different directions and levels?
Pose 1: Stork Stand
Stability on one leg
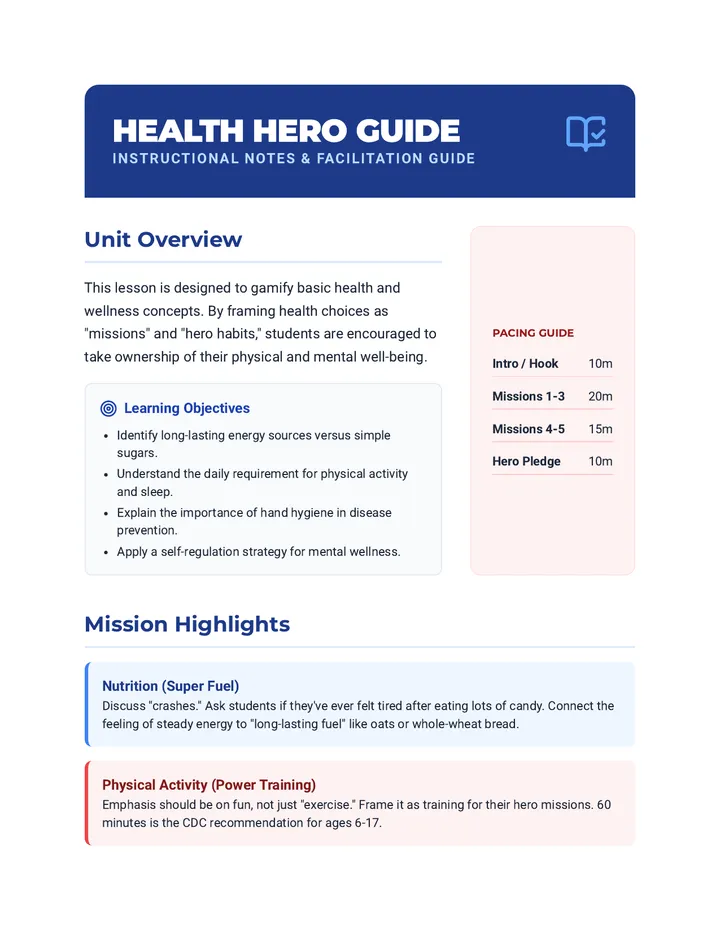
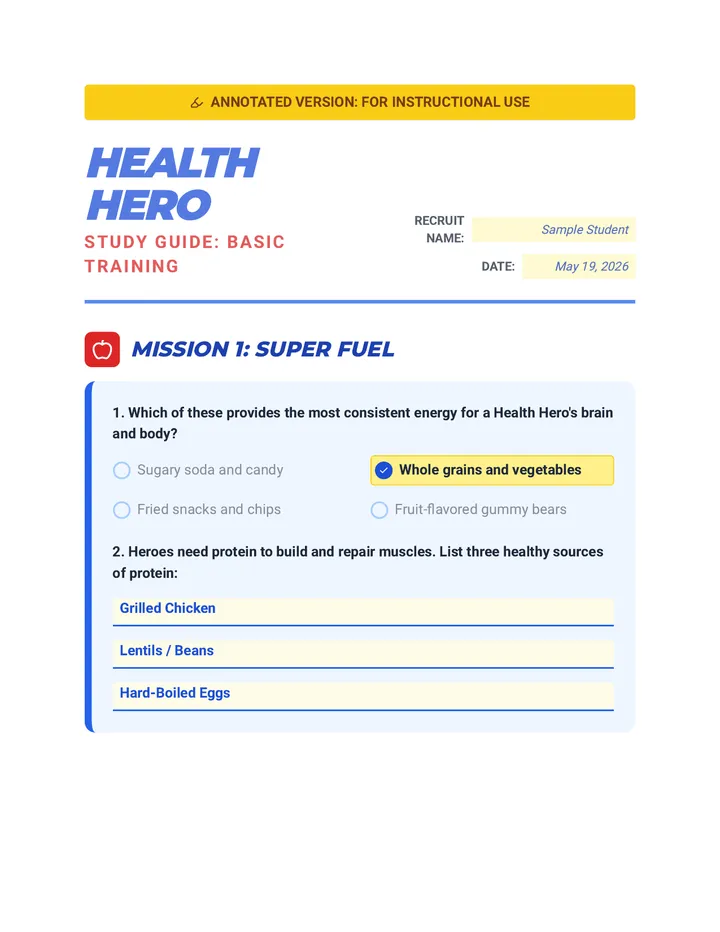
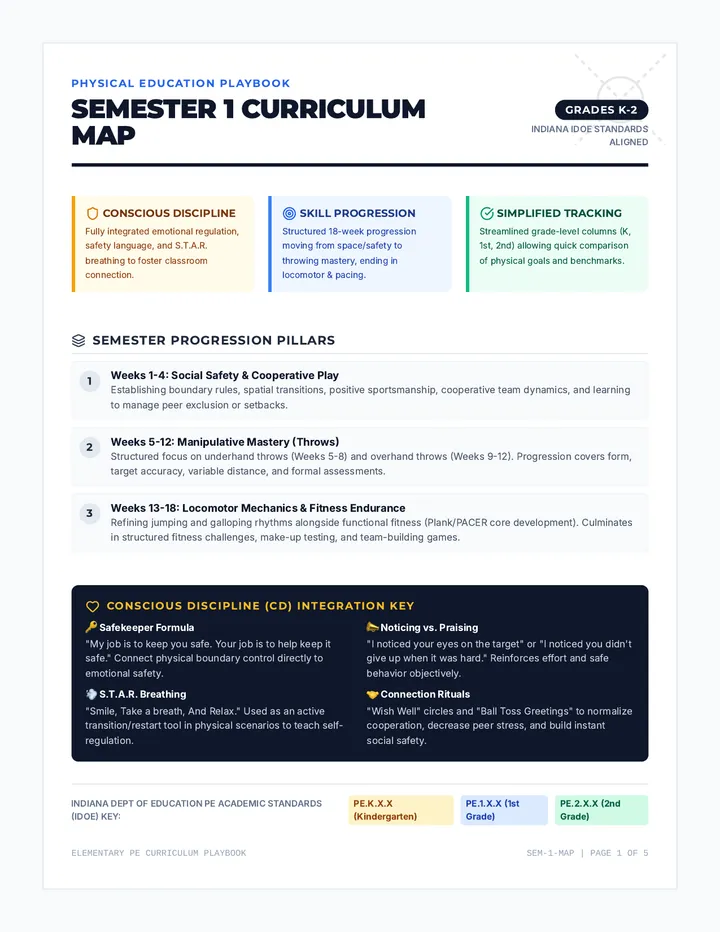
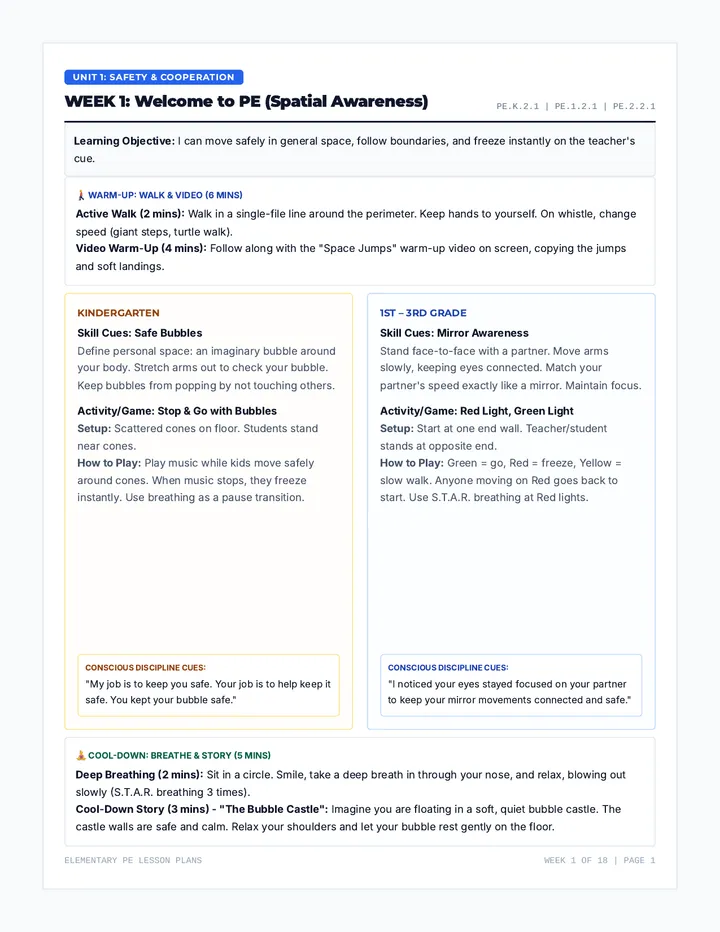
LEVEL 1
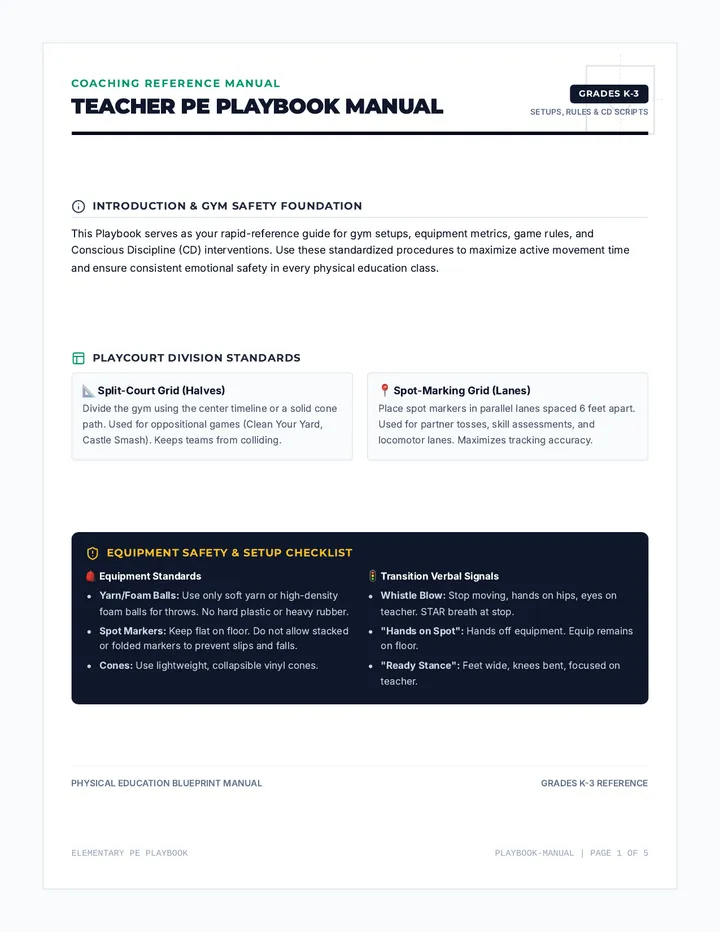
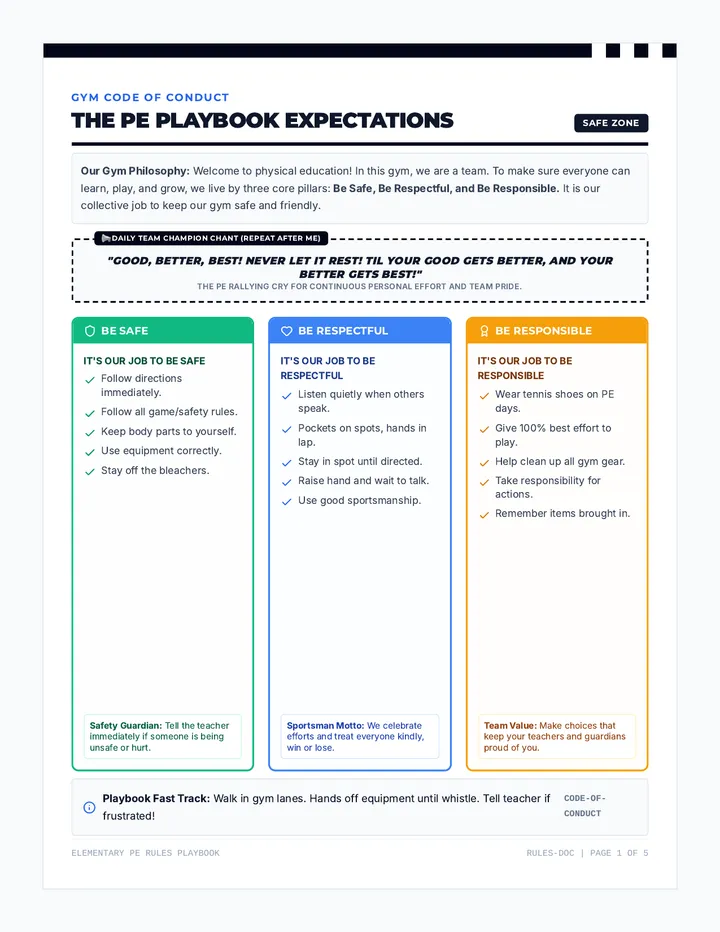
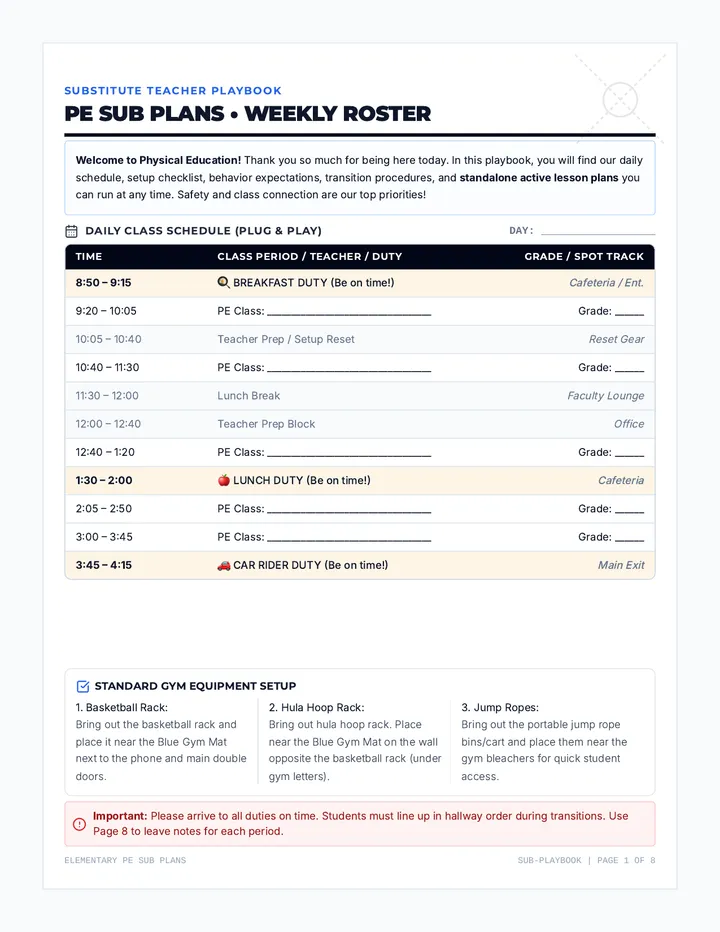
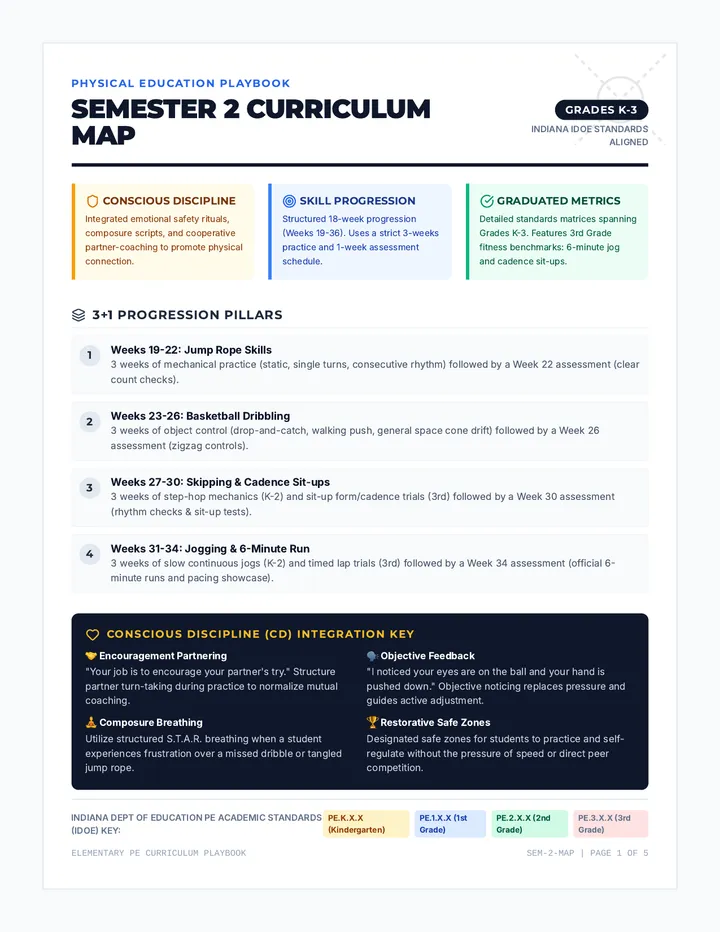
1
Foot to Knee
Place your foot against your opposite knee.
2
Airplane Arms
Extend arms to the side for stability.
3
Soft Eye Focus
Pick a spot on the wall to look at.
Pose 2: The Scale
Also known as the Arabesque
LEVEL 2
Instructions:
One leg straight back
Chest lifted slightly
Arms out wide
Toes pointed
Science Check
As your leg moves away from your center, your muscles work harder to keep you still!
Pose 3: V-Sit
Core strength on the floor
LEVEL 3
How to sit in a 'V':
A Sit on the floor with knees bent.
B Lift your feet off the ground.
C Straighten your legs if you can!
D Balance on your bottom.
FEEL THE CORE!
Tighten your tummy muscles to stay steady.
Experiment!
How does moving your arms change your balance?
Try it: High arms, wide arms, arms at your side.
Balance Basics Guide Balance Basics
Teacher Facilitation Guide | Lesson 1
Lesson Focus
Students explore their center of gravity through static balances. The goal is to understand how body positioning (arms, focus, core) affects stability on a narrow base of support.
Essential Question
How do we maintain stability while moving in different directions and levels?
Setup & Materials
Floor tape or floor lines
Flat, open space
Stopwatches (optional)
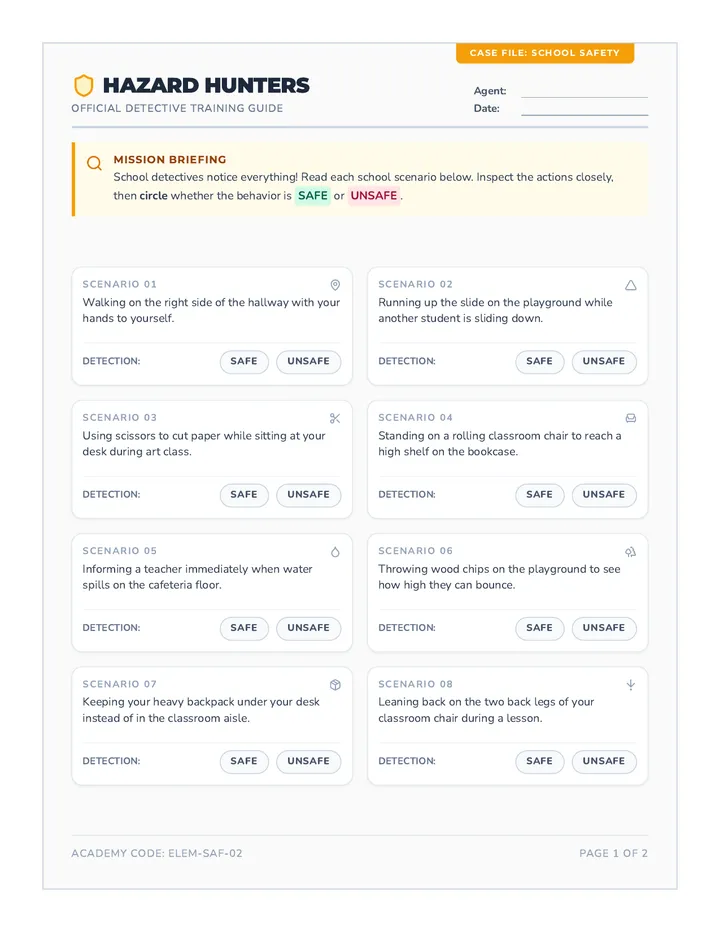
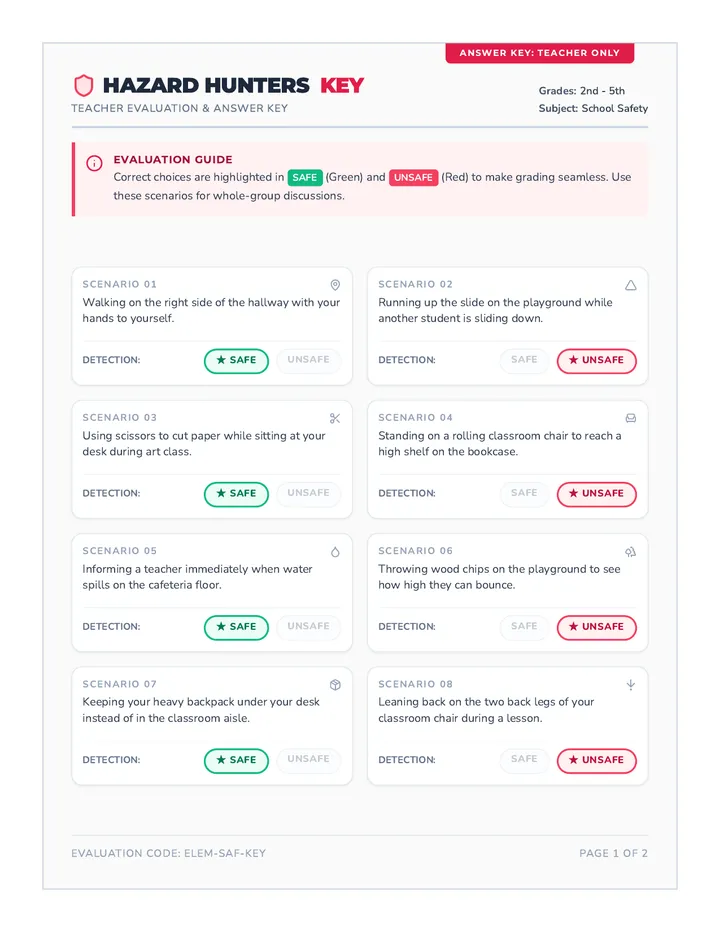
Static Balance Slides
Instructional Flow
The Hook (5 mins)
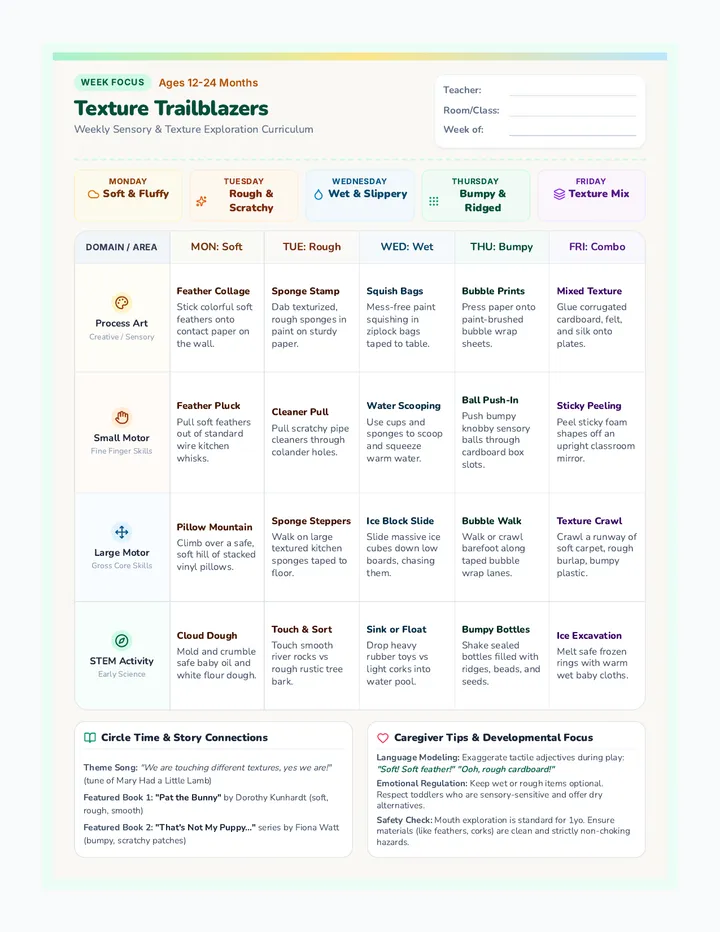
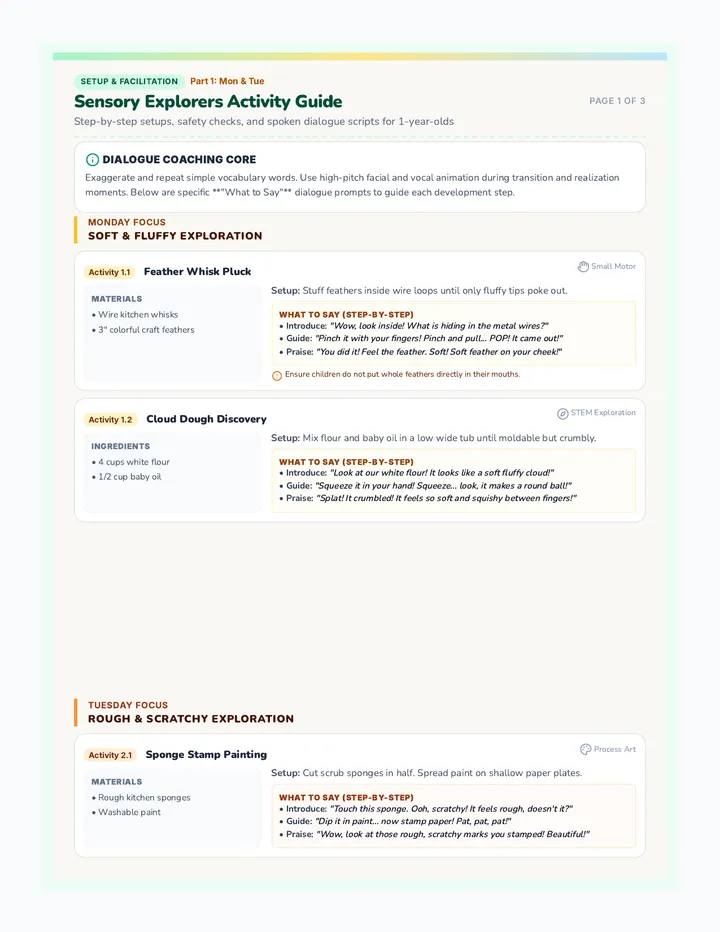
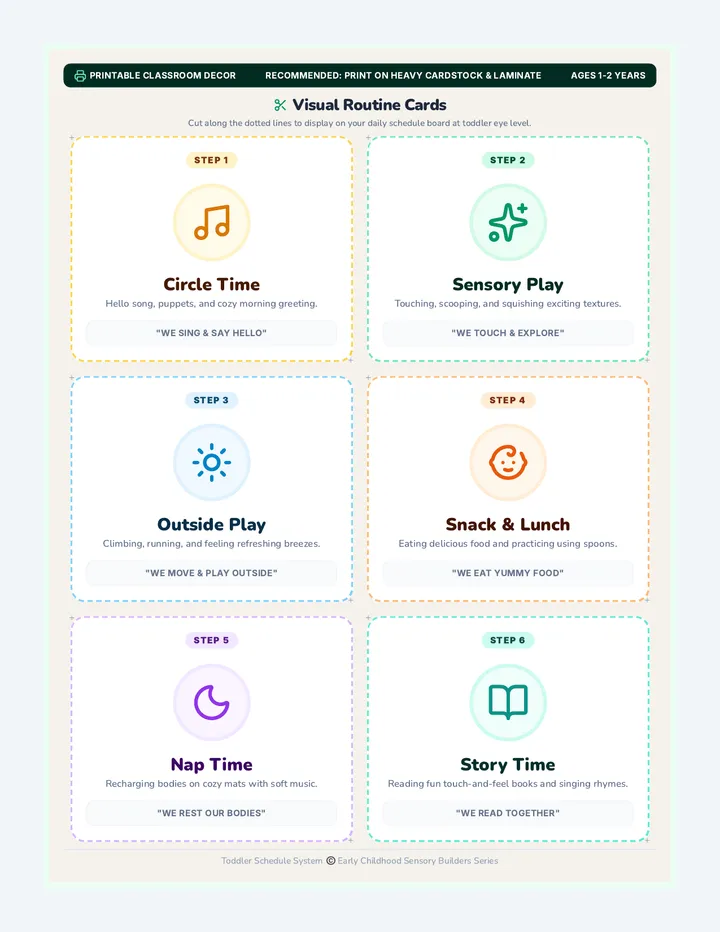
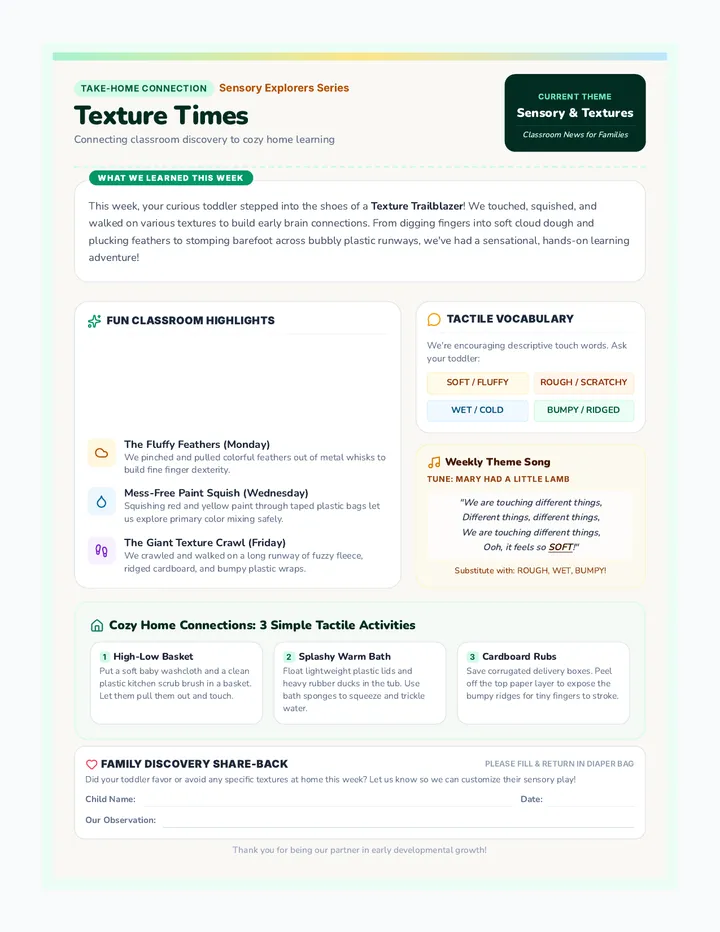
The Flamingo Challenge
Ask students to stand on one leg without any instructions. After 30 seconds, ask: "What did your body do to stop you from falling?" Introduce the concept of **Center of Gravity**.
The Balance Lab (25 mins)
Pose 1: Stork Stand
Cue: "Foot to knee, eyes on a fixed point, airplane arms." Ask: "Is it easier to balance with your eyes open or closed?" (Inquiry moment).
Pose 2: The Scale (Arabesque)
Cue: "One leg straight back, chest proud." Challenge: "Can you tilt forward without losing your center?"
Pose 3: V-Sit
Cue: "Balance on your 'sit-bones', lift feet, hands off floor." Focus on core engagement.
Support
Allow students to touch a wall with one finger or keep their foot closer to the floor (kickstand balance).
Extension
Have students try balancing on a slightly raised surface (gym mat) or while tossing a small beanbag to themselves.
Safety Note
Ensure students have enough space between each other (personal bubbles) so they don't collide if they lose their balance. Remind them to step out of a balance safely rather than falling.
Stork Stand Log Balance Lab Log
Gymnast Name
Date
1
The Stork Stand Challenge
Practice your stork stand. How many seconds can you hold it? Do 3 tries for each leg!
Right Leg
Try #1
Try #2
Try #3
Left Leg
Try #1
Try #2
Try #3
?
The Arm Experiment
Try your scale (arabesque) with your arms in different ways. Check the box for the way that felt the STURDIEST!
High Arms
Wide Arms
By Sides
Lab Reflection
What is one thing that helps you stay still during a balance?
Beam Traveler Slides Beam Traveler
Dynamic Travel on Lines
THE FLOOR IS LAVA!
You can only stay safe by walking on these narrow bridges. If you step off... CRACKLE!
"How can we move without falling off the line?"
Technique #1: Sticky Toes
FEEL the line
Use your toes to grip and feel the edges of the tape or beam.
Look AHEAD
Don't look at your feet! Look at the end of the line.
Stay LOW
A slight bend in your knees helps you stay steady.
The Travel Menu
Forward Walk
Toe-to-Heel placement.
Backward Walk
Heel-to-Toe placement (Reach back!).
Sideways Slide
Step and close (Don't cross feet!).
Bear Crawl
Hands and feet on the line!
Mission: Bridge Crosser
Cross the line 3 times using different movements.
NO WOBBLES ALLOWED!
Tightrope Teaching Tips Tightrope Tips
Teacher Guide | Lesson 2: Dynamic Travel
Lesson Objective
Transition from static (still) balance to dynamic (moving) balance. Students must maintain their center of gravity while navigating a narrow path at different speeds and directions.
Instructional Cues
01
"Eyes on the Prize"
Look at the end of the line, not your feet. Looking down shifts the weight forward and causes wobbles.
02
"Sticky Toes"
Use your toes to 'grip' the line. Feel the edges of the tape to know where you are without looking.
03
"Toe-to-Heel"
For forward walking, place the toe down first, then the heel. This allows for better weight transfer control.
Activity: Floor is Lava
How to play:
Set up 6-8 parallel lines using floor tape (approx. 10 feet long).
Students must cross the "bridge" (line) to reach the "Safe Island" (mat).
If a student steps off, they must perform 3 "Power Jumps" (tuck jumps) to "cool their feet" before restarting.
Progression: Round 1: Forward; Round 2: Backward; Round 3: Sideways (Step-Together).
Troubleshooting
Common Error Quick Fix Looking at feet Hold up fingers at the end of the line and ask them to count. Crossing feet sideways "Never cross the bridge!" Feet stay side-by-side. Moving too fast Challenge them to take 10 seconds to cross the line.
Walking the Line Tracker Line Tracker
Dynamic Travel Challenge
Gymnast Name
Try each travel move across the line. After you finish, color in the stars to show how steady you felt!
Forward Walk
"Toe-to-Heel placement"
Backward Walk
"Reach with your toes"
Sideways Slide
"Step and Together"
Bear Crawl
"Hands and Feet on Line"
Sticky Toes Secret
Which move was the hardest to stay on the line? Why?
Deep Dip Slides Deep Dips
Mastering Levels & Turns
The Beanbag Grab
Can you pick up a beanbag from the floor while staying on the beam?
"Going down is easy... coming back up is the challenge!"
Action Time!
!
The Beam Dip
STEP 1
One foot in front of the other.
STEP 2
Bend both knees (squat down).
STEP 3
Touch the beam with one hand.
Keep your back straight and eyes forward as long as you can!
The Half Turn
180 DEGREES
Pro Secret:
Rise up onto the balls of your feet (relevé) before you spin. It reduces friction and makes the turn smooth!
1
Feet together or one-in-front.
2
Arms up in a circle or wide.
3
Pivot on your toes!
Mission: Level Master
Cross the beam and add TWO dips and ONE half-turn.
CAN YOU DO IT WITHOUT STEPPING OFF?
Turning and Toppling Guide Levels & Turns
Lesson 3 Guide
Teaching Focus
This lesson introduces vertical and rotational complexity. Students will learn to lower their center of gravity (dip) and rotate their body 180 degrees (half-turn) while maintaining contact with the narrow base.
The Beam Dip
The Science: Lowering the body increases stability by bringing the center of gravity closer to the floor.
Cues: "Squat, don't bend at the waist," "Reach with eyes forward," "Keep one foot in front of the other."
The Half-Turn
The Science: Reducing friction (rising on toes) allows for easier rotation without twisting the ankles.
Cues: "Rise on toes," "Spot the wall," "Pivot like a spinning top."
Activity: Beanbag Grab
Objective: Retrieve an item without stepping off the line.
Place beanbags at different intervals along the floor lines or beams.
Students must walk to the beanbag, execute a Deep Dip to pick it up, and return to a stand.
Continue to the end of the line, then execute a Half-Turn and walk back to drop the beanbag in a bucket.
"Encourage students to move slowly. Speed is the enemy of stability during level changes!"
Inquiry Questions
On Dipping
"Does it feel easier to stay balanced when you are high up or low down? Why?"
On Turning
"What happens to your balance if you try to turn with your feet flat on the floor?"
Watch Out For:
Students rushing the turn and stumbling sideways.
Bending at the back rather than the knees during dips (unsafe for the back).
Heels touching the ground during a pivot (leads to "sticky" turns).
Level Up Checklist Level Up!
Skills Checklist
Gymnast Name
Team / Class
Your Mission:
Complete each challenge 2 times. If you feel steady, put a check in the box!
The Deep Dip
"Bend your knees and stay low"
#1
#2
Beanbag Grab
"Pick it up while on the beam"
#1
#2
Rise on Toes
"Relevé—tall and steady"
#1
#2
Half Turn
"Pivot 180 degrees"
#1
#2
The Super Secret
What part of your body has to stay the tightest when you are turning? (Hint: It's in the middle!)
Stick the Landing Slides Stick It!
The Art of the Perfect Dismount
The Big Finish
Every great performance needs a BIG FINISH.
How will you stick your landing today?
"Air time is fun, but the landing is where the points are!"
Safety First
Landing correctly protects our knees and ankles.
The Motorcycle
1. Wide Base
Feet slightly wider than shoulders.
2. Bended Knees
Sit back into your 'invisible seat'.
3. Reach Out
Hands reach forward like you're holding handlebars.
VROOOM! HOLD IT STEADY!
Add Your Flair
Star Jump
Make a giant 'X' in the air!
Tuck Jump
Pull your knees up to your chest!
Straight Jump
Reach for the sky, super tall!
The Salute
Finish with your hands in a 'V'!
Blast Off!
Practice 3 jumps off a low bench.
MUST FINISH WITH A ROCK-STEADY MOTORCYCLE LANDING!
Safe Landing Script Safe Landings
Instructional Script | Lesson 4
Technique Script
Teacher Says: "Class, stand in your personal bubble. Today we learn the Motorcycle Landing. This is our safety brakes!"
Instruction: "Feet wide. Now, sit back like you're on a bike. Reach your hands out and grab those handlebars! Don't let your knees touch. Keep your chest up so everyone can see your name tag!"
Check: "Are you wobbling? If you're a rock-steady motorcycle, give me a 'Vroom Vroom'!"
Phase 1: Preparation
"Bend your knees and reach your arms back. You are a coiled spring ready to pop!"
Phase 2: Flight
"Explode up! Reach for the ceiling. Choose your shape: Star, Tuck, or Straight Arrow."
The Performance Salute
Every gymnastics landing should end with a salute to show the judges (or the teacher!) that you are finished and in control.
1. Hold Motorcycle (2 sec)
2. Stand Tall
3. Arms in a high 'V'
Student Need Support / Challenge Fear of jumping Start by "stepping" off the bench into a motorcycle landing. Increase to a small jump once confident. Deep knee pain Remind them to land with "soft ankles" and not to let their knees pass their toes. Ready for more Add a half-turn during the flight phase before the landing.
Flight Path Journal Flight Path
Dismount Journal
Gymnast Name
Date
Landing Check
After you jump, think about your motorcycle landing. Check the boxes that you completed!
Wide Base (Feet apart)
Sticky Feet (No extra steps)
Handlebar Arms (Hands out front)
My Flight Shapes
Circle the shapes you performed in the air today!
Star Jump
Tuck Jump
Arrow Jump
The Big Finale
How did it feel when you finally "Stuck" the perfect landing?
Canyon Crossing Slides Canyon Crossing
The Ultimate Balance Challenge
The Mission
Combine everything you've learned into one ULTIMATE FLOW.
Travel on the bridges
Perform a static pose
Finish with a dismount
The Goal
Cross the "Canyon" without touching the "Lava Floor" even once!
The Canyon Map
START
Floor Line Walk (Backward)
ZONE 1
Low Beam: Stork Stand (Hold 3s)
ZONE 2
Wide Beam: 2 Dips + Half Turn
FINISH
Bench Jump + Motorcycle
Self-Check
Control
Did I move smoothly or did I rush?
Stability
Did my feet stay on the bridge?
Focus
Were my eyes looking ahead?
GOOD LUCK!
Show us your best balance flow!
Obstacle Course Blueprint Obstacle Blueprint
Lesson 5 Setup
Final Integration
Students will move through a continuous circuit that tests all four pillars of the sequence: Static Balance, Dynamic Travel, Level Changes, and Safe Dismounts.
Circuit Stations
Station A: The Narrow Ridge (Floor Tape)
Move: Backward walk (5ft) followed by a 180-degree half-turn.
Station B: The High Peak (Low Beam)
Move: Walk to the center, perform a Stork Stand or Scale (hold 3s).
Station C: The Gem Cave (Raised Surface/Wide Beam)
Move: Walk while executing 2 "Deep Dips" (touching the surface).
Station D: The Sky Exit (Bench/Box)
Move: Jump off using a shape (Star/Tuck) and a Motorcycle landing.
Mastery Rubric
Skill Level Visual Evidence Expert Gymnast Continuous flow, no steps off the beam, rock-steady landing, eyes consistently forward. Steady Traveler Mostly controlled, 1-2 minor wobbles, recovers balance without stepping off, controlled landing. Emerging Balancer Frequent steps off the line, rushes through poses, landing requires extra steps to stabilize.
Pro Management Tips
Wait for the Finish: Next student starts Station A only when the previous student finishes Station B.
Peer Coaching: Students not on the circuit act as "Judges" and count the 3-second hold for their peers.
The Reset: If a student falls, have them take a breath and restart the current station.
Gymnastics Hero Badge Canyon Hero
Balance Master Certification
This badge is awarded to
for completing the Ultimate Balance Course with style and control!
Course Achievements
Bridge Travel
Center Balance
Deep Dips
Safe Landing
My Favorite Balance Move
Draw Your Hero Pose Here!
Official
Balance
Seal