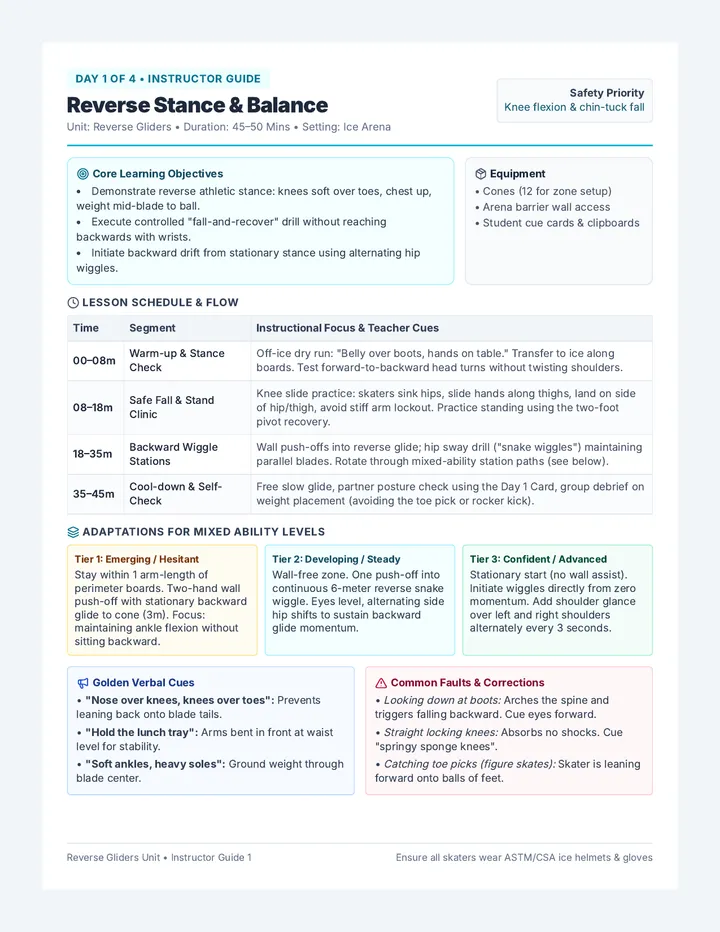
Vertical Leap Training Guide
12-Week Plyometric Performance Program
VERTICAL LEAP TRAINING GUIDE
2 Days/Week • Basic Gym Equipment • Beginner-to-Intermediate
Target Gain
19″ → 24″
Athlete Name
Start Date
Baseline Vertical (in)
Standing Reach (in)
12-Week Progression Roadmap
Weeks 1–4 • Phase 1
Foundation & Landing
Build tendon resilience, absorb force quietly, and master hip-hinge triple extension.
Check-in Goal: ~20.5″
Weeks 5–8 • Phase 2
Force & Power Output
Increase rate of force development with loaded jumps, higher boxes, and reactive hops.
Check-in Goal: ~22.0″
Weeks 9–12 • Phase 3
Peak Elasticity
Maximize springiness via depth jumps and bounds, then taper in Week 12 to peak.
Peak Target: 24.0″
Weekly Schedule (2 Days/Week)
Space sessions at least 48–72 hours apart (e.g., Tuesday & Friday) so your central nervous system and tendons recover fully.
MON
Rest
TUE
Day 1
WED
Rest
THU
Light
FRI
Day 2
SAT
Rest
SUN
Rest
Basic Gym Equipment Needed
- •Plyo Boxes: 12″, 18″, and 20–24″ (or sturdy step/bench).
- •Flat Bench: For split squats, seated jumps, and step-ups.
- •Dumbbells: Light to moderate pairs (10–35 lbs).
- •Resistance Bands: Mini-loop & long pull-up style band.
Mandatory 10-Minute Warm-Up (Before Every Session)
1. Pulse Raiser
3 min light jog, bike, or jump rope.
2. Dynamic Mobility
10 leg swings/side, 8 world’s greatest stretch.
3. Activation
10 glute bridges + 10 bodyweight squats.
4. Neural Primer
2 × 5 easy pogo hops + 2 × 10m skips.
Safety & Form Non-Negotiables
1. Land Quietly: Soft knees and hips absorb impact; never stomp.
2. Knee Alignment: Keep knees tracking over middle toes (no caving inward).
3. Quality Over Fatigue: Take full 60–120s rest; plyos are power, not cardio.
4. Step Down Off Boxes: Always step down after box jumps to save your Achilles.
Phase 1 • Weeks 1–4
FOUNDATION & LANDING MECHANICS
Focus: Tendon Prep & Control
Pause 2 sec on every landing
DAY 1: BILATERAL POWER & LANDING CONTROL ~40 Minutes
| Exercise |
Sets × Reps |
Rest |
Equipment & Coaching Cue |
| 1. Pogo Hops |
3 × 15 |
60s |
Bodyweight. Bounce off balls of feet; keep ankles stiff. |
| 2. Snap-Downs to Stick |
3 × 6 |
60s |
Bodyweight. Reach high on toes, snap hips back, freeze silent. |
| 3. Low Box Jump |
4 × 5 |
90s |
12–18″ Box. Swing arms, land softly, step down every rep. |
| 4. Goblet Squat (3-1-1) |
3 × 8 |
90s |
Dumbbell. 3s lower, 1s pause at bottom, drive up fast. |
| 5. Banded Glute Bridge |
3 × 12 |
60s |
Mini Band above knees. Push knees out, squeeze glutes at top. |
DAY 2: UNILATERAL STABILITY & CORE ~40 Minutes
| Exercise |
Sets × Reps |
Rest |
Equipment & Coaching Cue |
| 1. Lateral Line Hops |
3 × 12/side |
60s |
Bodyweight. Quick side-to-side hops over a floor line. |
| 2. Low Lunge Jumps |
3 × 6/leg |
75s |
Bodyweight. Switch feet mid-air, stick soft landing 1s. |
| 3. Bench Step-Up + Drive |
3 × 8/leg |
60s |
Bench + Light DBs. Drive through heel, punch opposite knee up. |
| 4. Seated Box Jump |
4 × 4 |
90s |
Bench + Box. Sit, pause 1s (no rocking), explode onto box. |
| 5. Front Plank Hold |
3 × 35s |
45s |
Bodyweight. Brace abs and glutes; keep ribs tucked. |
Phase 1 Training Log (Weeks 1–4)
Record dates, box heights, DB weights, and how landings felt
| Week |
Day 1 Date |
Day 2 Date |
Box Ht / DB Wt |
Session Notes |
| Week 1 |
|
|
|
|
| Week 2 |
|
|
|
|
| Week 3 |
|
|
|
|
| Week 4 |
|
|
|
|
Phase 2 • Weeks 5–8
FORCE & POWER OUTPUT
Focus: Explosive Intent
Maximal jump speed every rep
DAY 1: MAX VERTICAL & LOADED POWER ~45 Minutes
| Exercise |
Sets × Reps |
Rest |
Equipment & Coaching Cue |
| 1. Tuck Jumps |
3 × 6 |
90s |
Bodyweight. Pull knees toward chest, quick floor rebound. |
| 2. Dumbbell Jump Squats |
4 × 5 |
90s |
Light DBs (10–15% BW). Hold at sides, explode up, reset 1s. |
| 3. High Box Jump |
4 × 4 |
120s |
20–24″ Box. Full arm swing, land high, step down slowly. |
| 4. Bulgarian Split Squat |
3 × 6/leg |
90s |
Bench + DBs. Rear foot on bench, lower 2s, drive up fast. |
| 5. Banded Broad Jump |
3 × 4 |
90s |
Long Band around waist. Jump forward against tension, stick. |
DAY 2: REACTIVE ELASTICITY & SINGLE-LEG POWER ~45 Minutes
| Exercise |
Sets × Reps |
Rest |
Equipment & Coaching Cue |
| 1. Continuous Cone Hops |
3 × 6 |
90s |
Cones/Line. Minimize ground contact; springy ankles. |
| 2. Single-Leg Box Hop |
3 × 4/leg |
90s |
12″ Box. Hop up off one leg, land balanced on same foot. |
| 3. Explosive DB RDL |
3 × 8 |
90s |
Moderate DBs. Hinge hips back, snap hips forward fast. |
| 4. Skater Bounds (Stick) |
3 × 6/side |
75s |
Bodyweight. Push laterally for max distance, hold landing 1s. |
| 5. Single-Leg Calf Raise |
3 × 12/leg |
60s |
Step/Box + 1 DB. Explosive drive up, 3s slow lower. |
Phase 2 Training Log (Weeks 5–8)
Week 8 Mid-Point Vertical (in):
| Week |
Day 1 Date |
Day 2 Date |
Box Ht / DB Wt |
Session Notes |
| Week 5 |
|
|
|
|
| Week 6 |
|
|
|
|
| Week 7 |
|
|
|
|
| Week 8 |
|
|
|
|
Phase 3 • Weeks 9–12
PEAK ELASTICITY & TESTING
Week 12 = Taper Week
Cut sets in half; test on Day 2
DAY 1: DEPTH JUMPS & MAX-INTENT POWER ~45 Minutes
| Exercise |
Sets × Reps |
Rest |
Equipment & Coaching Cue |
| 1. Depth Jump (Wk 9: Drop) |
4 × 3 |
120s |
16–20″ Box. Step off, hit floor & immediately explode up. |
| 2. Approach Vertical Reach |
4 × 4 |
120s |
Wall/Rim Target. 2–3 step approach, reach max height. |
| 3. DB Speed Squats |
3 × 5 |
90s |
Moderate DBs. Lower controlled, drive up as fast as possible. |
| 4. Max-Effort Broad Jump |
3 × 3 |
90s |
Bodyweight. Full hip extension; measure & beat your distance. |
DAY 2: REACTIVE BOUNDS & STABILITY ~40 Minutes
| Exercise |
Sets × Reps |
Rest |
Equipment & Coaching Cue |
| 1. Single-Leg Bounding |
3 × 20 yds |
120s |
Open floor. Alternate legs for max height & distance per stride. |
| 2. 3-Hop Rebound to Box |
3 × 3 |
120s |
18″ Box. Three quick double-leg hops straight onto the box. |
| 3. Explosive Step-Up Jumps |
3 × 5/leg |
90s |
Bench. One foot on bench, drive into air, land back softly. |
| 4. Banded Pallof Press |
3 × 10/side |
60s |
Anchored Band. Press out & resist rotation for core stiffness. |
Phase 3 Training Log (Weeks 9–12)
| Week |
Day 1 Date |
Day 2 Date |
Box Ht / DB Wt |
Session Notes |
| Week 9 |
|
|
|
|
| Week 10 |
|
|
|
|
| Week 11 |
|
|
|
|
| Wk 12 (Taper) |
|
|
|
|
Week 12 Final Vertical Test Results
Warm up fully • Best of 3 attempts
Standing Reach (in)
Max Jump Touch (in)
Final Vertical (in)
Total Gain (+ in)