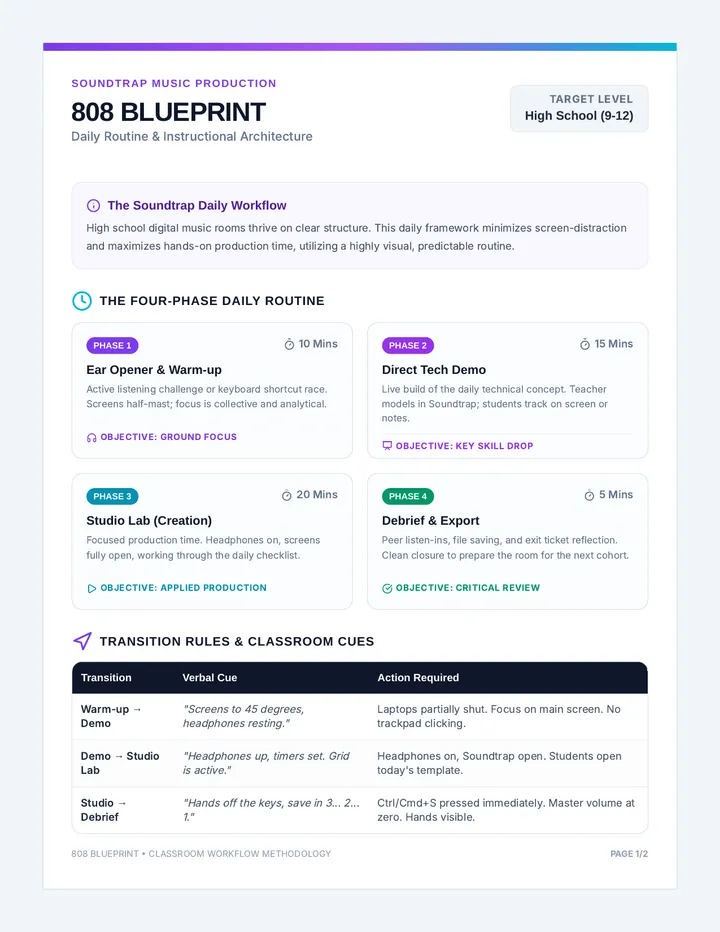
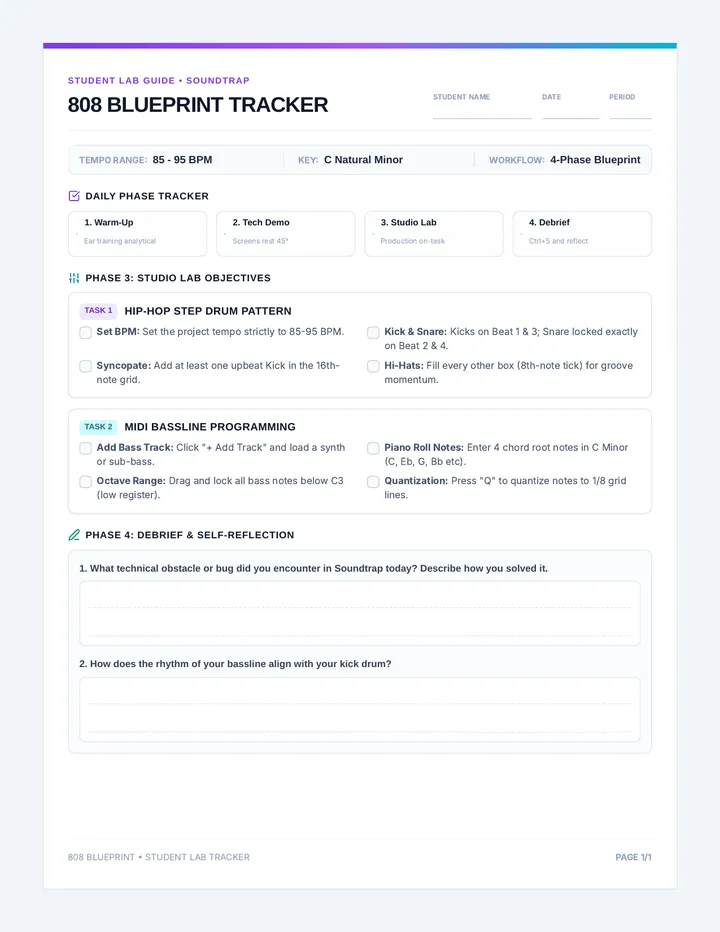
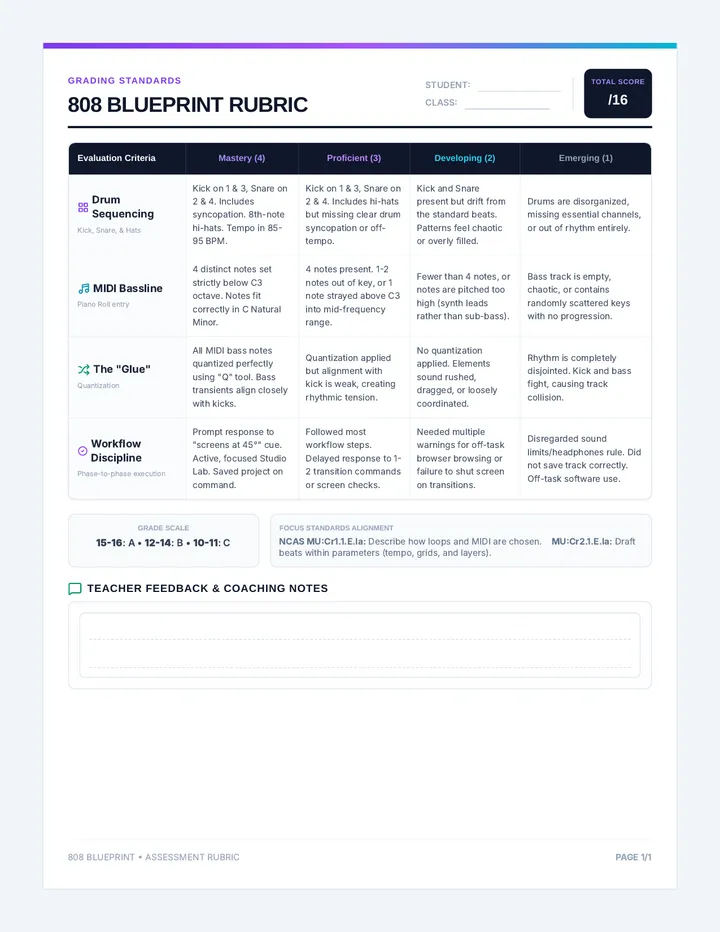
Layout Logic Lesson Plan InDesign: Picture & Text Power!
Professional Layout Essentials • 9th Grade
190 Minutes
Objective
Students will learn to confidently import and manipulate images, and accurately place and format text within Adobe InDesign for print-ready documents. They will understand the importance of resolution, file types, and text flow for effective print design.
Why This Matters
Understanding how to manage images and text in InDesign is crucial for creating professional-looking print materials, from school newspapers to personal portfolios. These skills are fundamental for anyone interested in graphic design, publishing, or visual communication.
Materials Needed
Computers with InDesign
Internet Access
Sample Image Folder
InDesign Slide Deck
InDesign Script
Practice Worksheet
Mastering Layout Reading
Layout Essentials Quiz
Project Rubric
Teacher Preparation
Review all generated materials and instructional scripts.
Ensure Adobe InDesign is installed and running correctly on all student computers.
Prepare a folder of sample images (high-resolution JPG, PNG, TIFF) and a plain text file for students to use.
Print copies of the Practice Worksheet and Layout Reading if digital access is inconsistent.
Set up projector/interactive whiteboard for the Slide Deck.
Prepare a physical "Design Scavenger Hunt" example if needed.
Lesson Procedure
15 min
Warm-Up: Design Scavenger Hunt
Begin with a quick discussion: "What makes a poster or magazine page look good?" Ask students to identify examples of good and bad image/text placement they've seen. Introduce the day's topic: Mastering images and text in InDesign.
30 min
Introduction to InDesign (Slide Deck & Script)
Present the Slide Deck using the Teacher Script . Focus on why InDesign is used for print, key vocabulary (frames, linking, leading, kerning), and the basic interface for images and text. Demonstrate opening a new document and navigating the workspace.
45 min
Importing Images: Hands-On Demo & Practice
Teacher Demo (15 min): Follow script to demonstrate importing images (File > Place), resizing, fitting options, and direct selection tool use.
Student Practice (30 min): Students follow along using sample images and complete the image import section of the Practice Worksheet .
45 min
Placing Text: Hands-On Demo & Practice
Teacher Demo (15 min): Follow script to demonstrate creating text frames, placing text (File > Place), basic formatting (font, size, color), and linking text frames.
Student Practice (30 min): Students follow along using sample text and complete the text placement section of the Practice Worksheet .
40 min
Guided Activity: Creating a Simple Flyer
Students apply skills to create a one-page flyer (theme: school event or book cover). Emphasize technical execution: linked frames, proper fitting, and formatting. Circulate for individualized feedback.
10 min
Wrap-Up & Reading Assignment
Review key concepts. Assign Mastering Your Layout Reading for homework. Inform students about the upcoming quiz and rubric requirements for future projects.
Layout Launch Slides Picture & Text Power!
Mastering Professional Print Layouts with Adobe InDesign
9th Grade Visual Design
What is Adobe InDesign?
The Industry Standard
The primary tool for magazines, books, brochures, and posters.
Everything lives in Frames
Invisible containers that hold your text and graphics!
Layout Canvas
Your InDesign Toolkit
V
Selection Tool
Moves and resizes Frames
A
Direct Selection
Moves Content inside
T
Type Tool
Creates and edits text frames
F
Frame Tool
Draws placeholder boxes
Bringing Pictures to Life!
1 File > Place...
Keyboard Shortcut: Ctrl/Cmd + D
2 Click to Drop
Click anywhere to drop the loaded image.
The Golden Rule:
"The Frame is the window; the Image is the view!"
Object > Fitting: Fill Frame Proportionally
Object > Fitting: Fit Content Proportionally
Mastering Text Placement
1. Create
Use the Type Tool (T) to drag a box on your page.
2. Import
Use File > Place to import text from Word or TXT files.
3. Format
Adjust font, size, leading, and color in the panels.
Overset Text!
The red plus sign means your words are hiding!
1. Click the Red Plus (+) icon
2. Click a new frame to Link them
Is Your Document Print-Ready?
Resolution
Is every image at least 300 DPI?
Asset Links
Are all your image files still connected?
Packaging
File > Package to collect fonts and images!
Flyer Challenge
Create a professional flyer for a school event or hobby!
• Min. 2 Imported Images
• Formatted Headline & Body
• Proper Image Fitting
• Package Your File!
Design Launch!
Be Creative. Be Professional.
Recap & Next Steps
Import
File > Place is your only way.
Layout Facilitator Script InDesign: Picture & Text Power!
Teacher Instructional Script
v1.0 • 2026
1
Warm-Up: Design Scavenger Hunt (15 min)
The teacher stands at the front of the room. Optional: Have some professional magazines or posters displayed.
Teacher: "Good morning, everyone! Let's kick things off with a little design scavenger hunt. Look around you, or think about things you see every day – like posters, magazine covers, or even a menu at a restaurant. What makes a poster or a magazine page look good? What makes it look bad or confusing? Raise your hand and share your observations."
Facilitation Note: Allow 5-7 minutes for sharing. Guide them to think about how text and images are arranged (alignment, hierarchy, white space).
Teacher: "Great observations! We all have an eye for what looks good, even if we don't always know why. Today, we're going to pull back the curtain and learn how to create those professional-looking layouts ourselves. We're diving into Adobe InDesign to master the power of placing pictures and text effectively for print!"
2
Introduction to InDesign (30 min)
ADVANCE TO SLIDE 1
Teacher: "Welcome to InDesign! Ever wonder how magazines, books, and flyers are made to look so professional? Today, we're diving into Adobe InDesign to learn the secrets of beautiful layouts. Our mission? To master placing pictures and text for print. By the end of this lesson, you'll have the foundational skills to create some truly impressive documents."
ADVANCE TO SLIDE 2 & 3
Teacher: "So, what exactly is Adobe InDesign? It's the industry standard for creating documents that are going to be printed. Think magazines, brochures, posters – anything where you need to carefully arrange text and graphics. Its key concept is that everything lives in frames – these are like invisible containers for your images or your text."
LIVE DEMO INSTRUCTIONS:
Open InDesign on the projector.
Point out the Selection Tool (V) and the Direct Selection Tool (A) .
Demonstrate moving a frame vs moving content within a frame.
Have students go to File > New > Document and choose a 'Print' preset (Letter).
3
Importing Images (45 min)
ADVANCE TO SLIDE 4
Teacher: "Alright, let's bring some pictures into our document! The command you'll use constantly is File > Place... or the keyboard shortcut Ctrl/Cmd + D."
"I'm going to demonstrate this now. Watch my cursor. I navigate to the sample images folder and select one. Notice my cursor has a 'loaded' icon? If I click on an existing frame, it goes inside. If I just click on the page, it drops at full size. Remember: The frame is the window, and the image is the view through the window."
Layout Practice Worksheet InDesign Practice Worksheet
Image & Text Essentials
Name:
Date:
This worksheet will guide you through the fundamental steps of working with images and text in Adobe InDesign. Follow the instructions carefully and experiment with the tools.
1 Part 1: Importing and Manipulating Images
1. Open InDesign & Place an Image
Go to File > Place... (or Ctrl/Cmd + D). Select image1.jpg and click once on your page to place it.
2. Resize the Frame
Using the Selection Tool (V) , drag a corner handle. What happens to the image when you resize the frame this way?
3. Move the Image Content
Click the small circle in the center (content grabber) or use the Direct Selection Tool (A) . What happens to the frame when you move the image content this way?
4. Experiment with Fitting
Draw a frame with the Rectangle Frame Tool (F) first, then Place image2.jpg inside it. Try Object > Fitting > Fill Frame Proportionally. Describe what it does:
Which fitting option do you think is best for most situations and why?
2 Part 2: Placing and Formatting Text
1. Create a Text Frame & Type
Select the Type Tool (T) . Drag a box and type: "Design is how it works." Change the font to 18pt and a color of your choice. What font did you choose and why?
2. Place Text from a File
Create a new larger frame and Place sample_text.txt. Does all the text fit? If not, what symbol appears at the bottom right?
3. Link Text Frames
Click the red plus sign on your overset frame, then click a new empty frame. Describe what happens to the text:
Final Reflection
In your own words, explain the difference between the Selection Tool and the Direct Selection Tool when working with images:
Mastering Layout Reading In-Depth Guide
Mastering Your Layout
An essential guide to frames, image placement, and professional text flow in Adobe InDesign.
01. The Power of Frames
In Adobe InDesign, everything you see on your page—whether it's an image, a block of text, or even a colored shape—lives inside a frame . Think of frames as invisible containers that hold your content. Understanding how to work with these frames is key to creating professional and organized layouts.
Graphic Frames
Designed to hold images. InDesign creates these automatically when you place an image, but you can draw them manually using the Rectangle Frame Tool (F).
Text Frames
Specifically for typography. Created with the Type Tool (T). You can type directly into them or place existing Word/TXT files.
02. Professional Image Handling
How you handle images is crucial for print quality. File > Place (Ctrl/Cmd + D) is the golden rule. Avoid copying and pasting from web browsers, as this often results in low-resolution images that look blurry when printed.
"When you place an image, InDesign doesn't actually embed the file. Instead, it creates a link to the original. This keeps file sizes small but requires you to keep your folders organized!"
Two ways to manipulate:
V
Selection Tool: Manipulates the frame itself . Use this to move the "window" or resize its outer boundaries.
A
Direct Selection Tool: Manipulates the content inside . Use this to zoom in, crop, or move the image within its frame.
03. Text Flow and Linking
Sometimes, you'll place text into a frame, and a small red plus sign appears at the bottom right. This indicates overset text —meaning there's more text than the frame can display.
Linking Frames
Click the red plus, then click an empty frame. The text will now flow automatically from one container to the next. This is how multi-page magazines are built!
04. Preparing for Print
Before sending your work to a printer, you must ensure it's "packaged."
© 2026 Layout Launch Materials • Designed for Education
Flyer Design Challenge Activity Project Brief
Your First Flyer Challenge
Apply your knowledge of importing images and placing/formatting text to create a professional one-page flyer.
Designer Name
Date
The Scenario
You are tasked with designing a promotional flyer for one of the following:
A school club meeting
A local community event
Your favorite book or movie
My Chosen Theme:
Technical Checklist
Document Setup: Letter Size
Min. 2 Imported Images (File > Place)
Min. 3 Formatted Text Frames
Experiment with Fitting Options
Link Overset Text (if needed)
Image Choices & Fitting
Which fitting option did you use for your main image? Why was it the right choice for your layout?
Text Hierachy
How did you make your headline stand out compared to your body text? (Mention fonts, sizes, or colors).
Self-Reflection
What was the most challenging technical part of building this flyer? How did you solve it?
Ready to submit?
Make sure to Save As (.indd) and use File > Package to gather your assets!
Layout Essentials Quiz Quiz: Layout Essentials
Adobe InDesign Fundamentals
Student:
Date:
Score:
1 What is the primary purpose of Adobe InDesign?
To edit photographs
To create vector graphics and logos
To arrange text and graphics for print documents
To build websites
2 Which menu command is best practice for bringing images or text into an InDesign document?
Edit > Paste
File > Open
File > Place...
Insert > Object
3 When using the Selection Tool (V), what are you primarily manipulating?
The actual pixel data of the image
The image content inside the frame
The frame that contains the image
The text flowing around the image
4 What does a small red plus sign (+) on a text frame indicate?
The text is too small
Overset text (more text than fits in the frame)
The text frame is locked
The text needs a different font
5 Explain the difference between the Selection Tool (V) and the Direct Selection Tool (A) with images. Provide an example for each.
Layout Essentials Answer Key Answer Key: Layout Essentials
Teacher Resource • Quiz Key
1 What is the primary purpose of Adobe InDesign?
To arrange text and graphics for print documents
2 Which menu command is best practice for bringing images or text into an InDesign document?
File > Place...
3 When using the Selection Tool (V) on an image in InDesign, what are you primarily manipulating?
The frame that contains the image
4 When you see a small red plus sign (+) at the bottom right corner of a text frame, what does it indicate?
The text is overset (more text than fits in the frame)
5 Explain the difference between the Selection Tool (V) and the Direct Selection Tool (A).
Ideal Response:
"The Selection Tool (V) manipulates the image frame itself (e.g., moving the frame, resizing the frame on the page).
The Direct Selection Tool (A) manipulates the image content inside the frame (e.g., cropping the image by moving it around within the frame, or resizing the image without changing the frame's size).
Example: Use the Selection Tool to move an entire photo to the top-left corner of the flyer. Use the Direct Selection Tool to zoom in on a person's face within that photo."
Layout Project Rubric InDesign Rubric
Picture & Text Layout Assessment
Total Score:
/ 20
Student:
Date:
Criteria Exceptional (4) Proficient (3) Developing (2) Beginning (1) Image Import
File > Place usage and quality.
| Correctly placed 2+ images using Place. Excellent resolution choice. | Placed 2 images using Place. Logical sizing. | Images present but some placed incorrectly. | Missing images or low-quality versions used. |
|
Frame Mastery
Selection vs Direct Selection.
| Expert separation of frame and content. Purposeful cropping. | Frame and content handled appropriately. | Some confusion between selection tools. | Little control over frames or content placement. |
|
Typography
Formatting & Hierarchy.
| Professional font choices and clear headline hierarchy. | Text is legible and formatting is consistent. | Formatting lacks clear hierarchy or is inconsistent. | Text is unformatted or difficult to read. |
|
Text Flow
Overset & Linking.
| Expert linking of text frames. Zero overset text symbols. | Successfully linked frames or managed size to fit. | Attempts to link but layout is disjointed. | Visible overset text (red plus) remains. |
|
Final Output
Saving and Packaging.
| Correctly Packaged folder with all links and fonts. | Packaged folder provided, missing minor assets. | Only .indd file provided without assets. | Incorrect file format or failed to save. |
Instructor Feedback