Blend Modes Lesson Plan Blend Modes: Digital Magic?
Lesson Plan • Photoshop Fundamentals
Duration 190 min
Objective
Students will understand and apply various Photoshop blending modes to create visually appealing digital compositions, fostering creativity and technical proficiency in image manipulation.
Why This Matters
Mastering blending modes unlocks a new level of creativity in digital art and photo editing. This skill is essential for students interested in graphic design, photography, or digital media, allowing them to transform ordinary images into extraordinary visual narratives.
Materials
Adobe Photoshop on Student PCs
Projector & Digital Display
Blending Modes Basics Reading
Practice Worksheet & Quiz
Project Guide & Rubric
Teacher Preparation (60 min)
• Review all instructional materials: Reading, Worksheet, Quiz, and Project Guide.
• Verify Photoshop functionality on all student workstations.
• Prepare example layered .PSD files for live demonstrations.
• Curate a "Resource Bank" of diverse images for project use (ensuring accessibility).
Instructional Steps
1
15 MIN
Introduction & Hook
Teacher: "Good morning/afternoon, everyone! Today, we're going to unlock some digital magic in Photoshop. Have you ever wondered how designers create stunning visual effects where images seamlessly merge or transform?"
"We're diving into the world of Blending Modes ! Think of it like adding different filters or special effects, but with way more control. Our goal today is to understand how these modes work to make your digital art truly pop!"
Display intriguing examples from the Slide Deck. Ask students what they observe and what effects they find most appealing.
2
30 MIN
What are Blending Modes?
Teacher: "In Photoshop, every layer has a blending mode. It's essentially how that layer's pixels interact with the pixels on the layers beneath it."
Present categories using the Slide Deck: Normal, Darken, Lighten, Contrast, Inversion, and Component.
Provide a brief overview of key modes: Normal, Multiply, Screen, Overlay, Soft Light, Difference, and Hue.
Distribute the Basics Reading . Allow 15 minutes for independent or paired reading. Encourage highlighting key terms.
3
45 MIN
Demonstration & Guided Practice
Demonstration: Project Photoshop. Show before/after effects for: Multiply (darkens/shadows), Screen (lightens/highlights), Overlay/Soft Light (contrast), and Difference (inverted/abstract).
Guided Task: Provide a simple layered file. Students experiment with 3-5 different modes, observing changes. Teacher circulates to provide individual support for neurodivergent students.
4
40 MIN
Blending Modes Practice Worksheet
Distribute the Practice Worksheet . Students work through applying modes to image layers and answering observation questions.
Teacher support: Use verbal prompting and visual cues for students who need additional processing time.
5
20 MIN
Review and Discussion
Review worksheet answers as a class. Address common challenges.
Discussion Prompt: "What was the most surprising blending mode you discovered today? How do you think you could use these in your own creative projects?"
6
20 MIN
Quiz & Project Introduction
Administer the Blend Mode Quiz .
Introduce the final project: My Blended Masterpiece .
Distribute the Project Guide and Rubric. Emphasize creativity and thoughtful application.
7
20 MIN
Wrap-up & Next Steps
Briefly recap the main categories and effects. Assign preliminary homework: gathering images or sketching concepts for the masterpiece.
Supporting Neurodivergent Learners
Visual Aids
Provide a printed 'cheat sheet' of icons for blending modes. Use color-coded categories in slides.
Pacing & Structure
Break down the 190 minutes into clear segments with transition warnings. Offer sensory breaks between active Photoshop time.
Executive Function
Use the Project Guide as a checklist. Provide pre-organized folders for project images.
Communication
Allow for alternative project reflections (recorded audio instead of written statement) if needed.
Blending Modes Slide Deck Digital Magic
Unlock Your Creativity with Photoshop Blending Modes!
What Are Blending Modes?
Definition
Blending modes determine how a layer's pixels blend with the pixels on the layers beneath it.
"Think of it as a special math equation applied to colors!"
Main Categories
Normal
Darken (e.g., Multiply)
Lighten (e.g., Screen)
Contrast (e.g., Overlay)
Inversion & Component
The Essentials
Multiply
Darkens the image. Great for shadows, tinting, or combining textures.
Analogy: Stacking transparent colored films.
Screen
Lightens the image. Ideal for highlights, glows, or brightening effects.
Analogy: Projecting two slides on one screen.
Overlay
Increases contrast and saturation. Adds richness and "pop."
Analogy: A dimmer switch for color and light.
Difference
Creates inverted, abstract effects. Useful for creative transformations.
Analogy: Subtracting colors to see what's left.
See the Magic Happen!
Live Photoshop Demo
Watch as we cycle through these modes on a single image. Pay close attention to how light and dark areas change!
Normal
Multiply
Screen
Overlay
Magic?
Pro Blending Tips
Experiment!
Don't be afraid to try modes you don't know yet.
Adjust Opacity
Fine-tune the effect strength for a professional look.
Know Your Goal
Are you trying to darken, lighten, or add texture?
Ready to try?
Which blending mode are you excited to use first?
"The more you practice, the more intuitive it becomes!"
Your Journey Begins!
Blending modes transform layers into masterpieces. It's time to create your own digital magic!
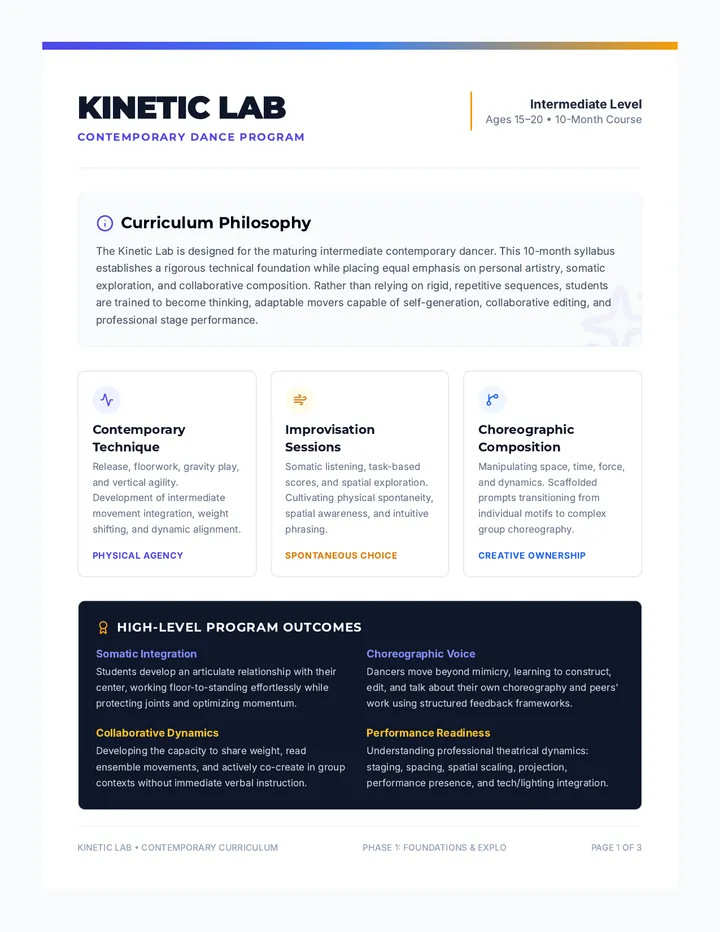
Basics Reading
Practice Sheet
Masterpiece Project
Blending Modes Basics Reading Digital Arts Series | Master Class
Blending Modes:
Your Guide to Digital Harmony
Welcome to the exciting world of Photoshop blending modes! These powerful tools allow you to control how colors and tones interact, opening a universe of creative possibilities.
What Exactly is a Blending Mode?
Imagine you have two transparent sheets of paper, each with a different drawing. When you place one on top of the other, the way they combine depends on their transparency and how their colors react.
In Photoshop, layers are like those sheets of paper. Blending modes are mathematical instructions that tell Photoshop how to mix the pixels.
Key Terms
Blend Layer
The layer you're applying the mode to (the top layer).
Base Layer
The layer(s) beneath the blend layer.
Result Color
The final color produced by the interaction.
The Main Categories
1. Normal
Normal: This is the default. The pixels on the blend layer simply cover the pixels on the base layer. If the blend layer has transparency, you'll see through to the base layer. It's like placing an opaque piece of paper on top of another.
2. Darken
These modes generally make the overall image darker by selecting darker colors or multiplying luminosity.
Multiply: Multiplies the luminosity of the base color by the blend color. This almost always results in a darker color, creating a rich, shadow-like effect. It's excellent for adding realistic shadows or combining textures.
Analogy: Stacking two transparent colored filters.
Color Burn: Darkens the base color to reflect the blend color by increasing contrast, creating intense shadows.
3. Lighten
These modes generally make the overall image lighter by selecting lighter colors or screening luminosity.
Screen: Multiplies the inverse of the colors. This always produces a lighter color, creating luminous, highlight-like effects. Perfect for glows or light flares. It works opposite to Multiply.
Analogy: Projecting two slides onto the same screen.
Color Dodge: Brightens the base color to reflect the blend color by decreasing contrast, creating vibrant, glowing highlights.
4. Contrast
These modes perform both darkening and lightening operations simultaneously, depending on the blend layer's brightness.
Multiplies or screens colors based on the base layer. It preserves highlights and shadows while adding the blend layer's character. Great for vibrancy.
Blending Modes Practice Worksheet Blending Modes Practice
Digital Arts: Hands-on Exploration
Name:
Date:
Instructions: Follow the steps below using Adobe Photoshop. For each task, observe the changes and answer the questions. You will need a Photoshop file with at least two layers: a background layer and an overlay layer (e.g., a texture, pattern, or secondary image).
1 Part 1: Exploring Core Blending Modes
Task 1: Normal Mode
Ensure the top layer (overlay) is selected.
Set the blending mode to Normal .
1. Describe what you see. How does the top layer interact with the layer below it in Normal mode?
2. What happens if you decrease the opacity of the top layer in Normal mode?
Task 2: Multiply Mode
Change the blending mode of the top layer to Multiply .
1. Describe the overall effect of Multiply mode. Does it make the image darker or lighter?
2. When might you want to use Multiply mode in a design or photo?
Task 3: Screen Mode
Change the blending mode of the top layer to Screen .
1. Describe the overall effect. How does it differ from Multiply?
2. Can you think of a situation where Screen mode would be particularly useful?
Task 4: Overlay Mode
Change the blending mode of the top layer to Overlay .
1. What kind of effect does Overlay create? How does it treat dark and light areas?
2. How might Overlay be used to enhance a photograph or artwork?
Task 5: Difference Mode
Change the blending mode of the top layer to Difference .
1. Describe the visual outcome. What is unique or surprising about this effect?
2. In what type of creative project might you use Difference mode?
2 Part 2: Critical Thinking & Application
1. If you want to add a realistic-looking shadow to an object, which blending mode would be a good starting point and why?
2. You have a dark image, and you want to brighten it up and add a glowing effect using another layer. Which blending mode would you choose? Explain your reasoning.
3. Imagine you have a grayscale photo and you want to colorize it while keeping all its original shading and detail. Which blending mode would allow you to do this effectively, and why?
4. Based on your experiments today, what is one new thing you learned about how blending modes work that you didn't know before?
Blend Mode Quiz Blend Mode Quiz
Digital Art Foundations
Name:
Date:
1
Which blending mode typically makes an image darker and is often used for shadows or combining textures?
Screen
Overlay
Multiply
Difference
2
If you want to create a glowing or brightening effect, which blending mode would be most suitable?
Multiply
Screen
Normal
Color Burn
3
Which blending mode is known for increasing contrast and saturation, making an image more vibrant?
Darken
Screen
Difference
Overlay
4
Describe what the 'Normal' blending mode does and how it differs from other modes.
5
You have a vibrant red texture layer and want to apply its color to a grayscale image without affecting the grayscale image's light and dark values (luminosity). Which blending mode would you use and why?
My Blended Masterpiece Project Guide My Blended
Masterpiece
Final Project Guide • Photoshop Blending Modes
Project Goal
Create a compelling digital artwork or photo manipulation using Adobe Photoshop that effectively demonstrates your understanding and creative application of at least three different blending modes . Transform ordinary elements into something extraordinary!
Deliverables
Final JPEG or PNG (High Res)
Photoshop (.PSD) File with layers
Artist Statement (200-300 words)
Project Roadmap
1
Brainstorm & Plan (30 min)
Concept: Decide on a story or mood (fantasy, surrealism, urban, etc.). Gathering: Collect 3-5 high-quality images (base and overlays). Sketch: (Optional) Create a rough sketch or mood board.
2
Assemble & Experiment (90 min)
Setup: Create new document; import images onto separate layers. Organize: Name layers clearly (e.g., "Sky," "Texture," "Character"). Explore: Apply Multiply, Screen, Overlay, etc. Adjust Opacity and Fill .
3
Polish & Finalize (40 min)
Refine: Use layer masks to hide unwanted areas. Adjust color and tone. Export: Save as .PSD and export high-res JPEG/PNG.
4
Artist Statement (30 min)
Answer these questions in 200-300 words:
What was your initial concept or inspiration?
Which 3+ blending modes did you use? Why those specifically?
How did they help achieve your vision?
What challenges did you encounter?
What is your favorite part and why?
Mastery Objectives
By the end of this project, you will have demonstrated creative application of interaction math, developed a cohesive digital narrative, and reflected on technical choice vs artistic impact.
Project Rubric Project Rubric
MY BLENDED MASTERPIECE
Student Name
Date
Category 4 - Exceeds 3 - Meets 2 - Developing 1 - Needs Support Blending Modes Application Effectively uses 3+ modes with advanced understanding. Choices significantly enhance vision. Uses 3+ modes with clear understanding. Choices support the vision. Uses 2-3 modes; application is basic or lacks creative impact. Fewer than 2 modes used, or application is ineffective. Composition & Impact Exceptionally well-composed; stunning visuals; tells a compelling story. Well-composed and visually appealing; communicates clear idea. Somewhat organized; lacks strong visual appeal or clear central idea. Disorganized or visually confusing; lacks originality. Technical Proficiency Excellent command of masking/adjustments. Clean and refined execution. Good command of Photoshop tools, layers, and basic adjustments. Basic proficiency; some areas unpolished or require refinement. Lacks basic skills; layers disorganized; execution is messy. Artist Statement Comprehensive, insightful, and articulate reflection. Exceeds word count. Clear and thoughtful reflection on choices and impact. Meets word count. Basic description; may lack depth or clear explanation. Minimal or unclear statement; below word count. File Organization Impeccably organized with clearly named layers and smart objects. Well-organized with clearly named layers. Somewhat organized; names may be inconsistent. Disorganized; difficult to identify layers or workflow. Effort & Engagement Superior effort and enthusiasm; goes above and beyond. Consistent effort demonstrated to meet all requirements. Some effort, but project may feel rushed or incomplete. Minimal effort; project appears incomplete.
Total Score
/ 24
Teacher Comments