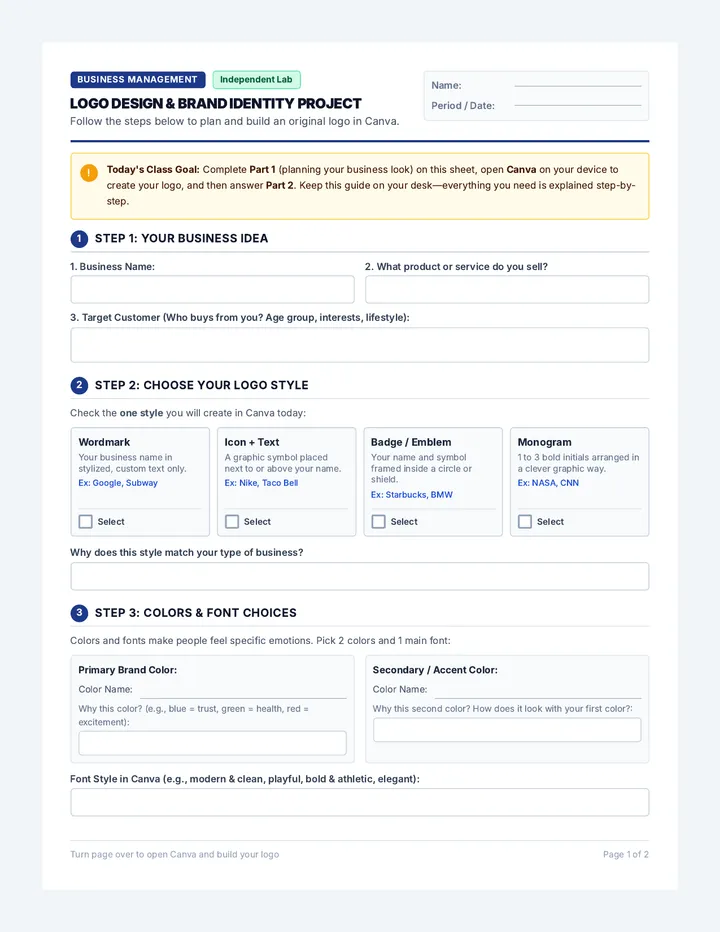
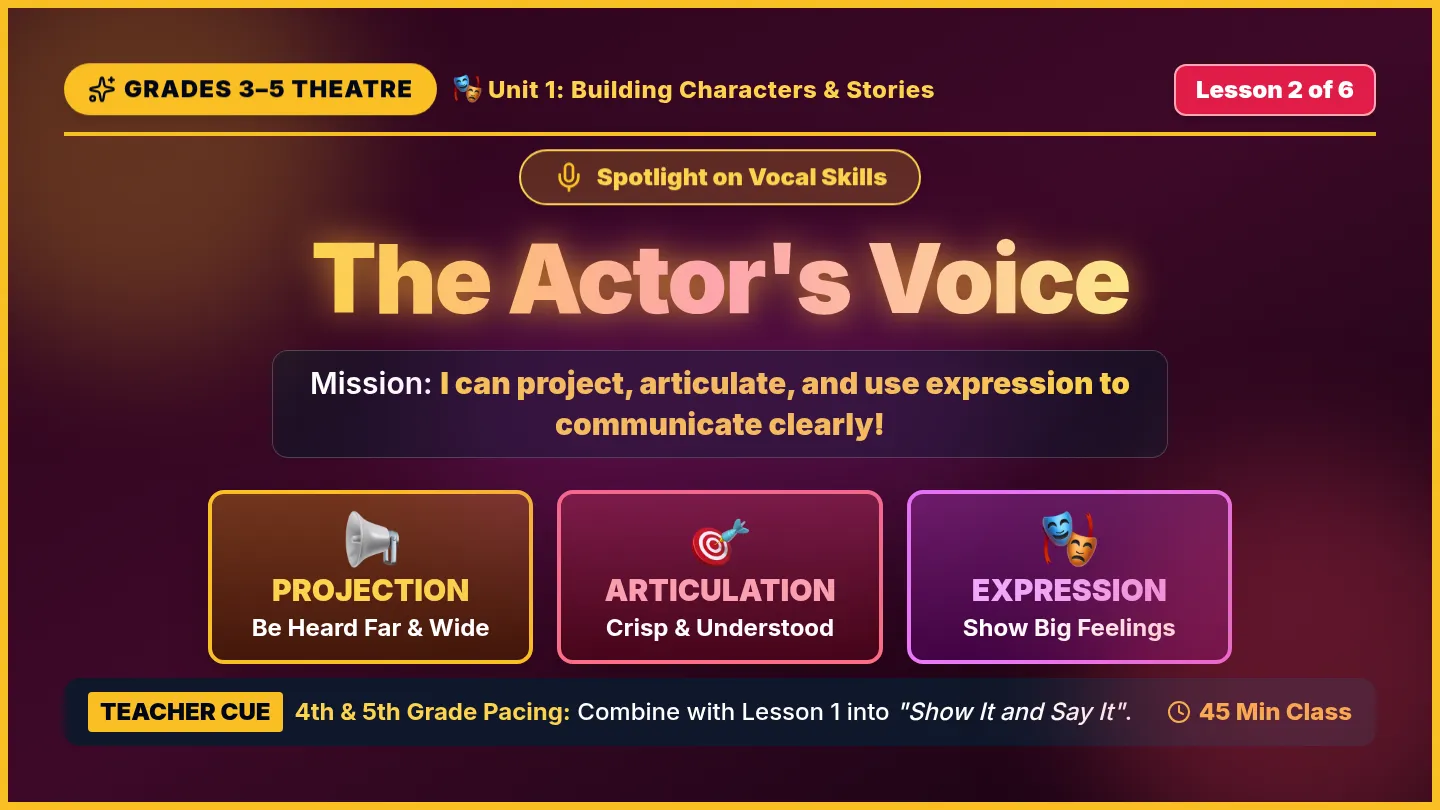
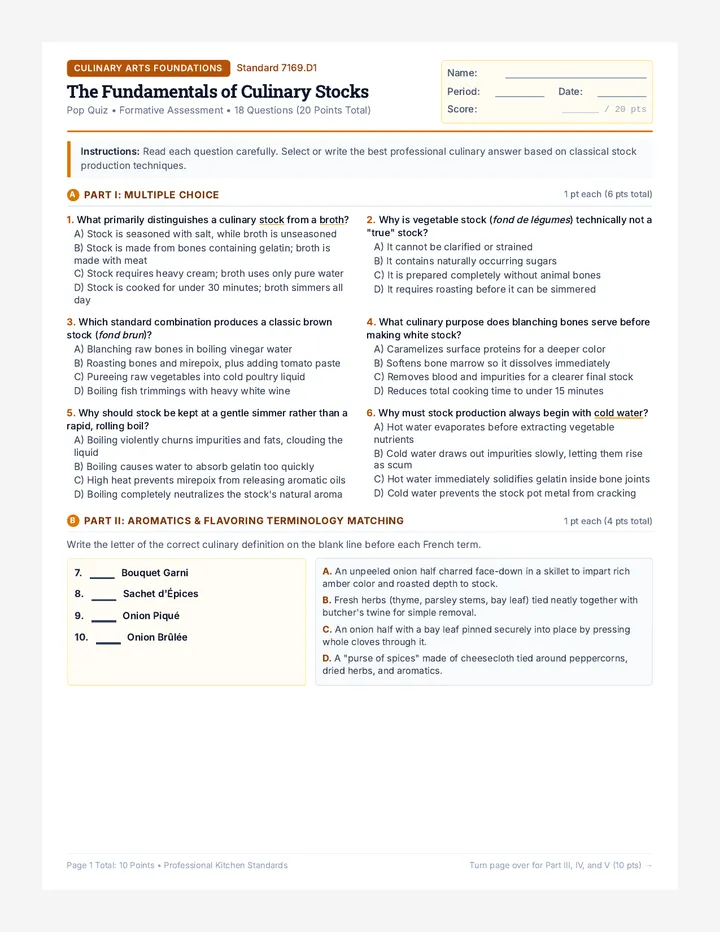
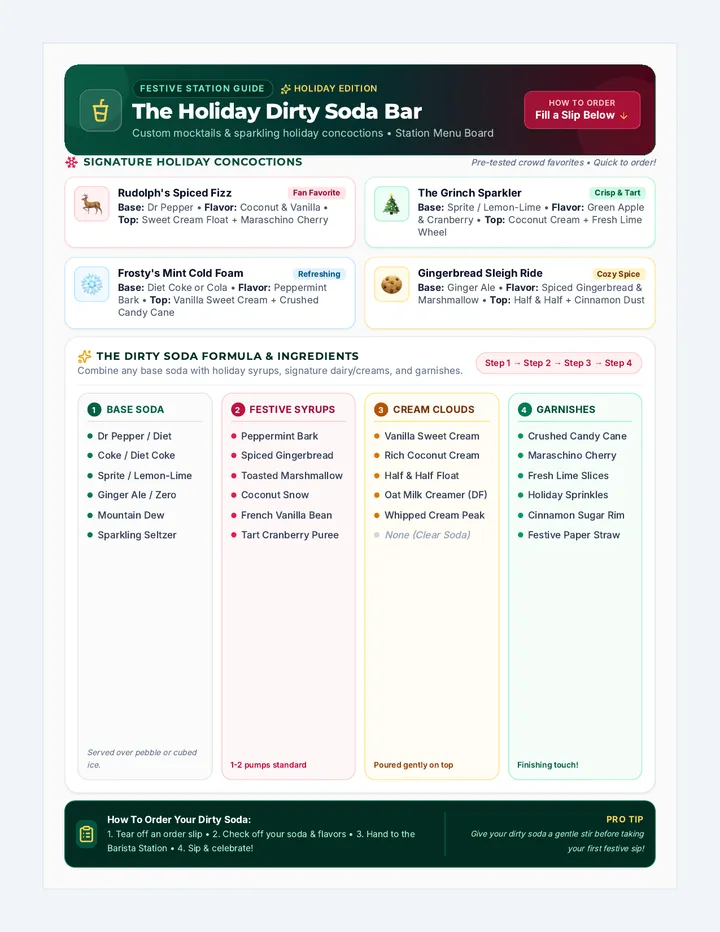
Pixel to Print Slides Pixel to Print
Mastering Digital Design for Analog Output
Digital Phase Analog Phase
The Secret of the Dot
Look closely at a newspaper. What do you see?
Images aren't "gray"—they are patterns of black and white.
Halftones create the illusion of tone through dot density.This is how we print continuous-tone photos using just one ink.
DIGITAL HALFTONE SIMULATION
Binary Design Thinking
Separation
Analog printing (screens/blocks) requires one plate per color. Your digital file must be separated from the start.
Contrast
Avoid gradients! Use solid blacks (100% K) and whites. If it's 50% gray, it won't expose correctly without bitmapping.
Trapping
Analog printing isn't perfect. We add a tiny "overlap" (bleed/trap) so gaps don't appear between colors.
Digital Workflow: Bitmap
1. PHOTO
High-resolution grayscale image
2. LEVELS
Boost contrast to isolate highlights/shadows
3. BITMAP
Convert to Half-tone Screen (Round dot, 45° angle)
Pro Tip: Match your halftone Frequency (LPI) to your screen mesh count (TPI). A common ratio is Mesh Count / 4.5 = Max LPI .
Launch: Your Design
1
Identify One Focal Point
Choose a photo or high-detail sketch that would be impossible to carve by hand.
2
Generate Two Plates
Design a Background Plate (Solid Shapes) and a Detail Plate (Halftone/Texture).
3
Check Your Registration
Add "crop marks" or crosshairs to both files so we can align them later in the physical world.
Layer Logic Handout Layer Logic
Digital Design for Analog Output
Student:
Date:
Project Blueprint
Subject Matter
What is the central image of your hybrid print?
Printing Method
Choose your primary output matrix:
Screen Print (High Detail Halftone)
Woodblock / Relief (High Contrast Vector)
Layer Separation Matrix
Layer Order Description (Foreground/Background/Detail) Digital Effect (Solid/Halftone/Texture) Ink Color 01 02 03
Halftone Calculation
Use this formula to determine your max LPI (Lines Per Inch):
Mesh Count ÷ 4.5 = Recommended LPI
Your Mesh Count:
Your Max LPI:
Thumbnail Sketch: Separation Concept
Visualization Space
Digital Workflow Guide Teacher Resource Digital Workflow Guide
Teacher Resource: Technical Facilitation
Instructional Focus
This guide provides the technical steps for converting student designs into print-ready matrices. The primary goal is to ensure students understand that **every mark must be binary** (100% Black or 0% White) for successful analog exposure or carving.
Adobe Illustrator Adobe Photoshop Procreate
Key Vocabulary
Halftone: Pattern of dots.LPI: Lines Per Inch (Density).Registration: Alignment of layers.Trapping: Overlapping color edges.
Conversion Workflows
01 Photoshop: Halftone Conversion
Image Mode: Change to Grayscale. Discard color info.Adjust Levels: Cmd/Ctrl + L. Push shadows to black and highlights to white.Convert to Bitmap: Image > Mode > Bitmap.Settings: Output should be 300 Pixels/Inch. Method: Halftone Screen.Screen Specs: Frequency: 35-45 LPI (safe for school screens). Angle: 45°. Shape: Round.
02 Illustrator: Vector Separation & Trapping
Layer Separation: Ensure Background and Detail are on separate top-level layers.Registration Marks: Place a 0.25" crosshair at the center-top and center-bottom of the artboard on a dedicated layer visible on all plates.Apply Trap: Select background shapes. Object > Path > Offset Path. Enter 0.05 in. This ensures no "white gaps" when printing by hand.Export: Export as high-res PDFs, one file per color/layer.
Common Pitfalls
"My Halftones are mud!"
The LPI is likely too high for the screen mesh. Lower the Frequency in the Bitmap dialog to 30 or 35.
"Layers don't line up."
Ensure students are not moving registration marks between exports. Lock the registration layer!
Matrix Transfer Slides MATRIX
TRANSFER
ANALOG
DIGITAL
MATRIX
TRANSFER
ANALOG
DIGITAL
The Transfer Phase
Moving Bits to Bricks: From Screen to Block
The 60-Second Transfer
How do you move toner (plastic) from paper to wood without a press?
The Alchemy
1. A laser-printed image (reverse).
2. Essential oils or acetone.
3. Friction (the burnisher).
WARNING: This process is irreversible once started!
DEMO: ACETONE TRANSFER TECHNIQUE
Choose Your Matrix
Chemical
Best for woodblocks. Acetone or Citrasolv dissolves toner and bonds it to wood.
+ Fast
- Toxic fumes
- Slight blurring
UV Exposure
Best for screens. Digital design is printed on transparency and "burned" onto emulsion.
+ High Precision
+ Repeatable
- Darkroom required
Physical Trace
Graphite or carbon paper tracing. Best for complex lino-cuts.
+ Low Tech
+ Safe
- Time intensive
The Mirror Rule
In almost every transfer method, your digital file must be FLIPPED HORIZONTALLY before printing.
R
Digital Design
R
Printed Matrix
If you can read it on the block, you can't read it on the print!
Workshop: Matrix Prep
Clean and sand your surface (Wood/Linoleum).
Degrease your screen mesh (Screen Print).
Secure your reversed print-out to the matrix using masking tape.
Goal:
Produce a clearly transferred guide on your matrix that is ready for carving or exposure by the end of the period.
Transfer Lab Report Activity Transfer Lab Report
Inquiry: Bits to Bricks
Matrix Code: ________
Operator: ________________
Inquiry Question
Which transfer method best preserves the digital precision of my halftone or vector design?
Experiment 01: Method Comparison
Transfer Type Observations (Quality, Speed, Ease) Detail Score (1-10) Chemical (Acetone) UV Exposure Physical (Carbon/Trace)
The "Mirror" Test
Did you remember to flip your digital file? Explain the consequences of printing a non-reversed design.
Substrate Compatibility
How did your specific matrix (wood, lino, mesh) react to the chosen transfer method?
Final Protocol Selection
Based on your experiments, which method will you use for your final zine production and why?
Validated by Instructor: ________________
Transfer Method Cheat Sheet Teacher Resource Transfer Stations Guide
Teacher Setup & Facilitation
PHASE 2 LAB SETUP
Station 1: Chemical Transfer
Materials Needed:
Laser-printed images (reversed)
Acetone or Citrasolv
Cotton balls or rags
Metal burnishers or wooden spoons
Masking tape
Tip: Toner must be from a laser printer/copier. Inkjet will not work as it lacks plastic toner to melt.
Station 2: UV / Screen Exposure
Materials Needed:
Transparencies (high density ink)
Coated screens (dry emulsion)
UV Exposure unit or 500W work light
Pressure glass / Vacuum frame
Washout booth & power sprayer
Safety: Ensure students do not look directly at UV lights during exposure.
Station 3: Physical Trace
Materials Needed:
Pencil drawings or printouts
Carbon paper or Saral transfer paper
Red ballpoint pens (for tracking progress)
Drafting tape
Strategy: Use a red pen to trace over the original; this makes it clear which lines have already been transferred.
Technical Checkpoint
Before students leave a station, they must verify:
Is the image reversed?
Is the registration mark sharp?
Is the surface clean of residue?
Facilitation Notes
Chemical Ghosting
If using too much acetone, the paper will blur. Use a "tap and wipe" method rather than soaking.
Underexposure
If emulsion washes away, increase exposure time by 15-second intervals. Perform a step-test if needed.
Carbon Smudge
Students should rest their hand on a scrap piece of paper to avoid smearing the carbon while tracing.
Hybrid Layers Slides Hybrid Layering
Where the Machine Ends and the Hand Begins
Digital Base
Analog Overlay
The Modern Masterpiece
Consider artists like Shepard Fairey or Swoon . Their work isn't just one thing.
Digital patterns and collage provide the "substrate" (background).
Hand-pulled prints provide the "soul" (analog texture and variation).
The Collision
How do we align digital precision with analog unpredictability?
The Registration Nightmare
Paper Stretch
When you laser-print a background, the heat of the printer can slightly shrink or warp the paper fibers.
Ink Drag
Analog ink has physical weight. It can move the paper slightly if it's not taped down securely.
Solution: The Pin & Jig Method
Creating a physical "stop" for your paper ensures every layer hits the same spot.
Beyond White Paper
Our digital backgrounds don't have to be plain. Experiment with printing on:
Old Maps
Book Pages
Cardboard
Wood Veneer
"Texture is the digital designer's secret weapon."
Mission: The First Pull
01
Print 5 digital background variations (High Contrast / Subtle Pattern).
02
Create a Registration Jig on the press bed or table using tape.
03
Ink your analog matrix and pull your first hybrid print.
Precision Chaos
Registration Roadmap Checklist Registration Roadmap
Hybrid Printing Checklist
Target: Perfect Alignment
Student Name
Matrix Type
Registration is the process of aligning multiple layers of an image. In hybrid printmaking, we must align a machine-printed base with a hand-pulled overlay.
Step-by-Step Protocol
1
The Digital Base
Verify your digital background includes Crop Marks or Crosshairs in the exact same position as your analog matrix design.
2
The Jig Setup
Create a Physical Stop (jig) on your press bed or printing table using masking tape or plastic tabs. This ensures every piece of paper starts in the identical position.
3
The "Dry Run"
Place your un-inked matrix on the press. Align a background print with the matrix using your registration marks. Adjust the jig if the alignment is off by even 1mm.
4
Ink & Pull
Ink your analog matrix. Use consistent pressure. Check that the ink transparency allows the digital background to show through where intended.
Technical Reflection
Alignment Accuracy (0-100%)
______ %
Primary Challenge Encountered
Notes for the Final Zine Edition
Registration Master Class Teacher Resource Registration Master Class
Teacher Notes: Alignment & Substrates
Phase 3
Critical Technical Focus
The most significant challenge in this lesson is the "Digital vs. Analog Mismatch." Digital printers apply heat and pressure that can dimensionally alter paper, making registration with a physical block difficult.
Teaching Tip
"Have students print their digital backgrounds on 'oversized' paper. It is much easier to register a block to a larger sheet than a tiny one."
Demo Script: The Registration Jig
Step 1: The "Stay-Put" Method
"Watch how I secure this corner. I'm using three layers of masking tape to create a 'lip'. This isn't just a mark on the table; it's a physical wall. Every time I slide my paper in, it hits this wall at the same angle."
Step 2: The "Ghost" Alignment
"Before I ink the block, I'm placing my digital print face-up. I'm looking through the back of the paper (use a light table if available) to see where the block sits. If my crosshairs don't match, I adjust the jig now, not after the ink is wet."
Alternative Substrate Performance
Substrate Digital Print Prep Analog Ink Compatibility Old Maps / Newsprint Feed carefully; may require a carrier sheet. Excellent. Highly absorbent. Kraft Paper / Cardboard Use bypass tray for thickness. Good, but requires more pressure. Wood Veneer Manual feed only. Check for toner adhesion. Stunning results with oil-based inks.
Lesson 3 Goal:
Students produce at least two successful hybrid proofs with < 1mm registration error.
Zine Machine Slides Zine Machine
Structure, Narrative, and the Architecture of the Page
8 Pages, 1 Sheet
The One-Page Zine is a miracle of engineering. One piece of paper becomes a multi-page book with zero staples.
The Logic
1. Fold into 8 sections.
2. Cut the center horizontal line.
3. Collapse into a book.
PAGE 8
PAGE 1
PAGE 2
PAGE 7
PAGE 5
PAGE 4
PAGE 3
PAGE 6
IMPOSITION DIAGRAM
The Imposition Puzzle
In professional printing, pages aren't printed in order (1, 2, 3, 4). They are "imposed" on large sheets.
Why it matters:
To make a hybrid zine, you must know where your digital background and analog overlay will land after the book is folded and bound.
The Rule of Fours
A saddle-stitched book must always have a page count divisible by 4.
4
8
12
16
The Page Turn
Hybrid printing allows you to create **visual rhythm**. Think about the transition between your machine-made and hand-made elements.
Pacing
How much white space is on the page? Does the viewer need a "break" between dense prints?
Bleeds
Do your prints run off the edge of the page? (Digital can, but analog is harder!)
Sequencing
Does Page 3 inform Page 4? How does the "reveal" of a page-turn change the meaning?
Zine Architecture Task
1
Create a Dummy Book (blank paper mock-up).
2
Map out your Imposition : Which prints go on which pages?
3
Confirm your digital layouts are ready for the final print run.
"A zine is a conversation. What is your hybrid workflow saying?"
Imposition Map Worksheet Imposition Map
Zine Architecture Planning
Operator: ________________ Page Count: ________
"Don't print until you've folded." Before starting your final edition, use this map to visualize how your prints will flow once bound.
Sheet A: Front (Outer)
PAGE ______
PAGE ______
Sheet A: Back (Inner)
PAGE ______
PAGE ______
Narrative Sequence
Page Content (Digital Background + Analog Print) Notes Cover 02 03 Back
Binding Method
Saddle Stitch (2 staples or 3-hole pamphlet stitch)
Paper Weight
Recommended: 80lb Text or 100lb Text for hybrid prints
Saddle Stitch Guide Teacher Resource Saddle Stitch Guide
Teacher Facilitation: Binding Phase
Assembly
Tool Kit Setup
Bone Folders
Awls / Punches
Linen Thread
Book Needles
The 3-Hole Pamphlet Stitch
1
The Fold: Use a bone folder to create a crisp crease in the "signature" (the stack of pages). The hybrid ink must be completely dry before this step to avoid cracking.
2
The Punch: Use an awl to punch three holes along the spine: one in the center, and two about 1.5 inches from the top and bottom edges.
3
The Thread: Measure thread length—typically 3x the height of the book. Waxed linen thread is best for durability and grip.
4
The Stitch: Start inside at the center hole. Go out, then into the top hole, then all the way to the bottom hole, and back through the center.
5
The Knot: Ensure the center thread is caught between the long vertical thread before tying a square knot. Trim tails to 0.5 inches.
Technical Note: If students have used thick woodblock ink, recommend a "jogging" step before folding to ensure the spine doesn't burst.
Binding Troubleshooting
Loose Spine
The knot wasn't pulled tight enough. Have the student untie and re-tension before the final knot.
Tearing Holes
The paper weight may be too light for the thread tension. Use a "guard" or reinforcement tape on the spine if needed.
Misaligned Pages
Ensure the "signature" was tapped into alignment (jogged) before punching the holes.
Print Exchange Slides The Exchange
Professional Practice & Artistic Value
Community
Professionalism
Valuation
Printmaking Culture
Printmakers are famously collaborative. Portfolio Exchanges are a century-old tradition.
The Deal
1. You produce an edition of 15 identical prints/zines.
2. You keep one, and trade the rest with your peers.
3. You leave the class with a curated collection of 15 unique works.
THE EDITION: REPETITION AS POWER
The Artist Statement
Art is 50% technical and 50% conceptual. If you can't talk about your process, the viewer is lost.
Hybrid Talking Points:
Why did you choose digital for the background?
What does the analog texture add to the story?
How did the limitations of the matrix change your design?
Artist Bio
"My work explores the tension between..."
The Marketplace Mock-Up
Today, we assign value. How do you price a piece of art? It's not just "materials + time." It's **narrative + technical skill + scarcity**.
Time
Design time vs. Print time
Skill
Registration precision
Concept
Originality of the narrative
The Exchange Task
1
Set up your Booth : Zines/Prints + Artist Statement.
2
Network : Spend your 'Mock Credits' to acquire the works you most admire.
3
Complete your Exchange Log : Record who you traded with and why.
TRADE BEGINS NOW
Artist Bio Template Artist Profile
The Exchange Portfolio
Edition # ________ / 15
Artist Statement
Write a 3-4 sentence statement explaining your hybrid workflow. Focus on the relationship between your digital design choices and your analog print results.
Technical Specs
Digital Tool:
Matrix Type:
Ink Type:
Paper/Substrate:
Valuation Matrix
Assign a 'Mock Credit' Value (10-100)
Total Valuation: ₵ ______
Valuation based on: Technical Difficulty, Conceptual Depth, and Print Consistency.
The Exchange Log
Trade # Artist Traded With Primary Reason for Acquisition 01 02 03 04
Verified Hybrid Workflow
Art Fair Facilitator Guide Teacher Resource Exchange Facilitation Guide
Teacher Resource: Professional Practice
The Exchange
Phase 1: Booth Setup (15 mins)
Student Requirements
Layout 15 identical, signed, and numbered zines/prints.
Display the completed Artist Statement / Bio.
Clearly post the 'Mock Credit' price.
Teacher Facilitation
Provide students with 100 Mock Credits each (use play money or a digital tracking sheet). Explain that they cannot 'buy' their own work.
Phase 2: The Mock Art Fair (30 mins)
Divide the class into two groups. Group A acts as 'Gallerists/Artists' while Group B acts as 'Collectors/Critics'. After 15 minutes, swap roles.
Discussion Prompts for Students:
"How did you achieve that specific halftone density?"
"Why did you choose this alternative substrate?"
"What was the biggest hurdle in your registration?"
"Tell me about the narrative flow in this zine."
Phase 3: Formal Portfolio Exchange (15 mins)
Once the 'credits' are spent, students finalize their physical trades. Every student should end the class with a diverse portfolio of work.
Reflective Exit Ticket:
"Identify one piece you acquired today that utilized a digital-analog workflow in a way you hadn't considered. What will you borrow for your next project?"
Portfolio Review Rubric
Technical Registration & Print Quality
Hybridity Integration of Tools
Presentation Bio & Final Construction
Practice Exchange Engagement