Mindful Tangles Slides
Mindfulness & Fine Art Studio
The Zentangle® Method
Slow Drawing • Focused Awareness • Creative Calm
Mindful Tangles
Discover how repetitive, deliberate pen strokes can anchor your attention, silence mental chatter, and unlock deep calm.
"Anything is possible, one stroke at a time." Take one deep, slow breath in...
What is Zentangle?
Origin & Purpose
Created by Rick Roberts and Maria Thomas, Zentangle is an easy-to-learn method of drawing structured, repetitive patterns.
Non-Representational
You are not drawing "things" like trees or faces. There is no right side up and no expectation of likeness.
Process Over Outcome
The journey of each individual line matters far more than the final picture.
Core Principle
3.5" × 3.5" Cotton Tile
Intimate, portable, and achievable in a single peaceful sitting.
Focus Point: Release any urge to produce a masterpiece. Step 1 of 8
The Mindful Mindset
Presence Over Perfection
No Erasers Allowed
There are no mistakes in Zentangle. An unexpected wobble or stray stroke is simply a new artistic opportunity.
Mindful Shift: Accept & Integrate
One Stroke, One Breath
Slow down your hand. Coordinate your pen movement with steady exhalations. Feel the friction of pen on paper.
Mindful Shift: Sensory Awareness
Non-Judgment
When inner criticism whispers ("This line looks crooked"), gently notice the thought and let it pass like a cloud.
Mindful Shift: Gentle Curiosity
Key Reminder: You don't need drawing experience to practice Zentangle. Breathe in for 4 seconds... Out for 4 seconds...
The 8 Steps of the Ritual
A Step-by-Step Ceremony
01
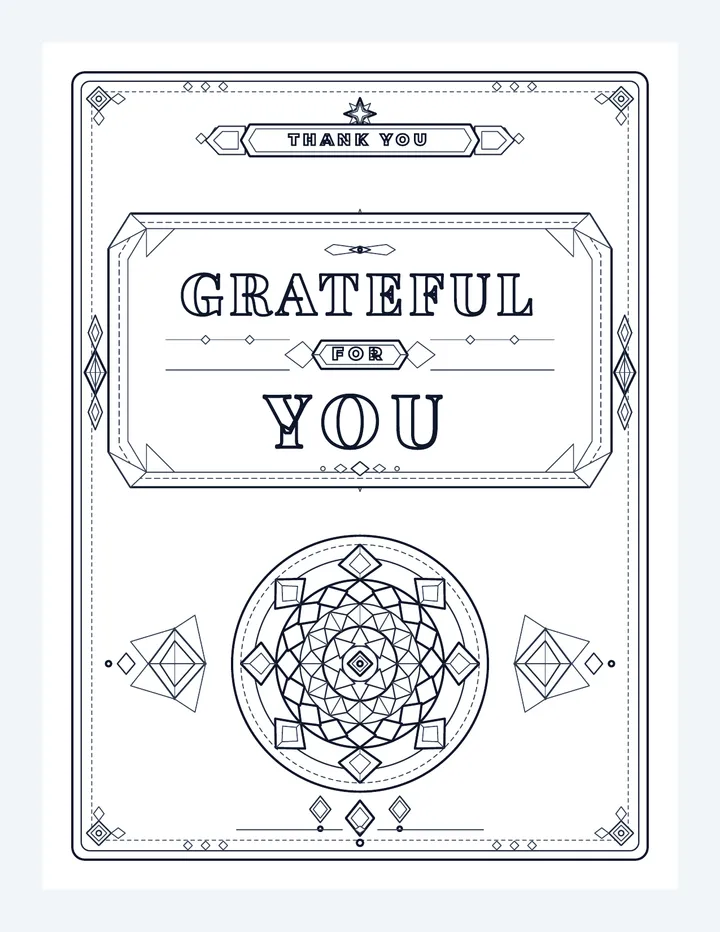
Gratitude
Pause, sit comfortably, and give thanks for this peaceful time.
02
Corner Dots
With pencil, make 4 light dots near the corners of your square.
03
Pencil Border
Connect the 4 dots with soft freehand curved lines.
04
The "String"
Draw a light pencil curve (like a Z, C, or loop) to divide space.
05
Tangle
Draw repetitive ink patterns deliberately inside each section.
06
Shade
Add soft graphite pencil along edges, blending with a tortillon.
07
Sign & Date
Place your unique artist mark/chop in ink on the front or back.
08
Appreciate
Hold your tile at arm's length. Turn it around. Admire your work!
Steps 1–4 take only 2 minutes; Step 5 is where your flow state blossoms. Next: Learning 4 Foundation Tangles
Foundation Pattern 1
Crescent Moon
Organic & Radiating
STEP 1
Draw "Ladybugs"
Place semi-circles along the border line and fill them in solidly with black ink.
STEP 2
Draw First "Aura"
Draw an echo contour line ("aura") hovering a tiny distance over each shape.
STEP 3
Radiate & Merge
Add more auras until they bump into one another, then drape across them both.
Mindful Cue: Inhale as you position the pen; exhale slowly as you pull the aura curve. Pattern 1 of 4
Foundation Pattern 2
Hollibaugh
The "Drawing Behind" Magic
STEP 1
First Ribbon
Draw two parallel straight or slightly curved lines clear across the space.
STEP 2
Draw "Behind"
Start a new ribbon. Stop the pen at the edge, lift, and continue out the opposite side.
STEP 3
Weave Multiple Layers
Keep weaving ribbons behind existing ones. The illusion of deep 3D space appears instantly.
Mindful Cue: As your pen "jumps" behind, hold your mental focus unbroken through the line. Pattern 2 of 4
Foundation Pattern 3
Printemps (Spring Spirals)
Continuous Swirls
STEP 1
Center Spiral
Start from the inside dot and wind outward in 2 to 3 smooth, gentle concentric rings.
STEP 2
Nest Together
Tuck new spirals snugly against the outer edges of the previous ones like smooth river stones.
STEP 3
Ink the Gaps
Use your black pen to fill in the little triangular gaps between circles for rich contrast.
Mindful Cue: Notice the circular motion. Let your shoulder and arm relax completely. Pattern 3 of 4
Foundation Pattern 4
Florz (Checker Diamonds)
Geometric Rhythm
STEP 1
Diagonal Grid
Draw evenly spaced parallel diagonal lines across your section in both directions.
STEP 2
Fill Diamonds
Fill alternating diamond boxes with solid ink, leaving a tiny dot of white un-inked as a highlight.
STEP 3
Add Sparkle
Draw tiny crosshairs or delicate internal auras inside the empty diamonds for sparkle.
Mindful Cue: Repetitive coloring in is deeply soothing; rest your jaw and release facial tension. Pattern 4 of 4
Studio Time: The Mindful Flow
Silent Dedicated Focus
Set Up Your Canvas
Pencil your 4 corner dots and light string to partition your tile into 2 to 4 cozy drawing pockets.
Pick 2 to 3 Tangles
Select patterns that speak to you today. Let each section fill with quiet repetition.
Turn Your Paper Frequently
Rotate the tile in your hands so your wrist and fingers always remain in a comfortable, relaxed angle.
Studio Norm: Noble Silence
Allow the quiet room to hold your focus. Listen to the gentle scratching of pen tips across the paper.
If your mind wanders: Bring eyes back to pen tip.
Duration: 20–25 minutes of unbroken gentle creation. Relax your shoulders down away from your ears.
Shading & Gallery Appreciation
Bringing Lines to Life
Step 6: Graphite Shading
Use the side of your soft pencil lead to lay a whisper of graphite where lines overlap, tuck under ribbons, or meet border seams.
Step 7 & 8: Sign & Celebrate
Blend with your tortillon or fingertip. Place your signature artist "chop" with pride. Hold your finished tile out at arm's length.
Classroom Reflection Question:
"How did your body and breathing feel during the quietest minutes of drawing?"
Mosaic Gallery Walk
We will place all tiles side-by-side on our community table. Notice how individual uniqueness unites into one grand communal tapestry!
Thank yourself for this moment of calm presence. Zentangle® Studio Complete
Mindful Tangles Teacher Guide
Art & Social-Emotional Learning
Mindful Tangles Teacher Guide
Pacing: 50–60 Min Grades 5–12+
A structured instructional framework for leading a calming, high-focus pen-and-ink drawing experience that builds distress tolerance, patience, and creative self-efficacy.
Lesson Timeline & Instructional Phases
0–5 MIN Mindful Arrival Postures & breaths
5–15 MIN Pattern Demos 4 tangles & strings
15–40 MIN Silent Studio Flow Dedicated pen work
40–50 MIN Shade & Sign Graphite blending
50–60 MIN Mosaic Circle Communal gallery
Facilitation Scripts (Verbatim Cues)
Opening Centering: "Put your pens down for one moment. Feel your feet flat on the floor, relax your shoulders, and take three slow, deep breaths. Today there are no grades on beauty and no mistakes. We are simply following the path of our breath."
Addressing the 'Mistake' Panic: "If your hand slips or a line wobbles, do not crumple your paper. In Zentangle, that wobble is not a mistake—it is an invitation. Turn that line into a double line, fill it in with solid black, or make it the start of a new pattern."
During Silent Drawing: "Notice if your fingers are clenching the pen like a hammer. Soften your grip. Rotate your tile so your hand glides smoothly across the paper."
Studio Environment Checklist
- Lighting: Soften harsh fluorescent classroom lights if possible.
- Soundscape: Play soft, lyric-free instrumental music, lo-fi beats, or ambient nature sounds.
- No Erasers Policy: Collect all erasers beforehand to physically remove the perfectionist impulse.
Materials Needed
- • Black archival pens (Sakura Micron 01 or fine gel pens)
- • Standard HB or 2B soft graphite pencil
- • Tortillon (paper blending stump) or cotton swab
- • Student Tile Sheet or 3.5" square heavy cardstock
Differentiation & Support
Fine Motor Challenges: Provide felt-tip pens with thicker barrels (Micron 05) or allow working on a larger 5" tile.
Restless / Anxious Students: Introduce Printemps first (repetitive spirals have the highest immediate soothing neurological impact).
Early Finishers: Challenge them to add subtle drop shadows or create their own hybrid tangles.
Observational Criteria
Presence: Sustained engagement during silent flow.
Mindset: Adapted unexpected marks without erasing.