Identity Portals Teacher Guide 9th Grade Visual Arts
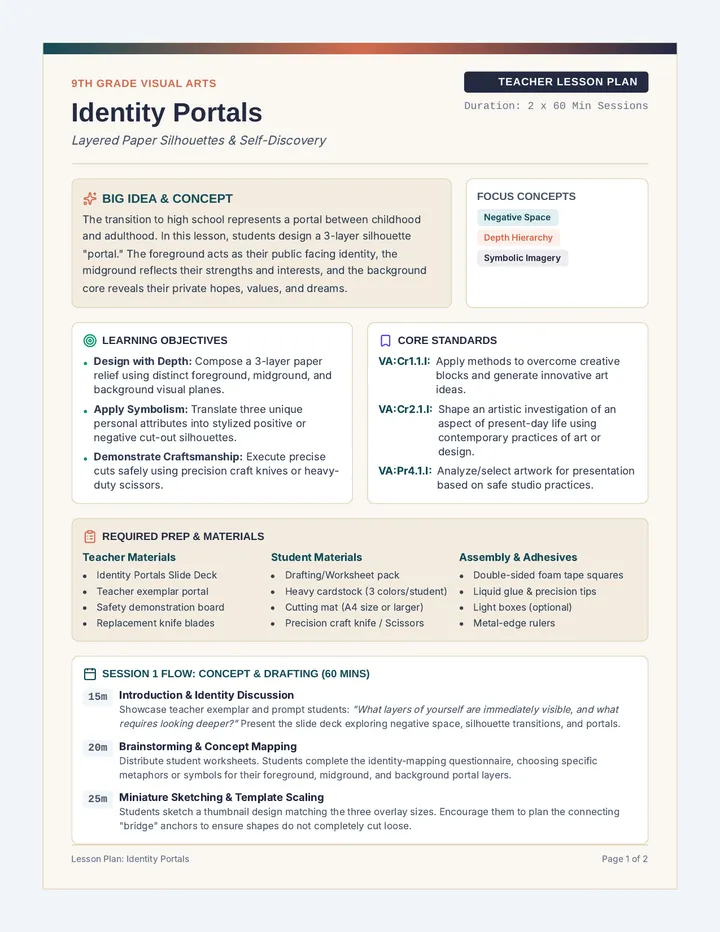
Identity Portals
Multi-Layered Paper Silhouette Lesson Plan
Duration 3 x 50-Min Sessions
Lesson Summary
Students design and construct a multi-layered paper silhouette "portal" that visually represents their inner identity. Layer 1 (foreground) features an outer profile silhouette, while subsequent inner layers reveal core values, transition feelings into high school, and personal symbols. This project introduces core design principles—negative space, depth, and color contrast—alongside safe crafting knife and scissor techniques.
Learning Objectives
Analyze Identity: Translate abstract personal traits, memories, and future aspirations into physical symbols.Apply Design Principles: Use negative space, silhouette overlays, and color contrast to create visual depth across 3 distinct paper layers.Practice Studio Safety: Demonstrate mastery of safe precision-cutting techniques using craft blades and fine-point scissors.Reflect & Connect: Introduce themselves and their transition goals to peers during a gallery walk.
Material Checklist
Thick cardstock (9x12", assorted colors)
Craft knives (X-Acto or similar)
Self-healing cutting mats (12x12")
Heavy-duty precision craft scissors
Foam tape / spacer dots (for depth)
Quick-drying craft glue or glue sticks
Lightboxes / window glass (for tracing)
Safety Non-Negotiables
Always cut away from your non-dominant hand. Keep blades retracted when not actively in use. Pass knives handle-first. Maintain a "cutting zone" radius clear of clutter.
Core Concepts & Vocabulary
Negative Space
The empty space around and between the subjects of an image. In paper cutting, the cut-out shape creates the portal window.
Foreground Frame
The outermost layer (usually a silhouette profile) that frames the entire scene, establishing depth and drawing focus inward.
Visual Metaphor
Using an object or symbol to represent a complex personal idea (e.g., an anchor for stability, a bird for freedom, a key for transition).
National Visual Arts Standards: VA:Cr1.1.9a (Apply methods to overcome creative blocks), VA:Cr2.1.9a (Demonstrate safe studio practices)
Page 1 of 2
Step-by-Step Pacing & Facilitation
Teacher Guidance
Session 1: Concept & Silhouette Mapping (50 Mins)
Day 1
Hook (10m): Present finished multi-layered silhouette portals. Discuss how the profile frame acts as a window to the subconscious.Ideation (15m): Direct students to complete the Inner Identity Worksheet , sketching 3 concrete visual symbols of their identity.Drafting Layer 1 (25m): Students trace their silhouette profile on cardstock using shadows or work from pre-printed templates. Map out the "window" cutout representing the head shape.
Session 2: Safe Cut Technique & Layer 2 (50 Mins)
Day 2
Safety Bootcamp (10m): Conduct knife demonstration. Show how to hold blades like a pencil, keep fingers behind the blade direction, and pivot paper.Drafting & Cutting Layer 2 (35m): Students design Layer 2 (the narrative landscape layer). This layer must structurally connect to the outer frame. Carefully cut out the background, leaving the symbols floating in negative space.Clean-Up (5m): Account for every craft knife blade before dismissal.
Session 3: Backdrops, Spacing & Portal Assembly (50 Mins)
Day 3
Layer 3 Backdrop (15m): Create a vibrant solid, gradients, or textured paper sheet for the absolute background layer, representing transition goals.Assembly (20m): Apply high-density foam mounting tape between layers to create a 3D shadow box depth effect. Ensure aligned edges.Classroom Gallery Walk (15m): Lay portals out on desks. Students circulate with sticky notes, writing visual praise and guess-the-artist questions.
Common Art Misconceptions
The Floating Shape Trap: Students often sketch details that aren't attached to any border. When cut out, the details fall completely out! Remind students that every element in Layer 2 must bridge and connect to the frame border.
Studio Inquiry Prompts
"How does the size of your negative space compare to the positive shapes? If your negative space is too large, will your frame collapse?"
Quick Assessment Rubric
Criteria Excellent (4 pts) Proficient (3 pts) Developing (2 pts) Visual Metaphor Symbols are highly creative, layered, and clear narrative meaning. Symbols relate clearly to personal story; standard symbols. Literal imagery or limited symbolism represented. Paper Engineering Exemplary bridge connections; clean negative space cuts. Sturdy construction with minor tears or floating elements. Elements fell out due to poor attachment planning. Craftsmanship & Safety Extremely clean cut borders. Blade used safely at all times. Generally clean lines. Followed safety protocols. Rough or torn cuts; unsafe craft blade hand positioning.
Curated for 9th-grade transition and visual arts standards. Page 2 of 2
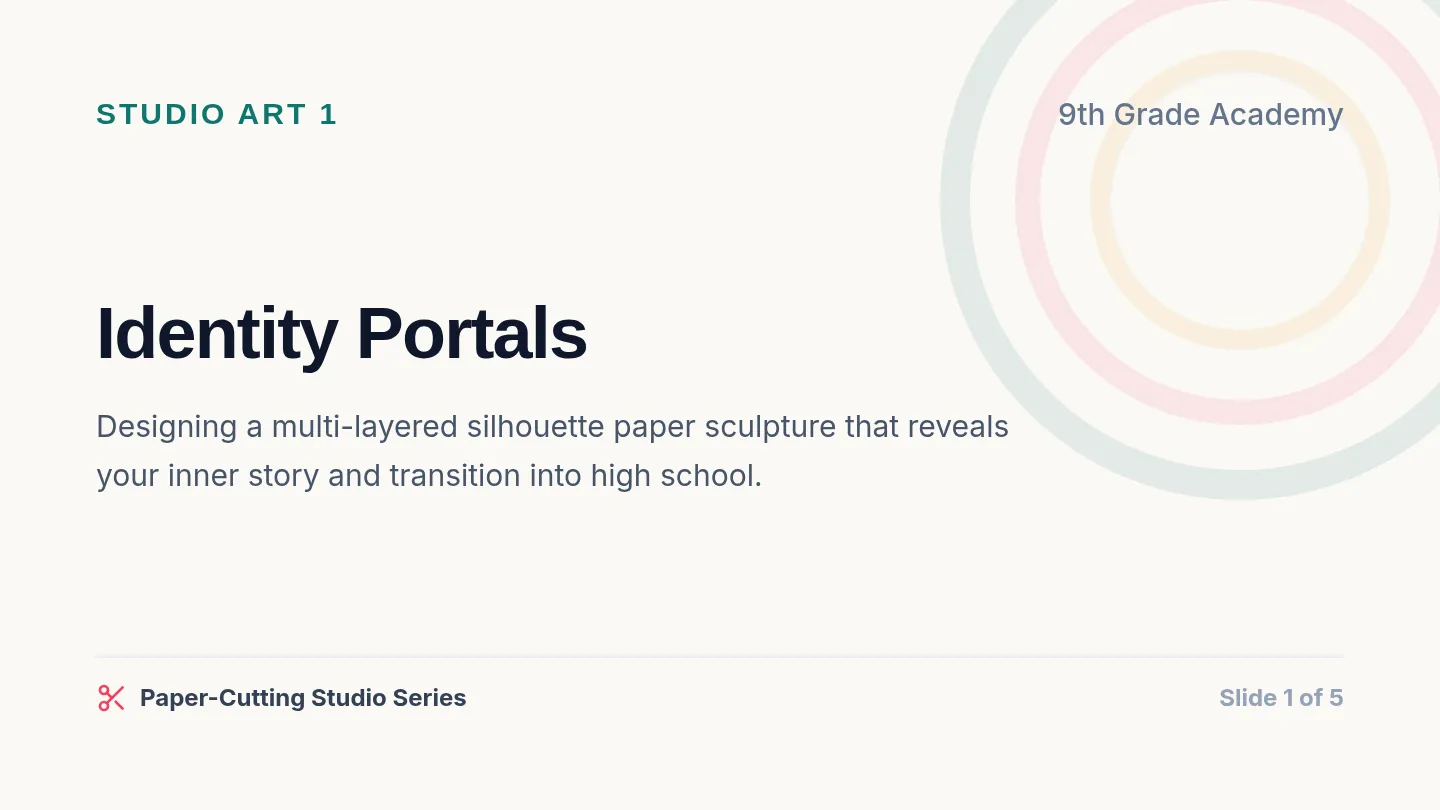
Identity Portals Slides Studio Art 1 9th Grade Academy
Identity Portals
Designing a multi-layered silhouette paper sculpture that reveals your inner story and transition into high school.
Paper-Cutting Studio Series
Slide 1 of 5
The Layers of You
Project Anatomy
01
Foreground
Your Outer Profile Silhouette . This serves as a frame, acting as a window peering into your mind.
Establishes Context
02
Middleground
Your Symbols & Story . A intricate network of shapes that represents hobbies, values, and memories.
Requires Cutting Bridges
03
Background
Your Horizon & Color . Represents high school transition goals, using gradients and high-contrast colors.
Provides Backdrop
How will you translate abstract traits into visual symbols? Slide 2 of 5
Design Physics: Floating Shapes
Composition
What you cut out determines what stays!
In standard drawing, we put ink on paper. In paper cutting, the negative space (what you cut away) is just as important as the positive space (what is left behind).
The Rule of "Bridges":
Every symbol must touch the frame border or connect to another symbol. If you cut all the way around a shape, it falls out!
Silhouette Check
Floating Circle
Unattached shapes fall to the floor. Lost artwork!
Bridged Circle
Connects with sturdy paper bridges to the outer frame.
Design details with thickness of 1/4 inch!
Keep your paper bridges strong and thick so they don't tear! Slide 3 of 5
Blade & Studio Safety Bootcamp
Studio Rules
1. Pencil Grip Control
Hold the craft knife close to the tip like a writing utensil. Use moderate downward pressure on the cutting mat—never in the air.
2. Pulling Direction
Always pull the blade towards you in a controlled motion. Do not push the blade away, as this reduces visual control.
3. Pivot the Paper
To cut a curve, keep your cutting wrist straight. Rotate and spin the cardstock sheet with your non-dominant hand while cutting.
4. Hand Safety Zone
Ensure your supporting fingers are at least 3 inches away from the blade line. Never look away from an active, uncapped blade.
Inner Identity Worksheet Studio Art 1
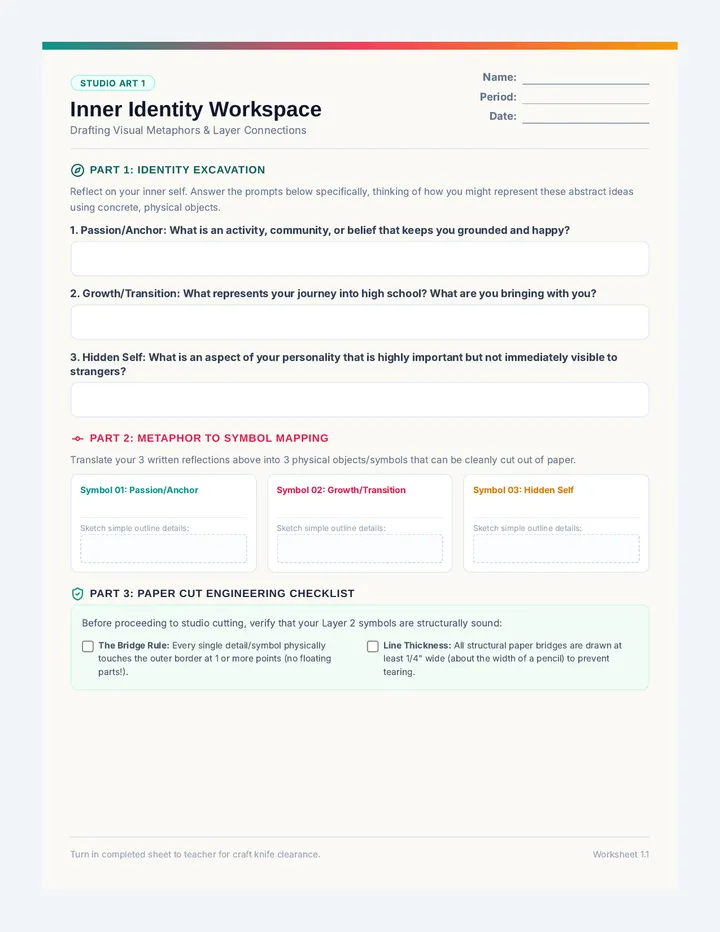
Inner Identity Workspace
Drafting Visual Metaphors & Layer Connections
Name:
Period:
Date:
Part 1: Identity Excavation
Reflect on your inner self. Answer the prompts below specifically, thinking of how you might represent these abstract ideas using concrete, physical objects.
1. Passion/Anchor: What is an activity, community, or belief that keeps you grounded and happy?
2. Growth/Transition: What represents your journey into high school? What are you bringing with you?
3. Hidden Self: What is an aspect of your personality that is highly important but not immediately visible to strangers?
Part 2: Metaphor to Symbol Mapping
Translate your 3 written reflections above into 3 physical objects/symbols that can be cleanly cut out of paper.
Symbol 01: Passion/Anchor
Sketch simple outline details:
Symbol 02: Growth/Transition
Sketch simple outline details:
Symbol 03: Hidden Self
Sketch simple outline details:
Part 3: Paper Cut Engineering Checklist
Before proceeding to studio cutting, verify that your Layer 2 symbols are structurally sound:
The Bridge Rule: Every single detail/symbol physically touches the outer border at 1 or more points (no floating parts!). Line Thickness: All structural paper bridges are drawn at least 1/4" wide (about the width of a pencil) to prevent tearing.
Turn in completed sheet to teacher for craft knife clearance. Worksheet 1.1
Layered Silhouette Activity Guide Studio Activity Companion
Portal Assembly Blueprint
Step-by-Step Layering & Spacer Engineering Guide
Project Type 3D Paper Collage
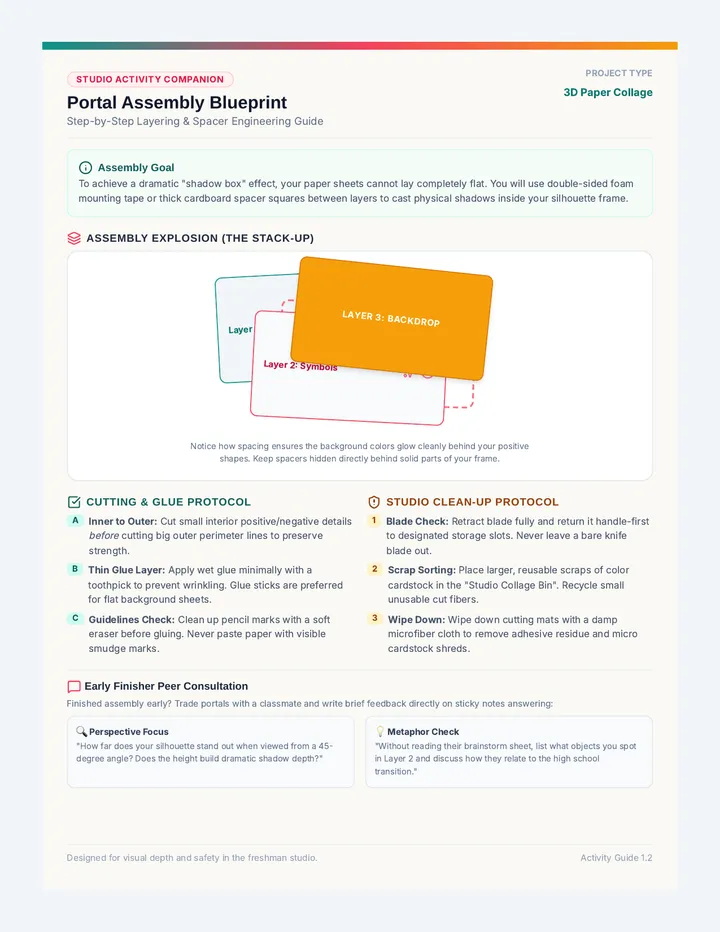
Assembly Goal
To achieve a dramatic "shadow box" effect, your paper sheets cannot lay completely flat. You will use double-sided foam mounting tape or thick cardboard spacer squares between layers to cast physical shadows inside your silhouette frame.
Assembly Explosion (The Stack-Up)
Layer 1: Frame Profile
1/8" Foam Spacers placed on corners
Layer 2: Symbols
Layer 3: Backdrop
Notice how spacing ensures the background colors glow cleanly behind your positive shapes. Keep spacers hidden directly behind solid parts of your frame.
Cutting & Glue Protocol
A Inner to Outer: Cut small interior positive/negative details before cutting big outer perimeter lines to preserve strength.
B Thin Glue Layer: Apply wet glue minimally with a toothpick to prevent wrinkling. Glue sticks are preferred for flat background sheets.
C Guidelines Check: Clean up pencil marks with a soft eraser before gluing. Never paste paper with visible smudge marks.
Studio Clean-Up Protocol
1 Blade Check: Retract blade fully and return it handle-first to designated storage slots. Never leave a bare knife blade out.
2 Scrap Sorting: Place larger, reusable scraps of color cardstock in the "Studio Collage Bin". Recycle small unusable cut fibers.
3 Wipe Down: Wipe down cutting mats with a damp microfiber cloth to remove adhesive residue and micro cardstock shreds.
Early Finisher Peer Consultation
Finished assembly early? Trade portals with a classmate and write brief feedback directly on sticky notes answering:
🔍 Perspective Focus
"How far does your silhouette stand out when viewed from a 45-degree angle? Does the height build dramatic shadow depth?"
💡 Metaphor Check
"Without reading their brainstorm sheet, list what objects you spot in Layer 2 and discuss how they relate to the high school transition."
Designed for visual depth and safety in the freshman studio. Activity Guide 1.2