Identity Portals Lesson Plan 9th Grade Visual Arts
Identity Portals
Layered Paper Silhouettes & Self-Discovery
Teacher Lesson Plan
Duration: 2 x 60 Min Sessions
Big Idea & Concept
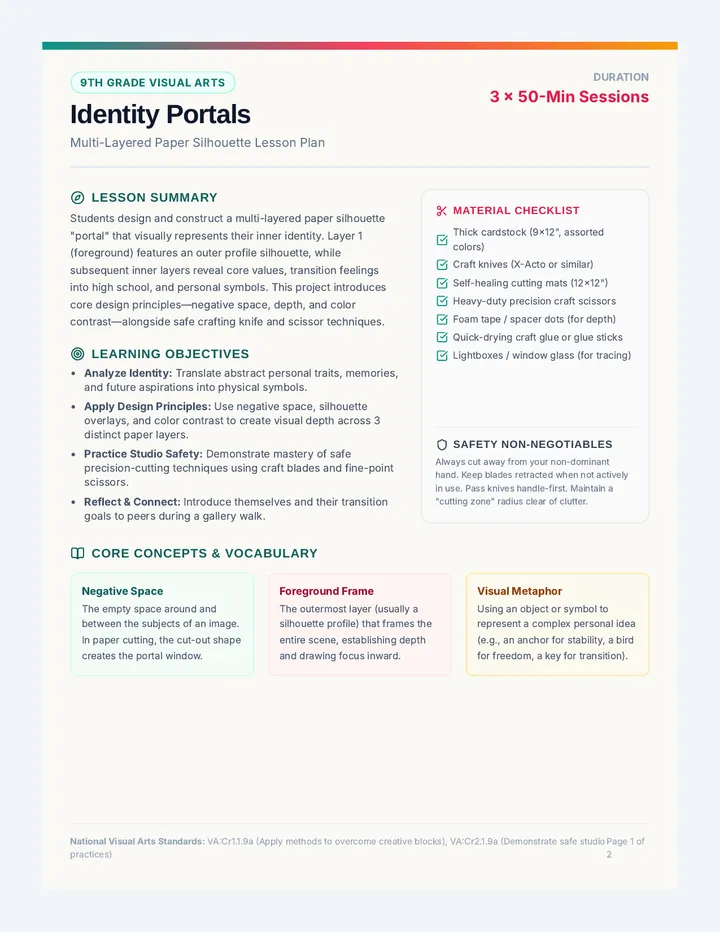
The transition to high school represents a portal between childhood and adulthood. In this lesson, students design a 3-layer silhouette "portal." The foreground acts as their public facing identity, the midground reflects their strengths and interests, and the background core reveals their private hopes, values, and dreams.
Focus Concepts
Negative Space Depth Hierarchy Symbolic Imagery
Learning Objectives
• Design with Depth: Compose a 3-layer paper relief using distinct foreground, midground, and background visual planes.
• Apply Symbolism: Translate three unique personal attributes into stylized positive or negative cut-out silhouettes.
• Demonstrate Craftsmanship: Execute precise cuts safely using precision craft knives or heavy-duty scissors.
Core Standards
VA:Cr1.1.I: Apply methods to overcome creative blocks and generate innovative art ideas.
VA:Cr2.1.I: Shape an artistic investigation of an aspect of present-day life using contemporary practices of art or design.
VA:Pr4.1.I: Analyze/select artwork for presentation based on safe studio practices.
Required Prep & Materials
Teacher Materials
Identity Portals Slide Deck
Teacher exemplar portal
Safety demonstration board
Replacement knife blades
Student Materials
Drafting/Worksheet pack
Heavy cardstock (3 colors/student)
Cutting mat (A4 size or larger)
Precision craft knife / Scissors
Assembly & Adhesives
Double-sided foam tape squares
Liquid glue & precision tips
Light boxes (optional)
Metal-edge rulers
Session 1 Flow: Concept & Drafting (60 Mins)
15m
Introduction & Identity Discussion
Showcase teacher exemplar and prompt students: "What layers of yourself are immediately visible, and what requires looking deeper?" Present the slide deck exploring negative space, silhouette transitions, and portals.
20m
Brainstorming & Concept Mapping
Distribute student worksheets. Students complete the identity-mapping questionnaire, choosing specific metaphors or symbols for their foreground, midground, and background portal layers.
25m
Miniature Sketching & Template Scaling
Students sketch a thumbnail design matching the three overlay sizes. Encourage them to plan the connecting "bridge" anchors to ensure shapes do not completely cut loose.
Lesson Plan: Identity Portals Page 1 of 2
Studio Facilitation & Assessment
Studio Session & Critique
Session 2 Focus
Session 2 Flow: Studio & Assembly (60 Mins)
10m
Knife Safety Demonstration & Review
Review the "Blade Safe Contract" (p. 2 of worksheet). Model pulling the knife toward oneself, keeping fingers away from the cut path, utilizing the cutting mat, and safe blade disposal.
35m
Studio Work Time: Cut & Assemble
Students transfer sketches to their final colored stock and begin cutting. Circulate to ensure safe technique and offer support. At the 25-minute mark, introduce double-sided foam tape to mount and layer their portals.
15m
Portal Walk & Community Introduction
Students position their 3D portals on table displays. Conduct a silent gallery walk with sticky-note feedback where peers write one metaphor they identified and one visual layer alignment they admire.
Guided Questioning & Prompts
To Spark Symbolism:
"How can we draw 'resilience' without just drawing a shield? Could it be a gnarled oak root cutting through a layer, or a geometric pattern that resists bending?"
To Resolve Composition:
"If your background silhouette is completely hidden by your midground, how can you expand the portal aperture of the middle frame to reveal it?"
Critical Pitfalls & Interventions
Floating Elements
Students accidentally cut all outlines, releasing elements from the border.
Fix: Bridge shapes using small card tabs.
Fragile Silhouettes
Thin branches or tiny cuts warp, bend, or tear easily during the cutting process.
Fix: Model thick connecting paths (>0.25").
Flat Layer Appearance
Planes look squeezed with zero depth when glued flat onto each other.
Fix: Stack multiple layers of foam adhesive.
Instructional Differentiation
Accommodated Support (Motor Skills)
Substitute precision knives with heavy-duty loop-scissors. Provide pre-punched basic stencil frames or simpler organic shapes. Support students with tape-transfer techniques.
Advanced Studio Challenges
Incorporate a fourth layer of color. Challenge students to carve shadow-casting filigree or weave paper strip accents between layers to link foreground and background.
Lesson Plan: Identity Portals Page 2 of 2
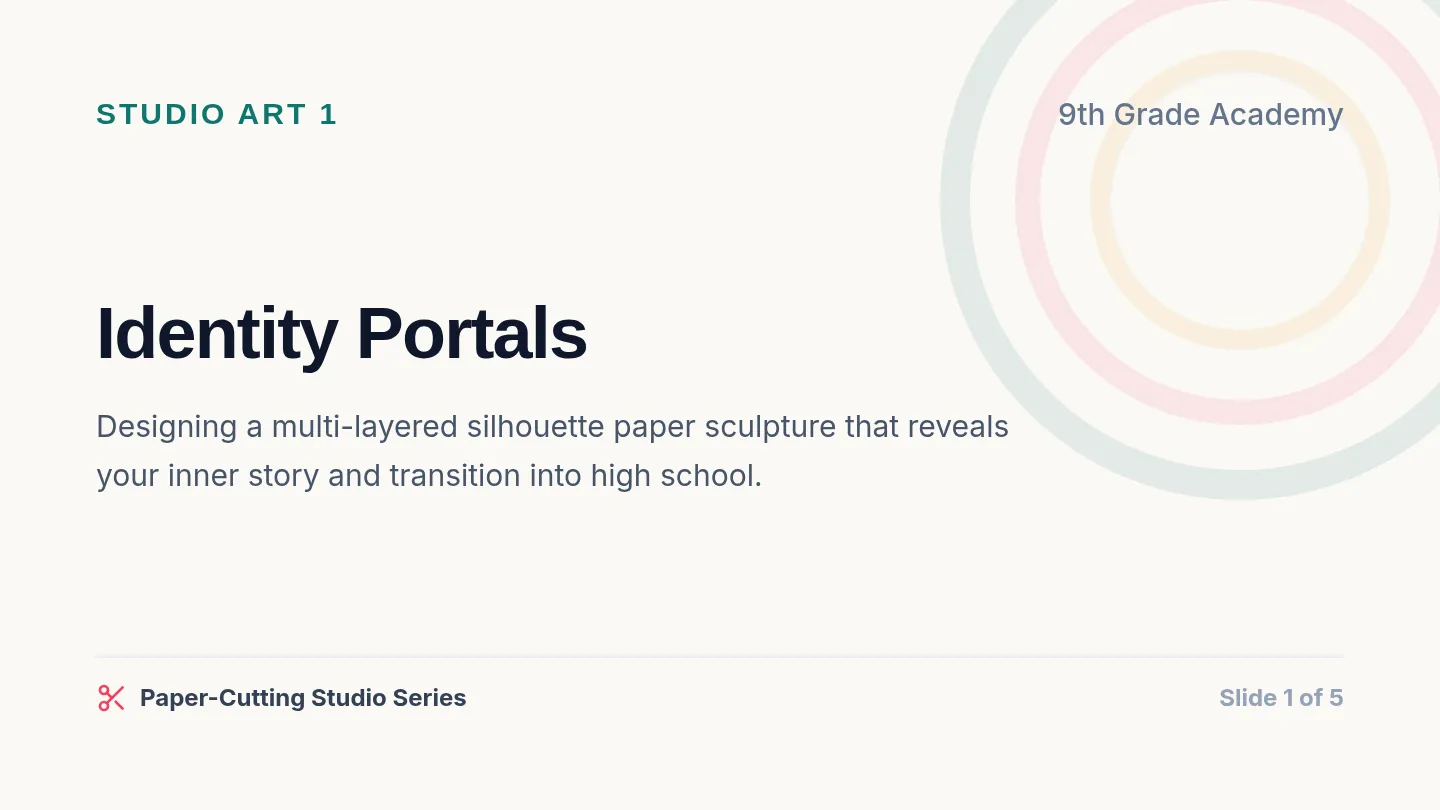
Identity Portals Slide Deck 9th Grade Studio Visual Arts / Unit 1
Identity Portals
Designing multi-layered paper silhouettes that reveal your inner self.
Depth Symbolism Craftsmanship
Welcome to the High School Creative Community Slide 1 of 5
The Concept Defining Layers
What is an Identity Portal?
A portal is an opening that allows viewers to look beyond the surface. We will design three layers:
1. Foreground
Your Public Self. The border and outer frame. What classmates immediately see.
2. Midground
Your Active Journey. Metaphorical symbols of interests, skills, and milestones.
3. Background
Your Inner Core. Deep dreams, core beliefs, values, and absolute bedrock traits.
Depth = Storytelling in Three Dimensions Slide 2 of 5
Design Principle Space & Structure
Positive & Negative Space
✔ Positive Space: The physical paper shapes left behind.
✔ Negative Space: The cutaway window letting colors peek through.
▲ Rule of Bridges: Connect all inner details to the outer frame, or they will fall out!
No Bridges
Falls Out 🚫
Anchored ✔
Ensure every shape connects back to your main border cardstock. Slide 3 of 5
Studio Safety Blade Protocol
Craft Knife Guidelines
Precision knives are excellent tools when handled with absolute respect and focus:
01. Mat
Always place cardstock on a cutting mat.
02. Pull
Pull the blade toward you. Do not push.
03. Hand
Keep your free hand behind the blade.
04. Cap
Cap the knife whenever you put it down.
Safety is your ticket to full independent studio work! Slide 4 of 5
Studio Mission Your Action Steps
Let's Get Creating!
1 Map identity layers on the brainstorming sheet.
2 Sketch interlocking thumbnail shapes.
3 Transfer sketches onto your selected colored cardstock.
Pacing Goal
Finish brainstorming and get your thumbnail designs approved today!
Get teacher approval before you start cutting cardstock. Slide 5 of 5
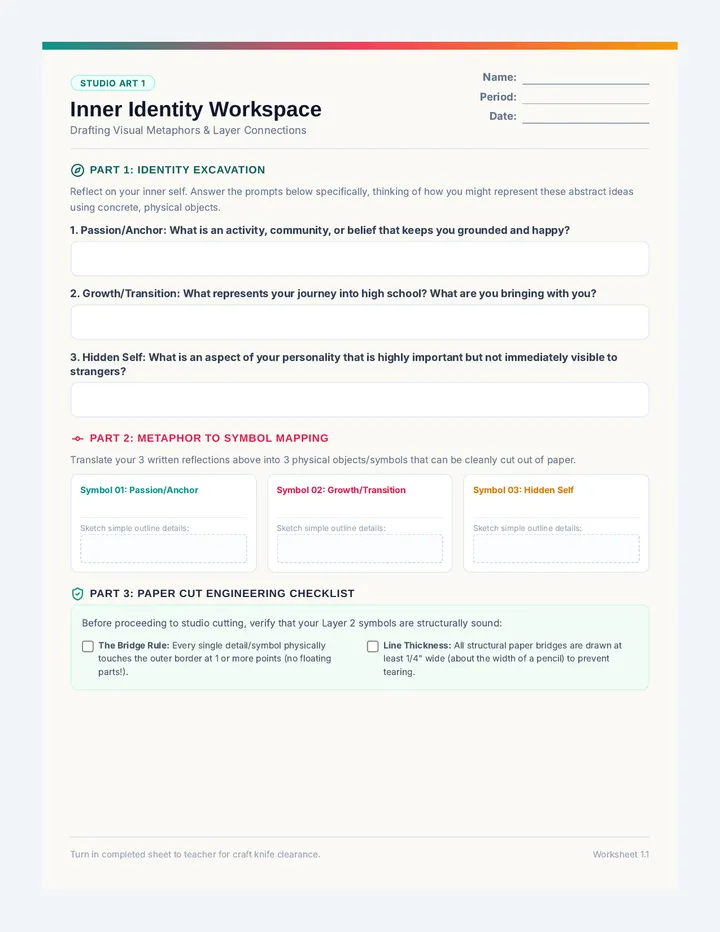
Identity Portals Worksheet Studio Blueprint
Identity Portal Planner
Brainstorm your three symbolic layers and draft your visual blueprint.
Artist Name
Studio Period
Date
Step 1: Define Your Portal Layers
1. Foreground (Visible Self)
What traits or details are immediately visible to others?
Key Trait/Skill:
Frame Shape (Arch, geometric, oval?):
2. Midground (Active Self)
What are your hobbies, active habits, or passions?
Active Passion/Interest:
Matching Symbol (Vines, gears, wave?):
3. Background (Inner Core)
What is your deepest value, belief, hope, or dream?
Core Value/Dream:
Central Symbol (Star, key, open door?):
Step 2: Sketch Your Interlocking Layout
Sketch how your layers overlap. Shaded parts are paper you keep; blank parts are cut out. All midground details must be connected/anchored directly to the foreground frame or they will fall out!
Stacking Principle
Foreground frame sits in front, revealing midground symbols, which encircle the background core value.
1:1 Scale Guide
★ Leave sturdy bridges!
PORTAL BLUEPRINT DRAFT GRID Draw with pencil
Studio Safety Commitment
I pledge to use precision craft knives safely. I will only cut on the self-healing mats, pull the blade with control, keep my fingers away from the cut path, store capped knives safely, and maintain zero distractions at my station.
Student Artist Signature
Teacher Studio Approval Signature
Identity Portals: 1-Page Student Blueprint Unit 1 Studio Workbook
Identity Portals Activity Guide Studio Reference Card
Studio Guide: Techniques
Visual composition ideas, cutting order, and self-assessment criteria
Quick Card
The Studio Challenge
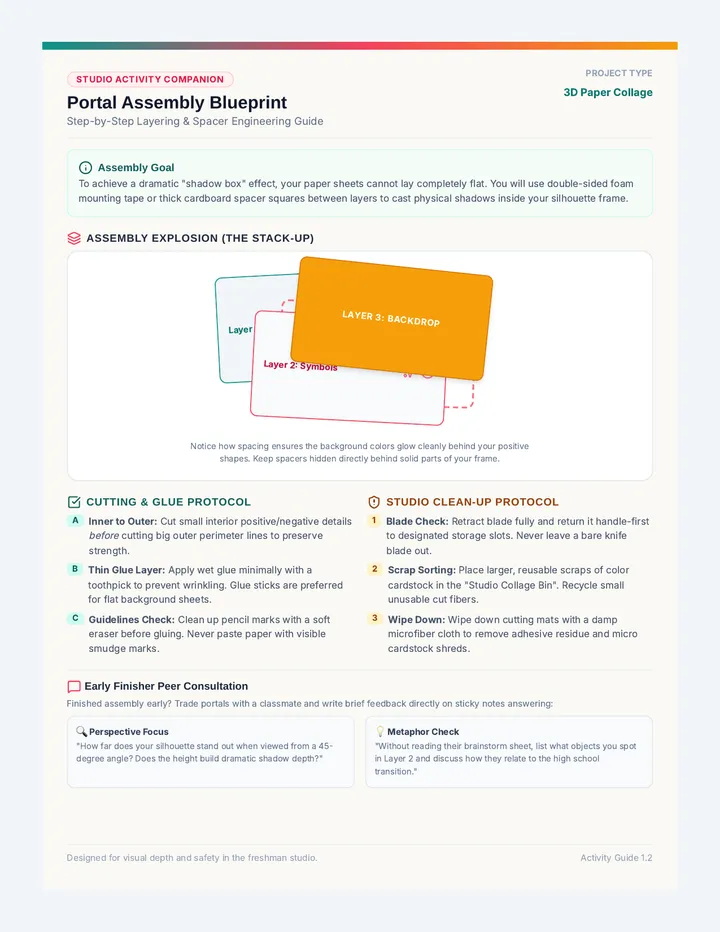
Create a 3D layered relief by nesting and stacking cardstock. Use double-sided foam adhesive blocks between layers to create physical shadows that project your inner traits onto the background.
Composition Portal Styles
Style A: Classic Arch
Ideal for architectural designs. Uses clean steps or a curved cathedral frame.
Style B: Organic Bloom
Perfect for nature themes. Uses waves, floral frames, and interlocking vines.
Style C: Tech Geometric
For patterns, circuitry, and stars. Uses precise triangles and concentric grids.
Pro Cutting Order & Tips
1
Inside Out
Cut tiny inner details first. If you cut the outer frame first, the page loses structural support and tears easily.
2
Corner Drops
To get clean corners, pierce blade directly into corner intersection first, then slice slowly away from the point.
3
Paper Rotation
When cutting curves, pull blade toward you steadily while using your non-dominant hand to slowly rotate the paper.
The Studio Critique Scorecard
Use these criteria during peer critique or when self-evaluating your finished portfolio.
Criteria Descriptor (What to look for) Artist Rating 1. Visual Depth Layers are separated with foam spacing. Window shapes let background layers show through nicely. ◯ Yes ◯ No 2. Clear Symbolism Each layer features stylized silhouette shapes translating personal identity into abstract visual metaphors. ◯ Yes ◯ No 3. Craft Precision Cuts are clean. Connective paper bridges are physically sturdy (no loose, sagging, or falling parts). ◯ Yes ◯ No 4. Studio Safety Safe, highly focused, and cooperative craft blade practices were maintained throughout both studio sessions. ◯ Yes ◯ No
Identity Portals: Student Reference Handout Unit 1 Studio Activity Guide