Body Beat Slides Body Beat
Basics
Let's find the music inside of us!
Lesson 1 Steady Beat
The Big Question
"Can you make music without touching anything but YOURSELF?"
Clap?
Stomp?
Snap?
The Heart of Music
A Steady Beat is like your heart. It stays the same, over and over!
"Thump-thump, thump-thump..."
1. THE CLAP
Hands together, bright and loud!
1
2
3
4
Wait for the signal to start!
2. THE STOMP
Feet on the floor, deep and strong!
LEFT
RIGHT
3. THE PATSCH
Hands on knees, soft and steady!
PAT
PAT
PAT
PAT
Beat vs. Word Rhythm
The Pulse (Beat)
The ticking clock. Never stops!
The Words
Matching the syllables of the song.
"Twinkle, Twinkle Little Star"
Try to clap the BEAT while your teacher says the WORDS!
Ready to Rock?
Time to try our Body Band challenge!
LET'S GO!
Body Band Worksheet My Body Band
Rhythm Workshop: Lesson 1
Name:
Date:
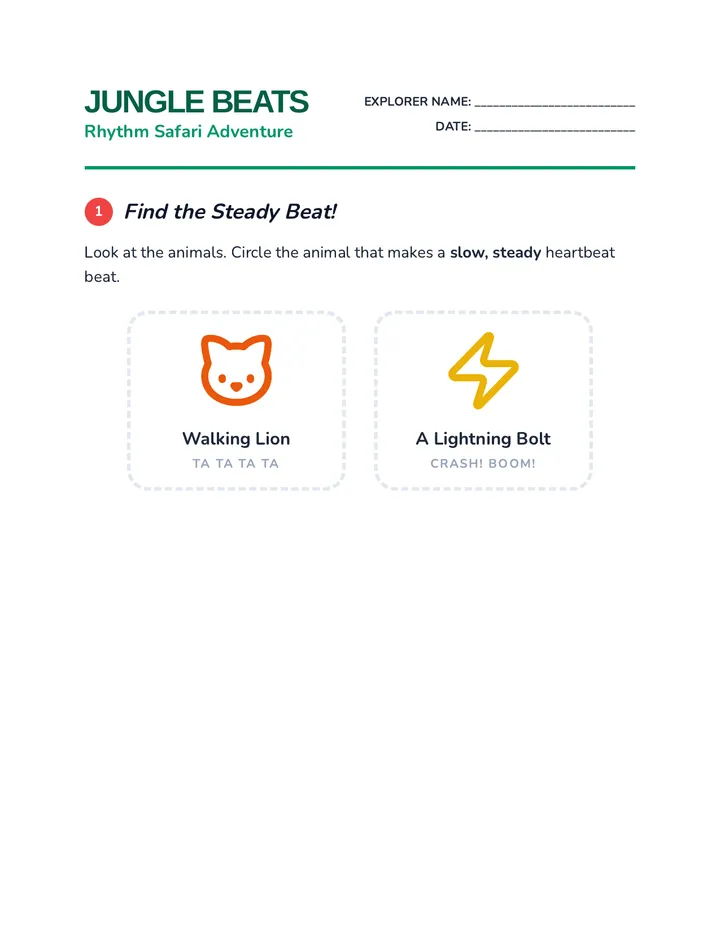
Our bodies can be instruments! Draw a path to match the sound word to the body part we use. Then, color in the instruments!
CLAP
STOMP
PAT
FEET
KNEES
HANDS
The Heartbeat Challenge
Trace the steady beats. Can you tap them with your finger?
My Mystery Sound
Can you think of another way to make a sound with your body? Draw it here!
Body Beat Teacher Guide Teacher Guide
Body Beat Basics
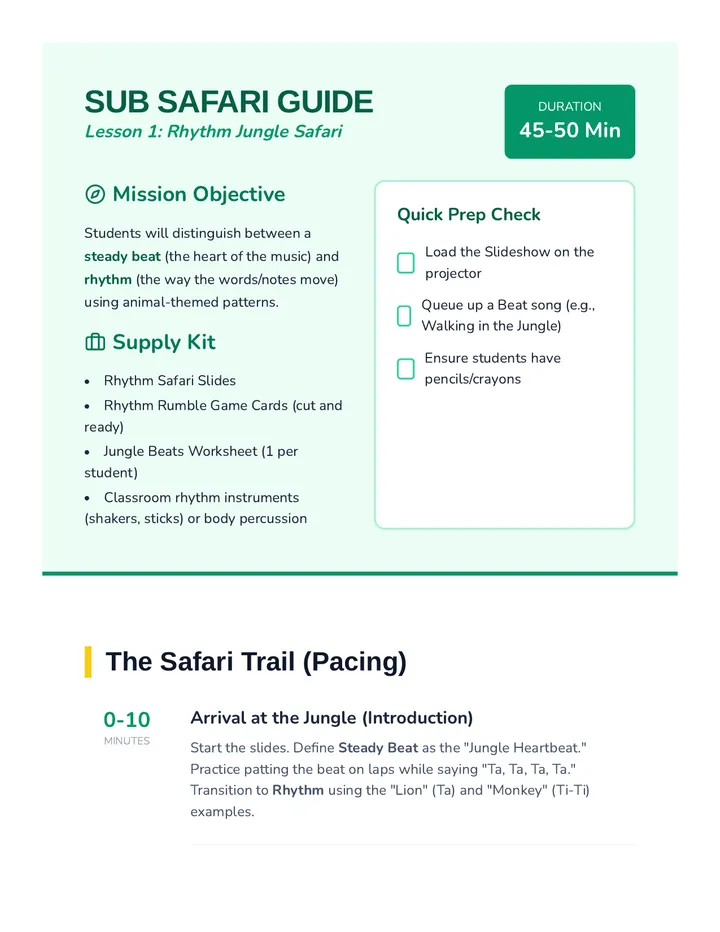
Lesson 1: Foundational Steady Beat
45 Minutes
Kindergarten
Learning Objective
Students will identify and demonstrate a steady beat using body percussion (clapping, stomping, patsching) and distinguish between the beat of a song and the rhythm of its words.
Materials Needed
Body Beat Slide Deck
Body Band Worksheet
Simple Nursery Rhyme recordings
Crayons/Pencils
Key Vocabulary
Steady Beat
The consistent "heartbeat" pulse of the music.
Rhythm
The pattern of short and long sounds (the words).
Patsch
The musical term for patting your legs or knees.
Instructional Steps
1
The Human Heartbeat (10 mins)
Open the Body Beat Slide Deck . Ask students to place their hand over their heart and sit very still. Can they feel the "thump-thump"? Explain that music has a heartbeat too—it's called the Steady Beat .
"If our heart stops, our body gets confused. If the beat stops, the music gets confused!"
2
The Body Band Challenge (15 mins)
Introduce the three main body percussion moves: Clap , Stomp , and Patsch .
Clap: Hands high. Make it "bright."
Stomp: Alternating feet. Make it "low."
Patsch: Hands on knees. Make it "soft."
Activity: Mirror Me
The teacher performs 4 steady beats of one move (e.g., Clap, Clap, Clap, Clap). Students repeat back. Gradually switch moves every 4 beats.
3
Beat vs. Rhythm (10 mins)
Chant "Twinkle Twinkle Little Star" slowly. Ask half the class to clap for every word (the rhythm) while you stomp the steady pulse . Then switch. Discuss how the beat stayed the same while the words moved faster or slower.
4
Application (10 mins)
Distribute the Body Band Worksheet . Guide students through the matching exercise first to ensure they associate the sound words with the physical action.
Success for Every Musician
Support
For students struggling with coordination, focus only on the Patsch . Sitting down provides more stability for maintaining a beat.
Challenge
Have students try to alternate moves: Stomp-Clap-Stomp-Clap. This introduces the concept of strong vs weak beats.
Stick Skill Slides Stick Skill
Superstars
Handling our first musical tools with care.
Lesson 2 Rhythm Sticks
What's in the box?
"I am made of wood. I make a CLICK. I always travel in pairs."
Stick Safety Rules
STAY IN YOUR BUBBLE
Sticks never touch your friends. Sticks never touch your face!
ONLY PLAY ON CUE
If your teacher's hands are UP, sticks are quiet in your LAP!
How to Hold 'Em
1
Make a "V" with your thumbs and fingers.
2
Squeeze like a Friendly Crab (not too tight!).
Volume Control
LOUD
High sticks, big clicks!
SOFT
Tiny moves, quiet clicks.
REST POSITION
"Sticks on your knees, quiet as can be!"
Watch your conductor!
Play when I play. Stop when I stop.
Stick Safety Worksheet Stick Skill Superstars
My Rhythm Stick Safety Checklist
Musician Name
Workshop ID
RS-2026-KINDY
"I promise to play with care and keep my friends safe!"
Can you follow the rules?
1
The Bubble Rule
I will keep my sticks in my own space.
2
The "V" Grip
I can hold my sticks the right way.
3
The Rest Position
I put my sticks in my lap when it's quiet time.
Color Your Superstar Sticks!
Design your favorite pair of rhythm sticks below.
Stick Skill Teacher Guide Teacher Guide
Stick Skill Skills
Lesson 2: Proper Grip & Impulse Control
45 Minutes
Kindergarten
Learning Objective
Students will demonstrate proper rhythm stick technique, including the "V" grip and rest position, and exhibit impulse control by playing only on cue and maintaining "personal bubble" safety.
Equipment Checklist
Pair of sticks per student
Stick Skill Slides
Stick Safety Worksheet
High-contrast signal (e.g. Stop Sign)
Safety Protocol
Use the "Three Strikes" rule for safety:
Bubble: Sticks stay in front of the body.
Quiet Lap: When teacher speaks, sticks "sleep."
Zero Tolerance: Touching others with sticks results in immediate "rest" for that student.
The Workshop Flow
1
The Hook & Mystery (5 mins)
Use the Stick Skill Slides . Keep the sticks hidden. Play a recording of a "click-clack" sound. Ask students to guess what is inside the mystery box. Reveal the sticks only after safety rules are reviewed.
2
Grip & Rest Technique (10 mins)
Distribute sticks. Immediately model Rest Position (sticks horizontal on laps).
Teaching the Grip: Have students hold their hands up like they are holding a sandwich. Turn the hands so the thumbs face up. Insert the stick into the "V" between the thumb and first finger. Close the fingers like a Friendly Crab .
3
Impulse Control Games (15 mins)
Red Light, Green Light: Play a steady beat on your sticks. When you hold up a red card (or hand), students must return to Rest Position instantly.
Echo Clicks: Play a simple rhythm (e.g., Click-Click-Click-Stop). Students echo. Focus on the crispness of the sound.
4
Dynamics Exploration (10 mins)
Teach the words Forte (loud) and Piano (soft). Explain that "Forte" doesn't mean "hitting hard," it means "bigger moves." Use a giant conductor arm to signal loud and a tiny finger move to signal soft.
Clean Up Routine
"Sticks are sleeping, put them in the bed!"
COLLECT
One by one in the bin
WASH
Hands clean after wood
Sound Safari Slides Sound
Safari
Discovering the different voices of our instruments.
Lesson 3 Timbre
The Big Question
"If an ELEPHANT played an instrument, what would it sound like?"
Deep & Boomy
Soft & Sandy
The Hand Drum
The Heart of the Safari
The Voice:
"BOOM!"
Flat hand for a deep sound
Bounce off quickly!
Drum Head
The Shaker
The Rustle of the Jungle
The Voice:
"CHISH-CHISH!"
Flick your wrist
Stop it sharp for a beat
Mystery Music Word
TIMBRE
"Tam-ber"
It's the Flavor or Voice of a sound.
Voice 1: Deep
Voice 2: Sandy
Voice 3: Clappy
Treasure Hunt!
Group 1: Shakers
Group 2: Drums
When the bell rings, we switch!
Timbre Match Worksheet Sound Safari Match
Whose Voice is it?
Explorer Name:
Instruments have unique voices, just like animals! Match the Instrument to the Animal it sounds like. Then, circle the instrument that is the LOUDEST .
DRUM
SHAKER
CLAP
Elephant
Mouse
Thunder
Mystery Instrument Drawing
What is your favorite instrument to play? Draw it below and tell us what animal it sounds like!
It sounds like a:
Timbre Treasure Teacher Guide Teacher Guide
Timbre Treasure Hunt
Lesson 3: Instrumental Voices & Qualities
45 Minutes
Kindergarten
Learning Objective
Students will define and identify Timbre by rotating through instrument stations (shakers and drums) and associating sound qualities with animal characteristics.
Workshop Stations
Station A: Drums
Hand drums or Floor Toms. Focus on "Flat Hand, Big Bounce."
Station B: Shakers
Egg shakers or Maracas. Focus on "Wrist Flick."
Word of the Day
TIMBRE
(tam-ber)
Explain it like Ice Cream Flavors . Both are ice cream, but one is chocolate and one is vanilla. Both are instruments, but one is deep and one is sandy!
Safari Guide
1
The Safari Call (5 mins)
Open the Sound Safari Slides . Ask: "Can you hear the jungle?" Tap a drum and then shake a shaker. Ask which sound is "heavy" like an elephant and which is "light" like a mouse.
2
Technique Deep-Dive (10 mins)
Drums: Model the "Doughnut Grip" (holding the drum by the rim) and the "Flat Hand Strike." Emphasize pulling the hand away quickly to let the drum "breathe."
Shakers: Model the "Pencil Grip" (holding the middle). Demonstrate a sharp flick versus a continuous slow roll.
3
Rotation Stations (20 mins)
Split the class into two groups. Group A plays drums, Group B plays shakers.
Game: Animal Parade
When you say "Elephant," only the drums play a slow, heavy beat. When you say "Rattlesnake," only the shakers play a fast, sandy rhythm. Switch instruments after 5 minutes.
4
Matching Application (10 mins)
Hand out the Timbre Match Worksheet . Do the matching activity together as a class to reinforce the vocabulary.
Critically Thinking
"Why do we pull our hand away from the drum?"
(Answer: So the air can vibrate and make a sound! If we leave our hand on, it 'muffles' the voice.)
"Can you make a drum sound like a mouse?"
(Answer: Yes, by using very tiny finger taps instead of a full hand strike! Dynamics change timbre.)
Picture Playing Slides Reading Music
Picture
Pulse
If we can see it, we can play it!
Lesson 4 Iconic Notation
The Big Secret
"Did you know we can read music just like we read STORYBOOKS?"
WORDS
SOUNDS
The Beat Circle
When you see me, PLAY!
1
2
3
4
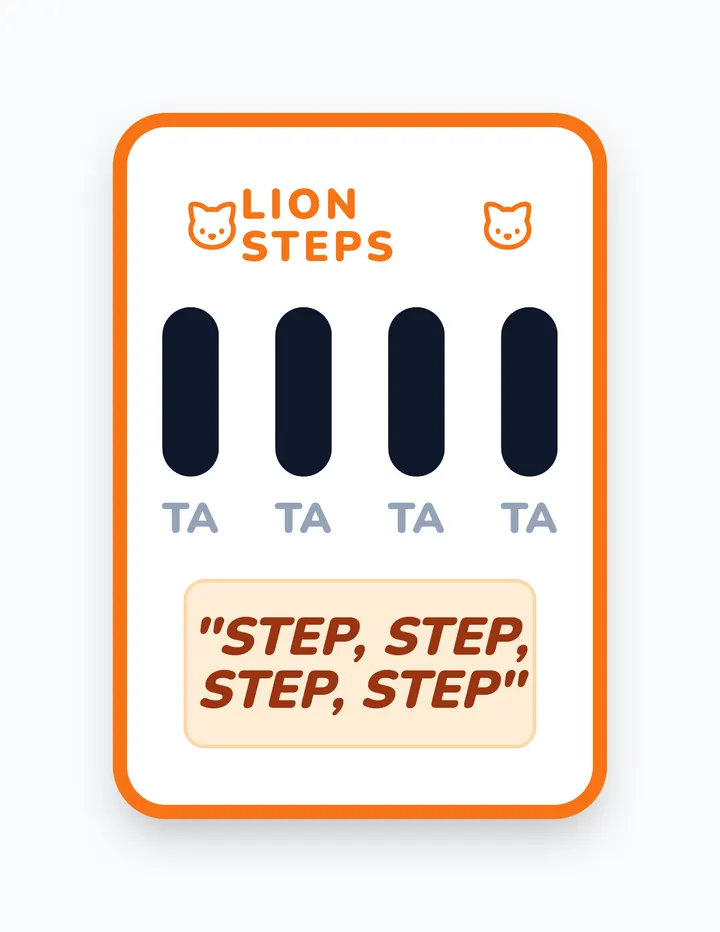
Tap-Tap-Tap-Tap
The "Shhh" Rest
When you see me, BE STILL!
Play - Shhh - Play - Shhh
The "Pizza" Rhythm
PIZ-ZA
PIZ-ZA
PIZ-ZA
PIZ-ZA
Two sounds in one beat!
Reading Challenge 1
LINE A
1
PLAY
2
PLAY
3
SHHH
4
PLAY
Music Maestros!
Time to write and read your own rhythms on your worksheet.
GET YOUR PENCILS!
Rhythm Reader Worksheet Rhythm Reader
I can read and write music!
Maestro:
Circle = PLAY
(One Sound)
Box = SHHH
(Rest/Silent)
Double = PIZZA
(Two Sounds)
Practice: Read and Play
1
Tap-Tap-Shhh-Tap
2
Pizza-Shhh-Pizza-Tap
My Secret Rhythm
Draw your own symbols in the boxes. Then, perform it for a partner!
I played it!
My partner played it!
Bonus: Draw a Star next to the rhythm that was the most fun to play!
Picture Pulse Teacher Guide Teacher Guide
Picture Pulse Reading
Lesson 4: Introduction to Iconic Notation
45 Minutes
Kindergarten
Learning Objective
Students will bridge sound and sight by decoding iconic symbols into rhythmic performance, identifying the difference between a sound (beat) and silence (rest).
The Notation Key
Ta (Beat)
Shh (Rest)
Pizza (Double)
Instructional Flow
1
The Storybook Analogy (5 mins)
Open the Picture Playing Slides . Explain that just like words tell us what to say, music pictures tell us what to play. Show the Beat Circle and have the class clap for every circle they see.
2
Introducing Silence: The Rest (10 mins)
Show the "Shhh" Ghost/Box . Explain that silence is a "musical sound" too—it's just a sound that we don't hear!
Game: Freeze Play
Display a pattern of 3 circles and 1 rest. Play it together on rhythm sticks. Ensure students hold their sticks perfectly still in Rest Position during the rest.
3
Two Sounds, One Beat: "Pizza" (10 mins)
Introduce the Double Circle . Use the word "Pizza" to represent two sounds in the same amount of time as one "Ta."
Practice saying "Piz-za" while clapping. Then try to play "Piz-za" on the drums or shakers. Note how the wrist flick for shakers makes "Pizza" easy, while the drum requires two alternating hands.
4
Composition Station (15 mins)
Distribute the Rhythm Reader Worksheet . Guide students through the practice lines first. Then, let them draw their own symbols in the blank boxes.
Teaching Tip
Walk around and point to each of their drawn symbols while they play it back. This reinforces the 1-to-1 correspondence of sight and sound.
Supporting Your Readers
For Visual Learners
Use large physical blocks or hula hoops on the floor. Have students jump into hoops to play a sound and stay outside for a rest.
For Advanced Performers
Have them try to play their rhythm on two different instruments (e.g., Circle on Drum, Pizza on Shaker).
Orchestra Show Slides The Grand Finale
The Kindergarten
Orchestra
"Watching the magic wand to make music together."
Lesson 5 Ensemble Skills
Meet the Team
ENSEMBLE
"Many people making one sound."
Section 1
Section 2
Section 3
Section 4
Eyes on the Leader
START
Teacher's hands go UP!
STOP
Teacher's hands go FLAT!
The "Invisible String"
Tempo Control
PRESTO
Fast like a cheetah!
LARGO
Slow like a turtle.
Final Show Challenge
EVERYONE PLAY THE STEADY BEAT!
BRAVO!
"You handled your instruments with care and made beautiful music together."
Orchestra Reflection Sheet Maestro Report Card
Our Orchestra Performance Reflection
Maestro Name:
1. Following the Leader
Did you watch the conductor and stop when their hands were flat?
Always!
Sometimes
I tried!
2. My Favorite Voice
Color the instrument you loved playing the most in our ensemble!
Drum
Shaker
Sticks
Me in the Orchestra
Draw a picture of you and your friends making music together!
Teacher Comments:
Ensemble Show Teacher Guide Teacher Guide
Orchestra Showcase
Lesson 5: Culminating Ensemble Workshop
60 Minutes
Kindergarten
Learning Objective
Students will synthesize all previously learned skills (steady beat, technique, notation reading) to perform as a synchronized percussion ensemble, following conductor cues for tempo, dynamics, and starting/stopping.
Orchestra Setup
Arrange the room in a semi-circle with clear sections:
Drums
Front Center
Shakers
Right Wing
Sticks
Left Wing
Maestro Skills
The Gaze: Eyes on the conductor at all times.
The Reflex: Instant stop on the "Flat Hand" cue.
The Pulse: Listening to friends to stay in sync.
The Showcase Sequence
1
Ensemble Warm-Up (10 mins)
Open the Orchestra Show Slides . Begin with a Body Percussion warm-up to center the group's pulse. Practice the "Start" and "Stop" cues with empty hands first.
2
The Conductor's Magic Wand (15 mins)
Introduce Tempo . Using a baton (or rhythm stick), lead the class in a steady beat.
Largo (Slow): Big, sweeping moves with the baton.
Presto (Fast): Small, quick, sharp moves.
Play a game of "Tempo Follower" where you change speeds unexpectedly.
3
Sectional Solos (15 mins)
Point to a specific section (e.g., Drums). Only they play a 4-beat pattern. Then point to Shakers. This builds confidence in playing while others are quiet. Finally, bring everyone in together for the Grand Finale Ensemble .
4
Reflection & Bows (10 mins)
Have the orchestra stand and take a formal bow. Distribute the Orchestra Reflection Sheet . While they color, play a recording of professional percussion ensemble music for inspiration.
Final Observation Checklist
Safe instrument handling
Immediate response to "Stop" cue
Consistent steady beat maintained
Correct technique used for timbre