Posture Power Slides Posture Power
Standing tall like a star!
The Secret String
Imagine there is a magic string on top of your head.
Someone is gently pulling it up to the clouds!
Can you feel yourself growing taller?
Soldier vs. Dancer
The Soldier
Stiff legs
Locked knees
Tense shoulders
Looking straight ahead
The Dancer
Soft, long muscles
Floating head
Engaged tummy
Relaxed shoulders
Let's Try It!
1
Feet together and flat
2
Pull the magic string
3
Hands on your hips
You look like a professional dancer!
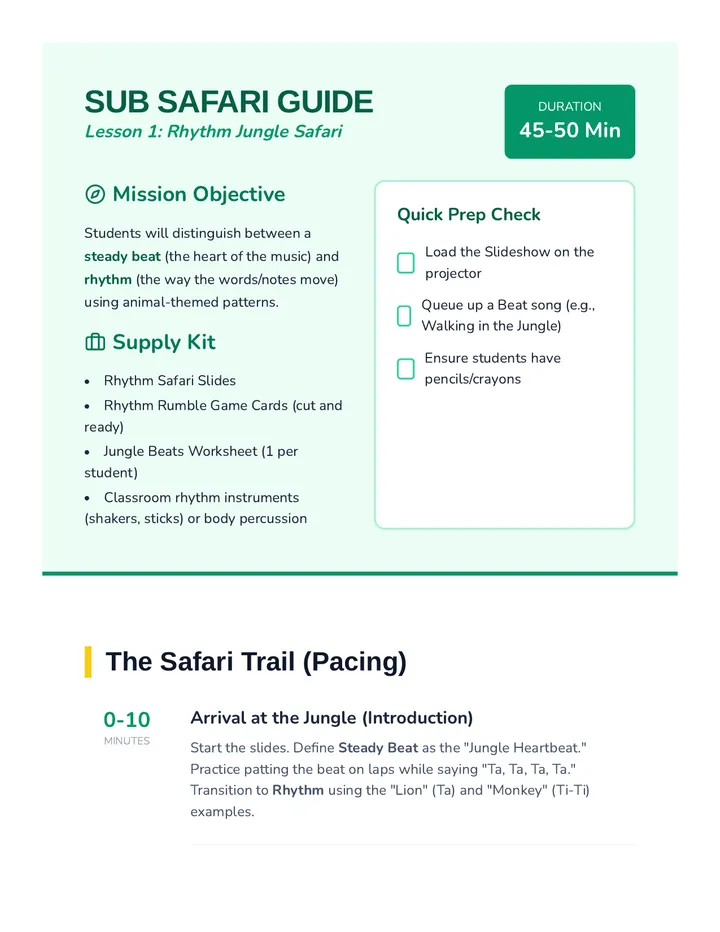
Posture Basics Teacher Guide Posture Basics Teacher Guide
Lesson 1: Posture and Alignment Basics
Unit: Ballet Foundations
Learning Objectives
Students will demonstrate "Dancer Posture" using the magic string visualization.
Students will distinguish between stiff (soldier) and soft (dancer) alignment.
Students will identify the core (tummy) as the center of balance.
Pacing
Hook 5 min
Instruction 10 min
Guided Practice 15 min
Closing 5 min
The Hook: The Puppet Master
"Imagine you are a puppet. Right now, your strings are loose!" (Have students wiggle and flop). "Now, the puppet master pulls the magic string on top of your head..."
Teacher Note: Use a physical piece of yarn or a 'magic wand' to simulate pulling the string above students' heads as you walk around.
Key Concepts to Explain
Soldier vs. Dancer
Explain that soldiers are stiff because they are waiting for an order, but dancers are 'long' because they are ready to fly. Avoid using the word "stiff" for dancers; use "energized" or "tall."
The Tummy Shield
Have students place hands on their bellies. Ask them to "zip up their jacket" to engage the core. This helps keep the magic string from pulling them over.
Watch Out For...
The "Chicken Neck": Students jutting their chin out.
Fix: Tell them to "look at the horizon."
Locked Knees: Knees pushing backward.
Fix: Tell them to keep "happy, soft knees."
Held Breath: Forgetting to breathe while focusing.
Fix: Ask them to "breathe like a balloon."
Shoulders in Ears: Lifting shoulders up.
Fix: "Let your shoulders melt like ice cream."
Checking for Understanding
"Does the magic string feel heavy or light?"
"Show me how a soldier stands. Now show me a dancer!"
"Where is your balance hiding? (The tummy!)"
Pizza Feet Slides Pizza Feet!
Opening our feet like a book
Open the Book
Imagine your feet are the covers of a storybook.
Keep your heels touching and open the toes to the sides!
We call this First Position.
Look at the V shape!
Where does it start?
Not just your toes!
The Hips!
Your whole leg rotates!
Parallel vs. First
Parallel
Toes point to the front!
First Position
A slice of pizza!
Pizza Feet Practice Worksheet Pizza Feet Fun
First Position Practice
NAME:
DATE:
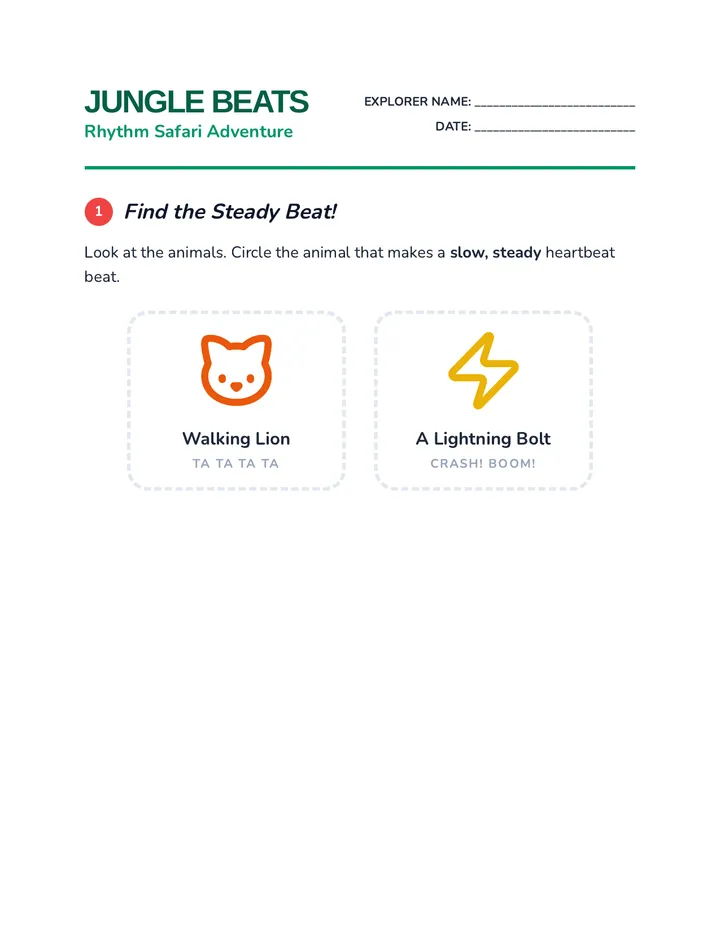
Circle the "Pizza Feet"
Look at the pairs of feet below. Circle only the ones that are in First Position (Pizza shape!).
Decorate Your Pizza Slice
When your heels touch and your toes open, they make a triangular pizza slice!
Draw your favorite toppings inside the slice!
Dancer Check:
Heels are touching
Toes are open
I am standing tall
Turnout Teacher Guide Turnout Teacher Guide
Lesson 2: Turnout and First Position
Unit: Ballet Foundations
Learning Objectives
Students will understand that turnout originates in the hip joints, not the knees or ankles.
Students will consistently find "First Position" with heels touching.
Students will transition between Parallel and First position smoothly.
Safety Tip
Never force a child's turnout. Kindergarteners have varying degrees of natural rotation. Encourage their "natural V" rather than a flat line.
The Hook: The Storybook Feet
"Glue your heels together like they have magic stickers. Now, can you open your toes like you're opening the pages of your favorite book?"
Effective Imagery & Cues
"The Pizza Slice"
The triangle between the toes is the pizza. If the heels come apart, the pizza falls on the floor!
"Butterfly Knees"
Encourage the knees to look away from each other, like butterfly wings opening up from the center.
"The Hinge"
Point to your hips. Tell students this is the "door hinge." The whole leg is the door that swings open.
"Parallel Tracks"
When feet are straight, they are like train tracks. We go from tracks to pizza!
Corrections to Look For
Rolling In:
Students putting weight on the big toe side of the foot.
Fix: "Lift your arches like little mouse holes."
Gaping Heels:
Heels separating in First Position.
Fix: "Squeeze the magic penny between your heels."
Game: Pizza Party!
Call out "Parallel" or "First Position" (Pizza!). Students jump into the correct position. For an extra challenge, call out "Extra Large Pizza" for a wider first position, but emphasize the heels must still touch!
Diamonds and Towers Slides Diamonds and Towers
How dancers bend and rise!
Plié: The Diamond Shape
When we bend our knees in First Position, they make a diamond shape.
Keep your back straight, like you are sliding down a magic wall.
Do your heels stay on the floor? Yes!
Look for the Diamond!
Relevé: Growing Tall
High on your toes!
Now, push the floor away and rise up tall like a tower.
Keep your legs long and your ankles strong.
"Relevé" means to rise!
Can You Do Both?
Bend (Plié)
Rise (Relevé)
Listen to the music and find your diamond!
Bend and Rise Worksheet Bend and Rise
Plié and Relevé Shapes
NAME:
DATE:
Which Shape is Which?
Draw a line from the ballet word to its secret shape.
Plié
(to bend)
Diamond
Tower
Relevé
(to rise)
Draw Your Diamond
In First Position, bend your knees to make a diamond. Trace the diamond below and draw a dancer inside it!
Remember:
"Heels stay down in Plié. Heels go up in Relevé!"
Plié and Relevé Teacher Guide Bending and Rising Teacher Guide
Lesson 3: Plié and Relevé Technique
Unit: Ballet Foundations
Learning Objectives
Students will perform a demi-plié with heels firmly on the ground.
Students will perform a relevé with straight legs and high heels.
Students will understand the relationship between bending (storing energy) and rising (using energy).
Vocabulary
Plié: (plee-AY) To bend.
Relevé: (ruh-luh-VAY) To rise.
Plié: The Diamond Shape
Imagery:
"Slide your back down a magic wall."
"Open your knees like a book."
"Make a window for a friend to look through."
Safety Check:
Knees must track directly over the middle toes. Avoid "sinking" into the floor; keep the magic string pulling the head up even while bending down.
Relevé: The Tower Rise
Imagery:
"Push the floor away like it's a trampoline."
"Grow tall like a skyscraper."
"Balance a crown on your head."
Safety Check:
Ankles should be "strong and quiet"—no wobbling! Weights should be over the first three toes to prevent rolling out.
Watch Out For...
The "Pop-Up" Heel: Heels lifting during plié.
Cue: "Glue your heels to the floor."
The "Duck Tail": Bottom sticking out.
Cue: "Keep your tailbone pointing to the floor."
Bent Knees in Relevé: "Soft" legs while rising.
Cue: "Zip up your legs like a tall tower."
Falling Forward: Leaning too far front.
Cue: "Stay on your magic wall."
Reflective Questions
"When you bend, do you feel like you are getting ready to jump?"
"Which one is harder to balance in, the Diamond or the Tower?"
Magic Beach Ball Slides Magic Beach Ball
Moving our arms with grace!
Hold the Big Ball
Imagine you are holding a giant, invisible beach ball.
Keep your elbows round and your fingers soft.
"Don't pop the ball with pointy fingers!"
Round Arms
Low, Middle, and High
Low
Arms by your legs, holding a small ball.
Middle
Arms in front of your belly button.
High
Arms over your head like a crown.
Float Like a Cloud
Dancers move their arms slowly, like they are moving through water or floating in the breeze.
Can you move from Low to High without popping your ball?
Floating Arms Reference Sheet My Floating Arms
Dancer Arm Positions Guide
Low
En Bas
Holding a basket of flowers near your legs.
Middle
First Position
Holding a giant beach ball in front of your belly.
High
Fifth Position
Holding a golden crown above your head.
Dancer Check-List:
Soft Shoulders
Keep them far away from your ears.
Long Fingers
Relax your hands like they are feathers.
Round Elbows
No "chicken wings"! Keep them curved.
Quiet Hands
Hands shouldn't wiggle or wave.
Port de Bras Teacher Guide Port de Bras Teacher Guide
Lesson 4: Port de Bras Arms in Motion
Unit: Ballet Foundations
Learning Objectives
Students will demonstrate rounded arm positions (Low, Middle, High).
Students will maintain a steady "Magic String" while moving their arms.
Students will coordinate upper body movement with soft, controlled transitions.
Pacing
Hook/Beach Ball 5 min
Static Positions 10 min
Transitions/Motion 15 min
Closing 5 min
The Hook: The Invisible Beach Ball
"Everyone grab your invisible beach ball from the air! It's very light, but very big. If you squeeze too hard, it pops! If you let go, it floats away!"
Positional Cues
Low (En Bas)
"Hands don't touch your tummy. Leave space for a little bird to fly through."
Middle (1st)
"Hold the ball right in front of your belly button. Check your elbows—are they round?"
High (5th)
"Make a frame for your face. Can you see your hands without looking up?"
Watch Out For...
The "Chicken Wing": Elbows pointing down or drooping.
Fix: "Lift your elbows like they are on tiny clouds."
Shoulder Earrings: Shoulders creeping up.
Fix: "Let your shoulders melt like butter down your back."
Clasped Hands: Fingers touching or interlocking.
Fix: "Keep a small window between your middle fingers."
Tiff Stiff Arms: Arms locked at the elbows.
Fix: "Soften your arms like a cooked noodle."
Activity: Slow-Motion Magic
"The room is filled with thick, magical honey. We have to move our arms through the honey very slowly. Start Low... now Middle... now High... now let the arms float down like falling leaves."
Teaching Tip: Use slow, lyrical music (3/4 time) to encourage fluid movement.
Flamingos and Birds Slides Flamingos & Birds
Finding our balance on one leg!
Passé: The Flamingo Leg
Lift one foot and point your toe right next to your knee.
Your leg makes a triangle, just like a flamingo standing in water!
Can you stand still for 5 seconds?
Toe to Knee!
Arabesque: The Flying Bird
Reach with your toes!
Reach one leg behind you, long and straight like a bird's wing.
Reach your arms out to help you balance in the sky.
"I am a beautiful, graceful bird!"
The Balancing Secret
Pick one thing in the room to look at. A clock, a poster, or even a tiny dot on the wall.
Don't take your eyes off it!
This is called "Spotting."
Balance Tracker Worksheet Balance Master
How long can you stand on one leg?
NAME:
DATE:
Practice your balances. Color in a star for every time you can hold the pose without wiggling!
The Flamingo (Passé)
3 Sec
5 Sec
10 Sec
The Flying Bird (Arabesque)
3 Sec
5 Sec
10 Sec
Balance Trick:
"Find a magic dot on the wall and keep your eyes on it. This will help you stand tall and still!"
Balance Teacher Guide Balancing Teacher Guide
Lesson 5: Balancing in Passé and Arabesque
Unit: Ballet Foundations
Learning Objectives
Students will balance on one leg in a retiré/passé position (turned out).
Students will demonstrate an arabesque with a straight back and extended leg.
Students will use "spotting" to increase their balance duration.
Skills
Static Balance: Staying still.
Focus: Mental discipline.
Passé: The Flamingo Balance
Imagery:
"Toe to the knee, don't let it be a lazy toe!"
"Knee points to the side like a butterfly wing."
"Stand tall like a tree in the wind."
Teaching Cue:
"Imagine your standing leg is a strong pillar made of stone. It can't move!"
Arabesque: The Bird Flight
Imagery:
"Leg long and straight behind you."
"Arms reach wide like you're gliding through clouds."
"Keep your chest proud and your head high."
Teaching Cue:
"Don't lean forward too much! Keep your magic string pulling you up while your leg reaches back."
The Secret Trick: Spotting
Explain that our eyes help our brain stay balanced. If we look everywhere, we fall. If we look at one spot, we stay still.
"I'm going to put a sticker on the wall. Everybody glue your eyes to the sticker while you lift your flamingo leg!"
Game: Red Light, Green Light
Walk in a circle (Dancer walk: tall and pointed toes). When I say "Red Light - Flamingo!", everyone must balance in passé. Hold until I say "Green Light!"
Differentiation
Easier: Allow students to touch the wall with one finger.
Harder: Have students try to relevé (rise on toes) while in their balance pose!