A creative art lesson where students explore the ancient art of mosaic-making. They will learn about the history of mosaics and create their own vibrant designs using paper 'tiles' to develop fine motor skills, patience, and an eye for patterns.
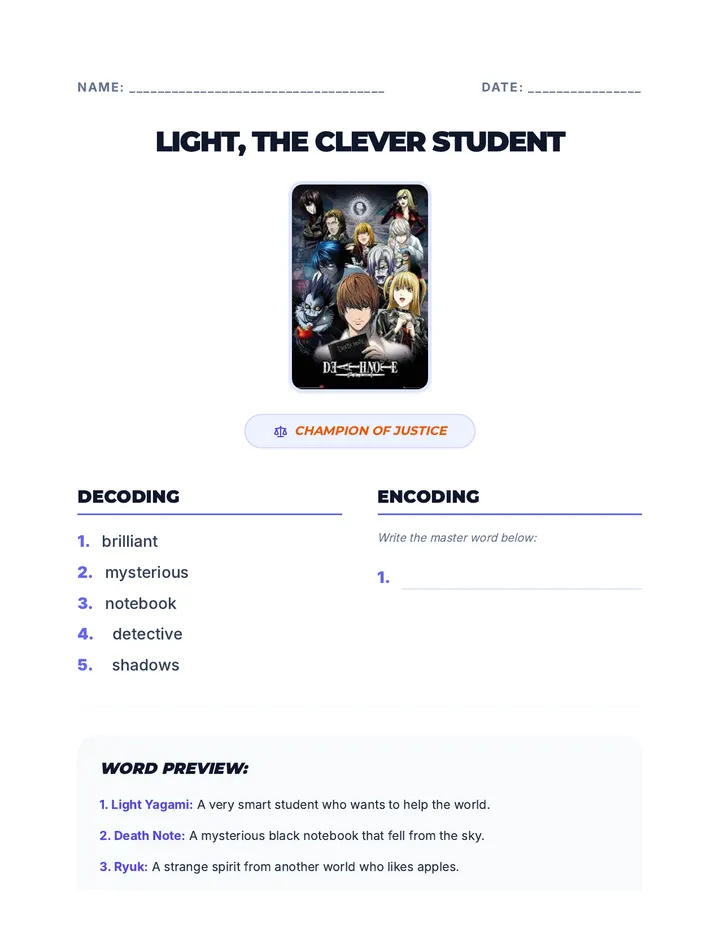
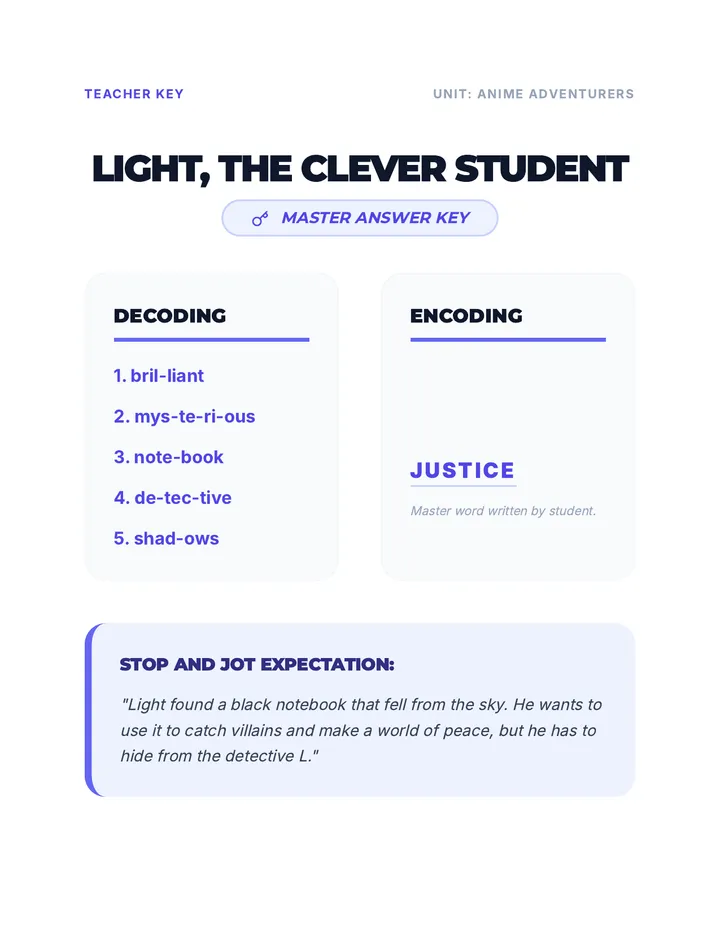
A collection of reading fluency and comprehension lessons based on popular anime stories, adapted for a 3rd-grade reading level. Each lesson follows a standardized format including decoding practice, fluency passages, comprehension checks, and a creative mission.
A creative and inclusive card-making lesson that allows students to design personalized cards for Father's Day or any special adult in their lives, promoting emotional expression and writing skills.
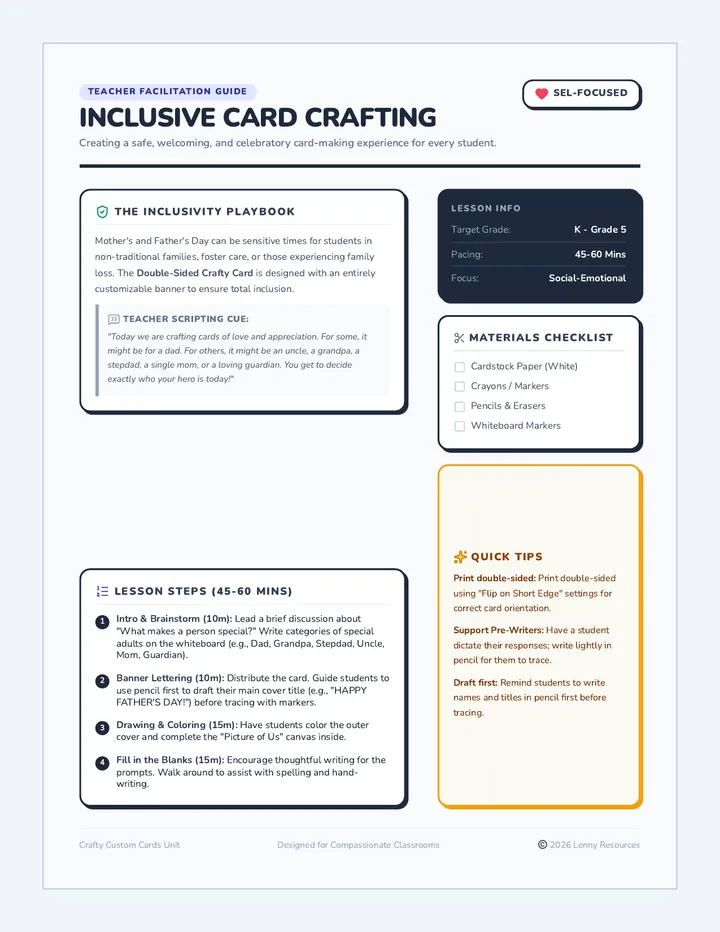
A comprehensive facilitator guide for educators to deliver an inclusive Father's Day or appreciation card crafting lesson, featuring language scripts, step-by-step instructions, and social-emotional learning notes.
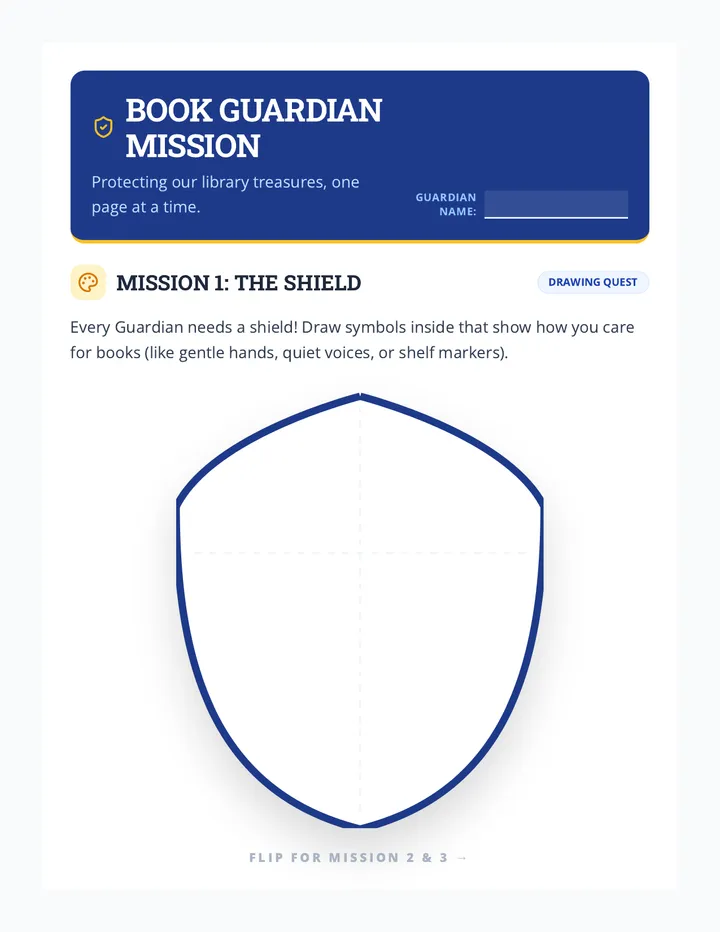
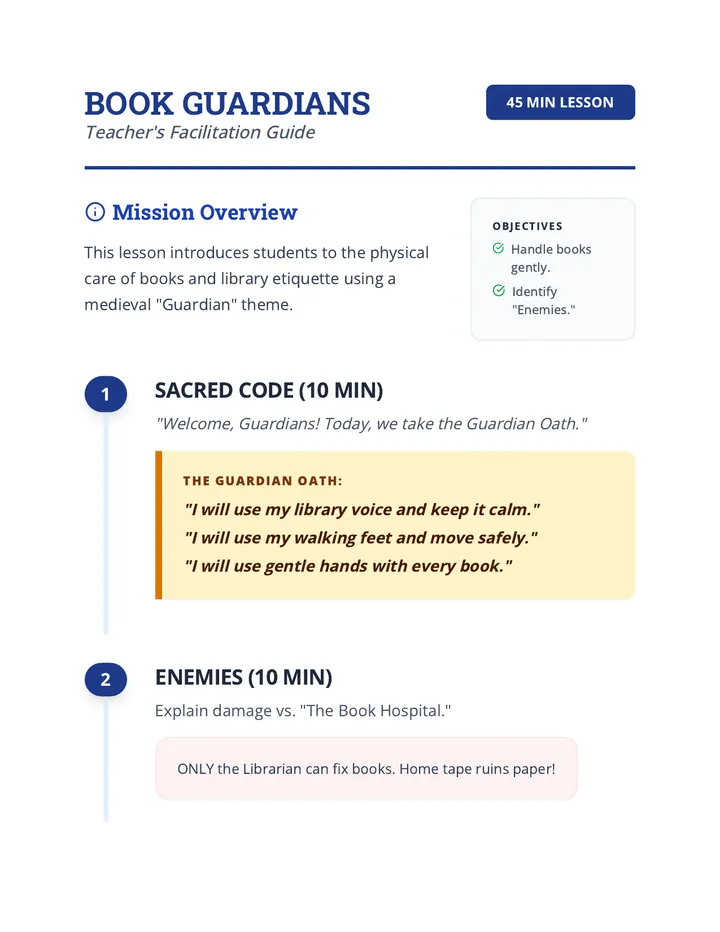
A comprehensive introduction to library skills, covering both the physical care of books and the intellectual skills needed to find and evaluate information.
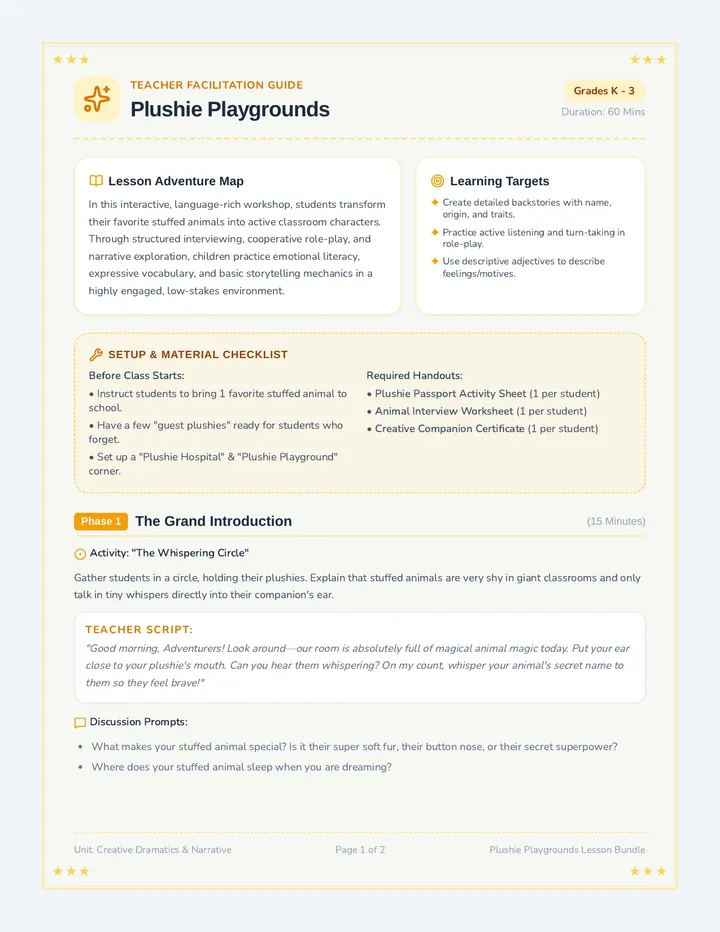
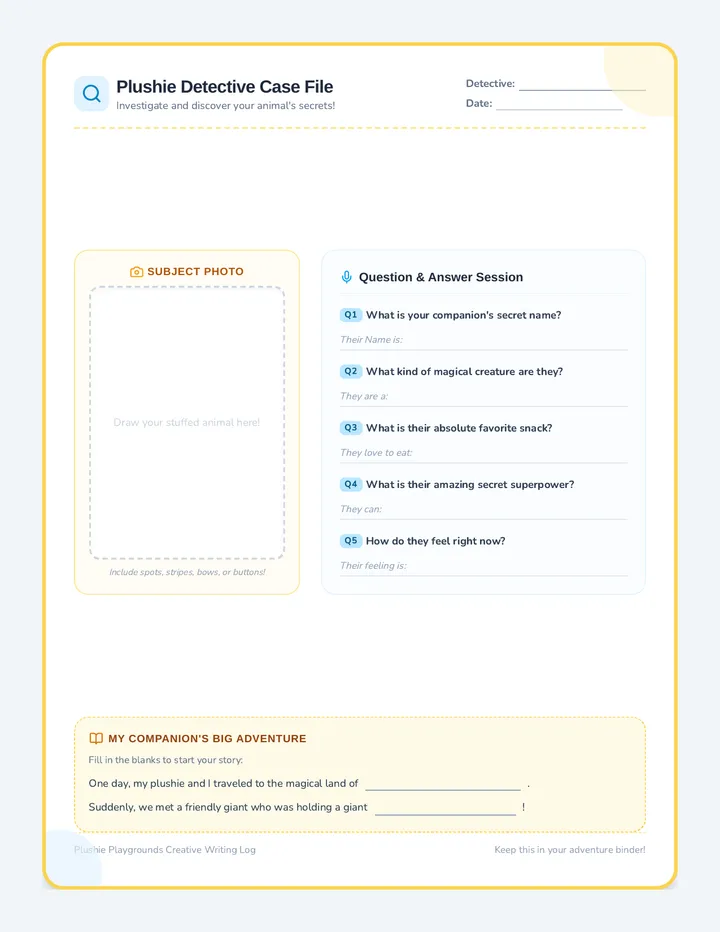
A detailed creative play and language lesson where students bring their stuffed animals to life through structured storytelling, interviewing, and role-play. Includes step-by-step teacher facilitation, printable name tags, an interactive interview worksheet, and companion certificates.
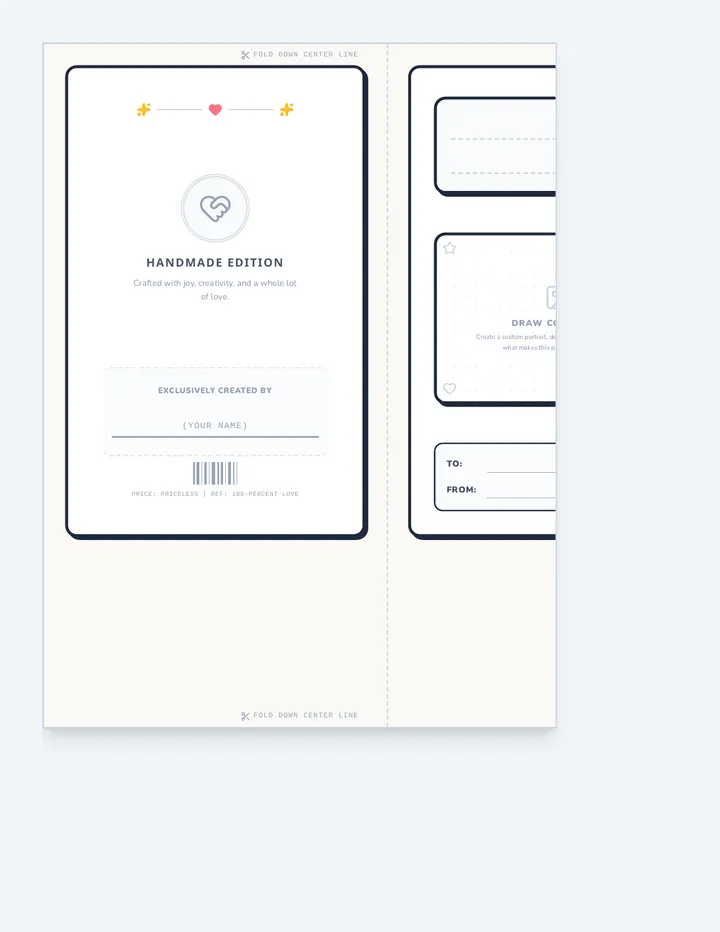
A customizable double-sided foldable card template that is fully inclusive and landscape-oriented, featuring open-ended blank drawing and writing canvases on the inside for custom messages.
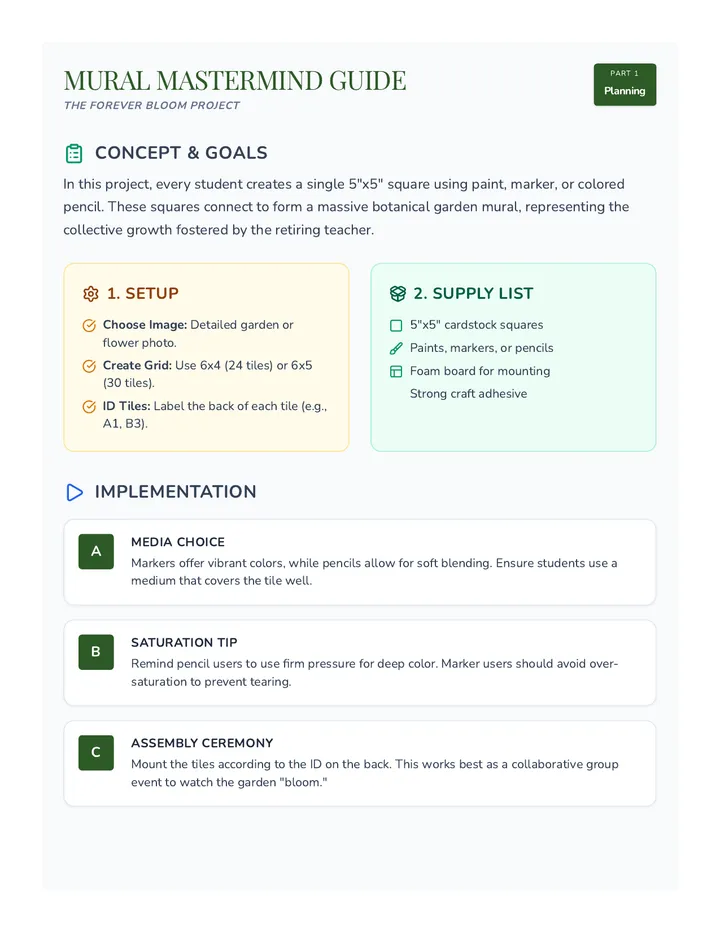
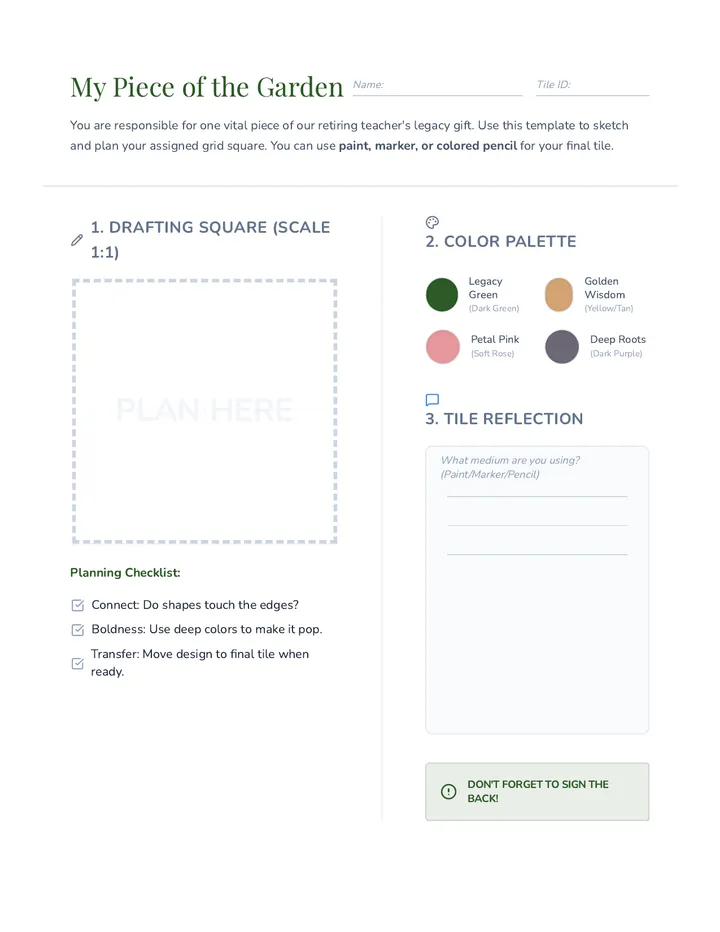
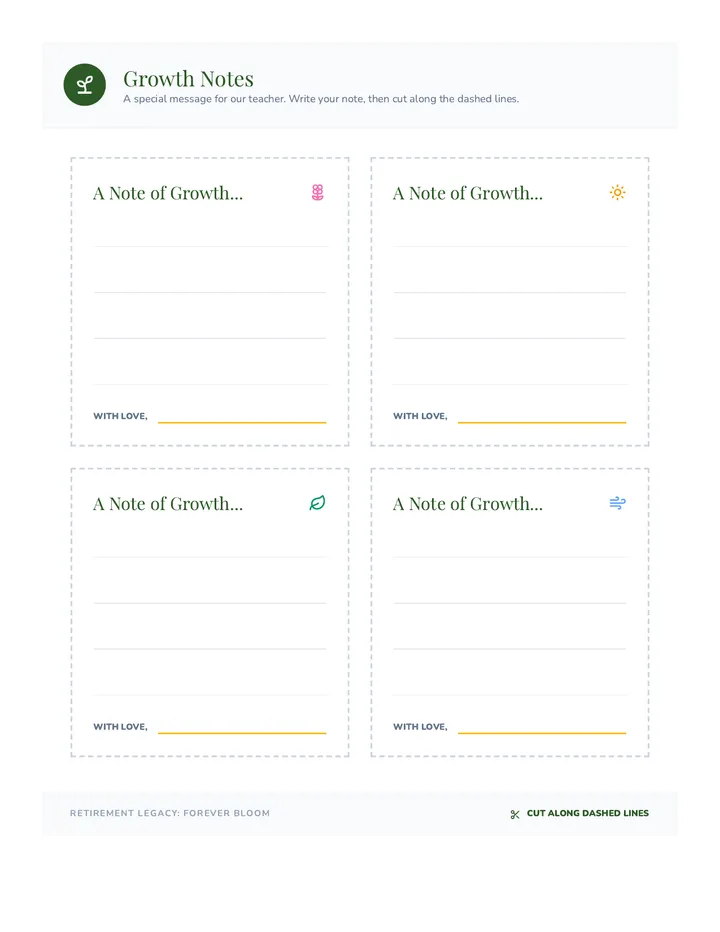
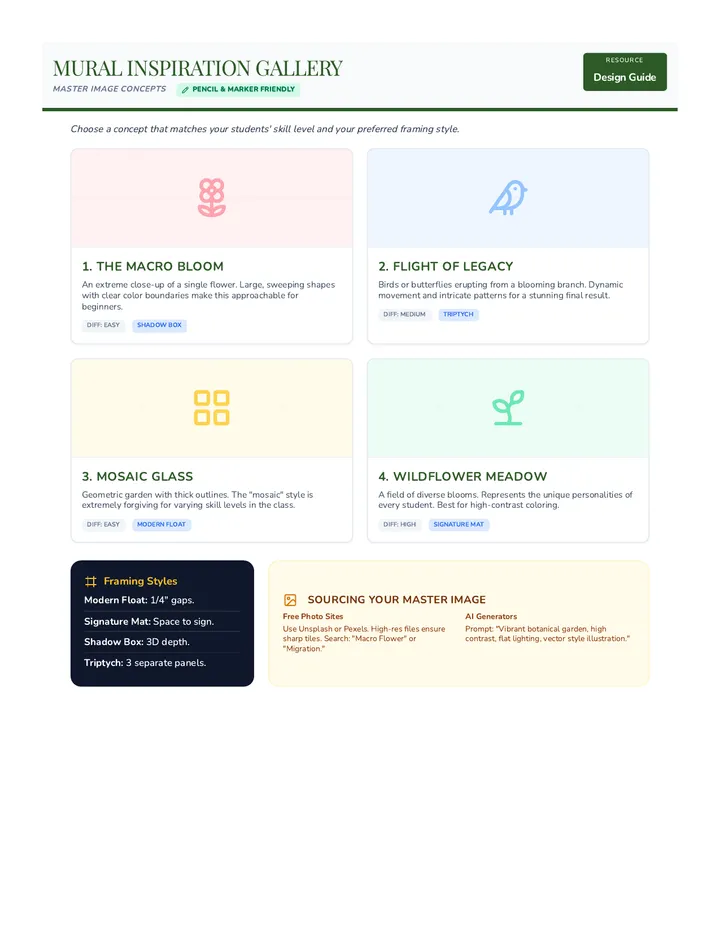
A collaborative art sequence where students create a large-scale mosaic mural to honor a retiring teacher, focusing on themes of growth, beauty, and legacy.
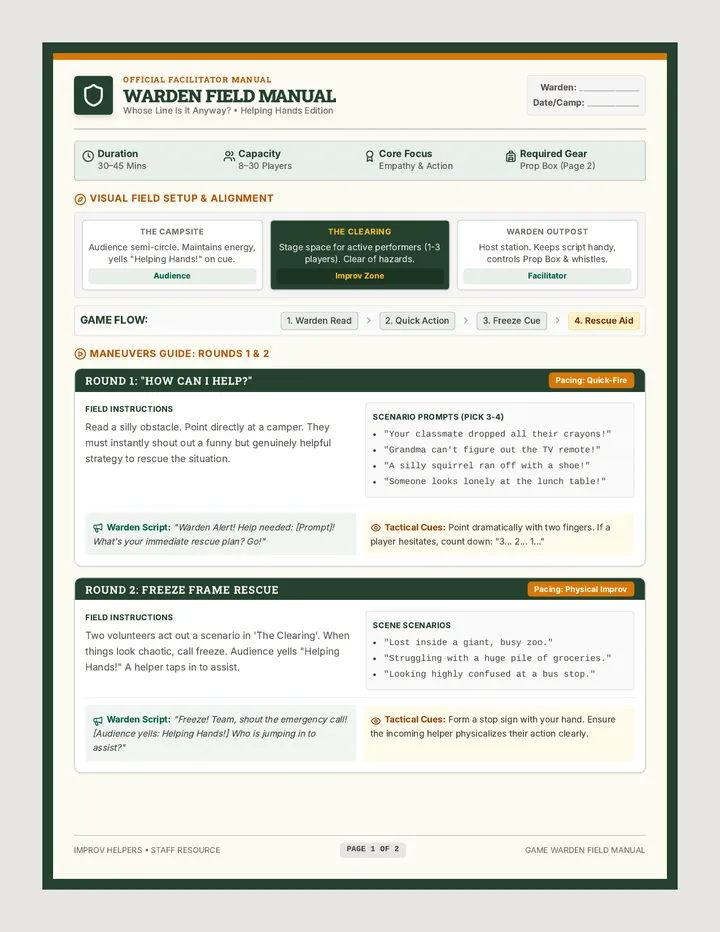
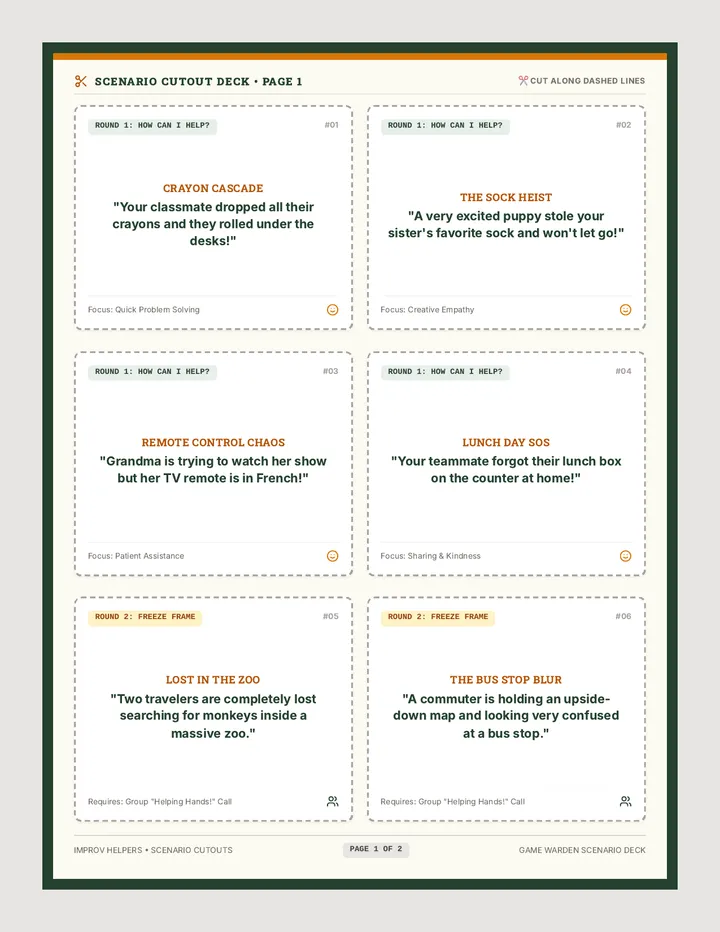
An active, drama-based lesson focused on building empathy, teamwork, and communication skills. Students participate in silly, structured improv rounds to practice identifying needs and offering creative help.
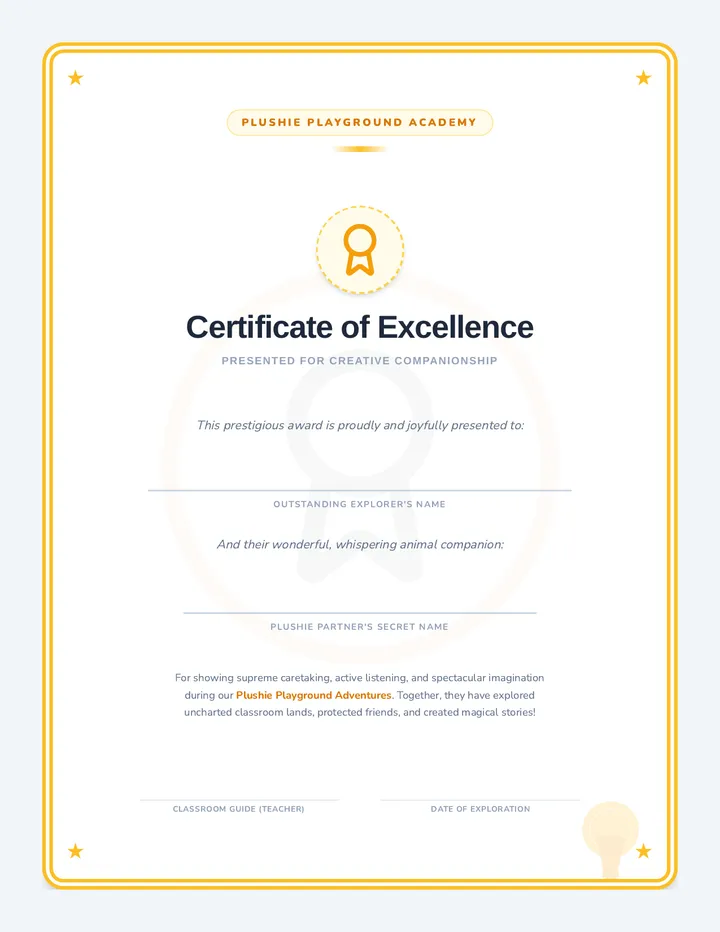
A beautifully styled companion certificate presented to students for outstanding creativity, storytelling, and outstanding caretaking of their stuffed animals.
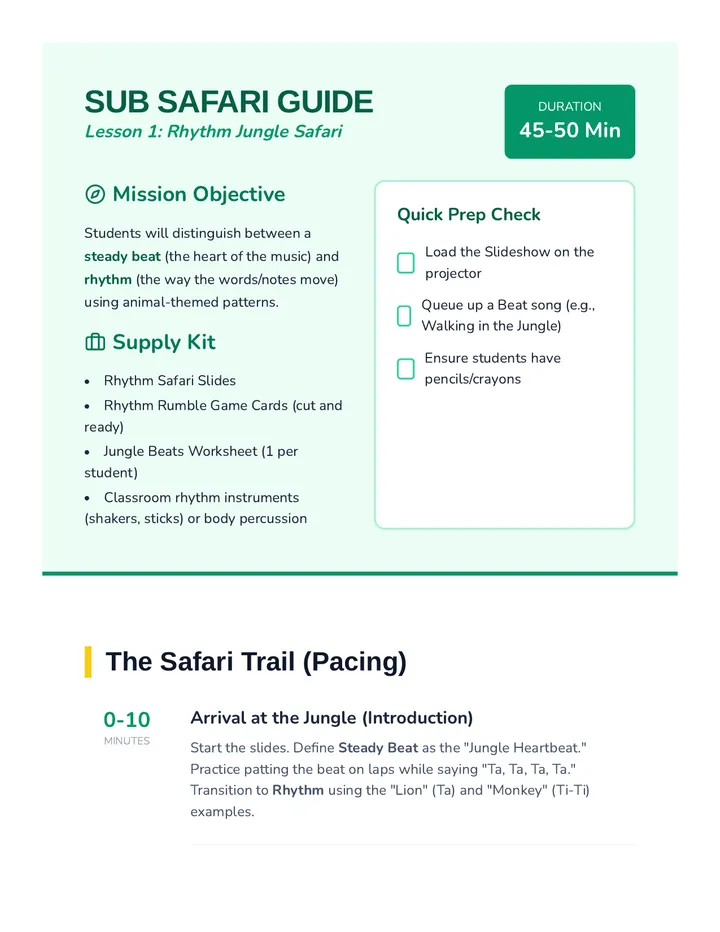
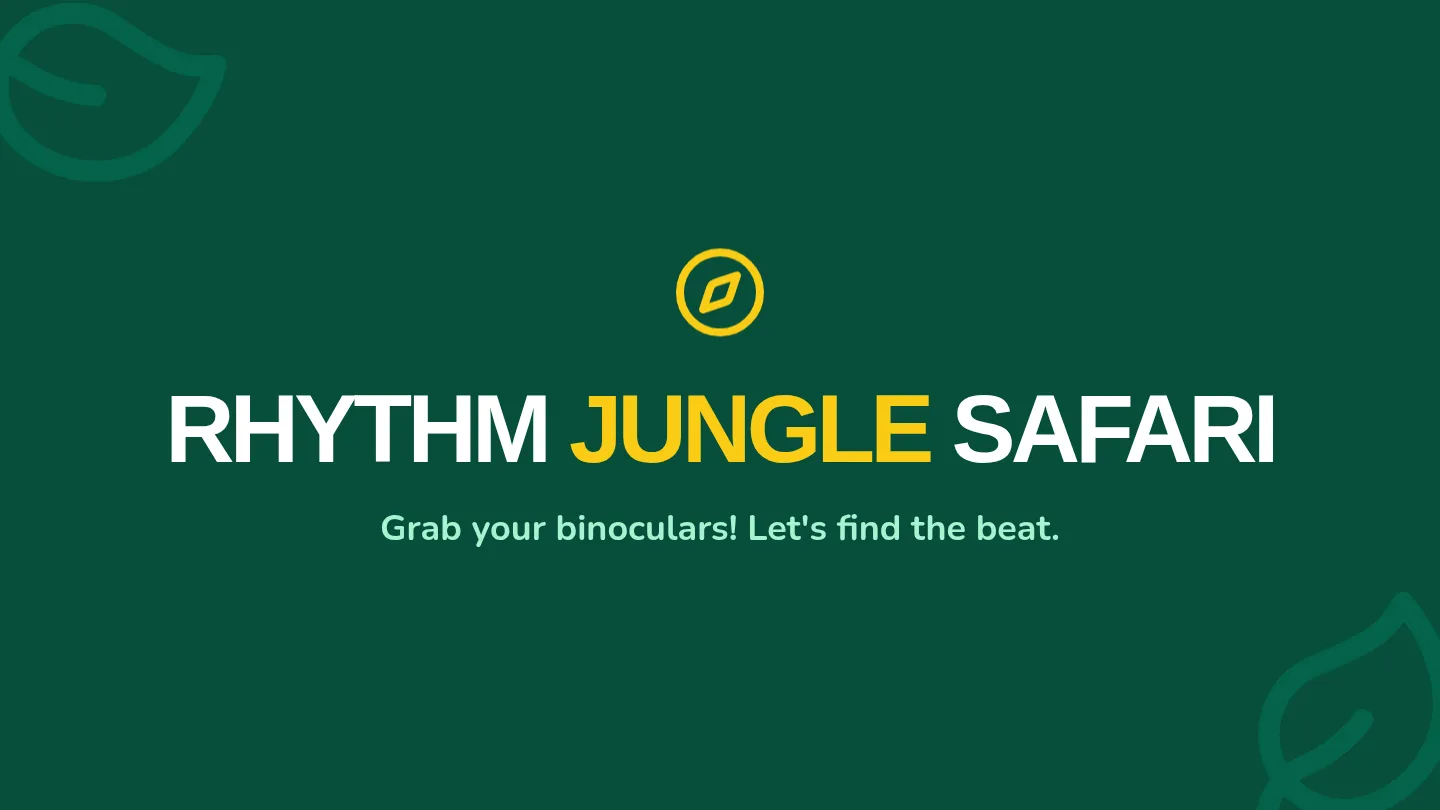
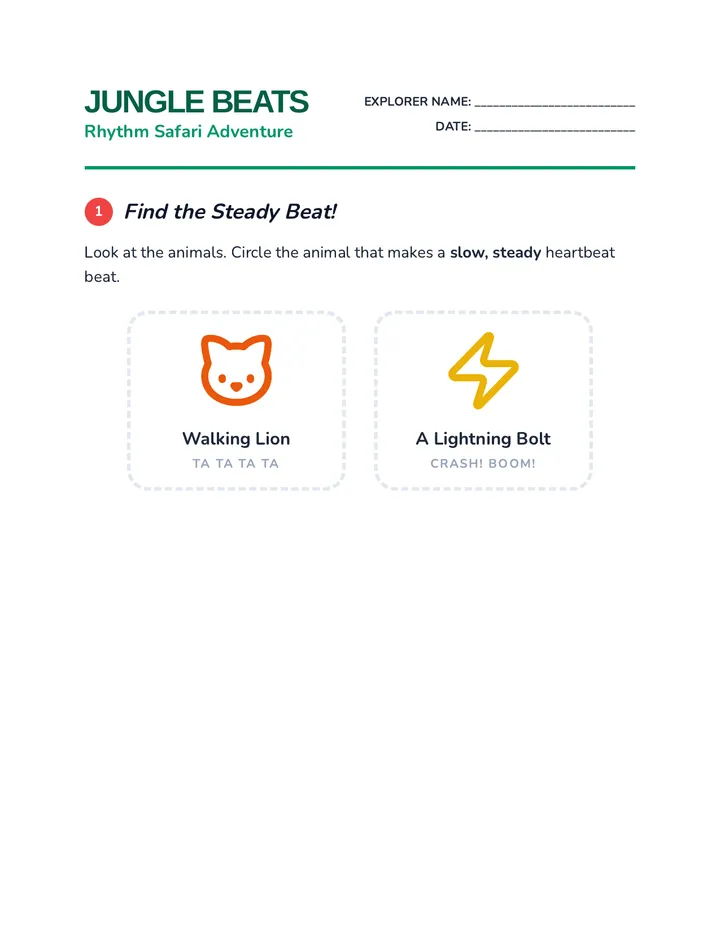
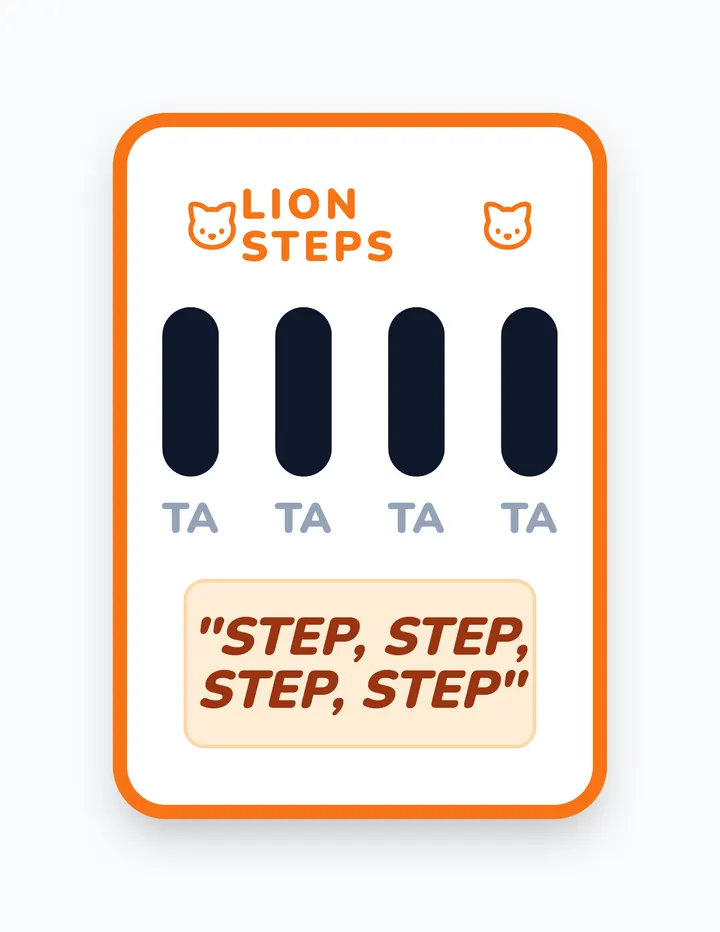
A series of three interactive music lessons for K-2 students, focusing on fundamental concepts of rhythm, dynamics, and pitch through an explorer-themed adventure. Perfect for substitute teachers, these lessons include visual presentations, hands-on games, and printable worksheets.
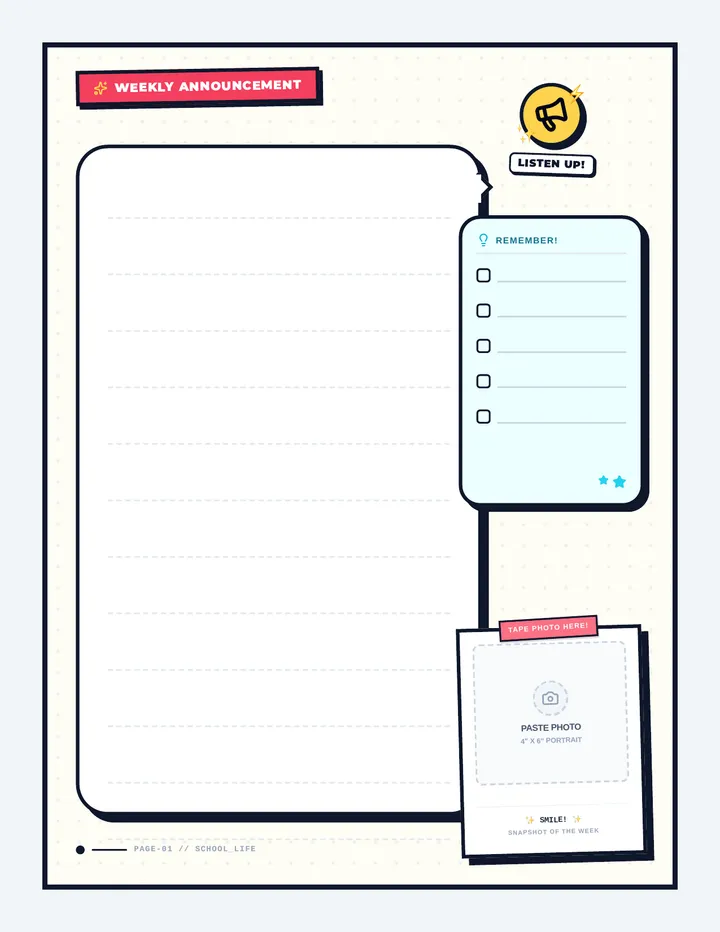
A collection of eye-catching announcements and flyers designed to communicate school updates, schedule changes, and campus news in a fun, engaging, and comic-style format.
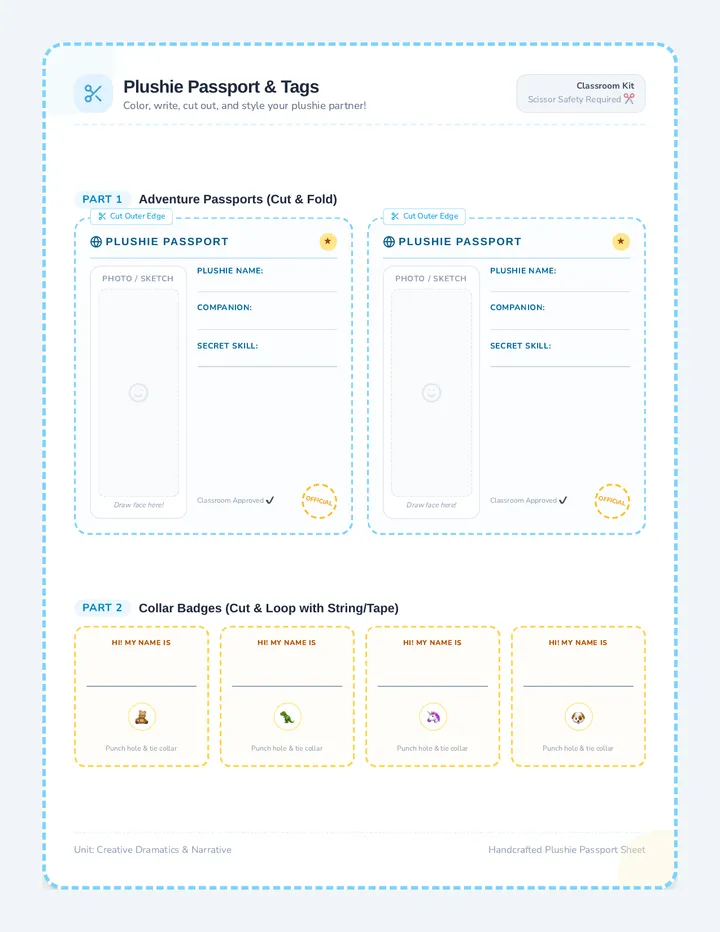
A creative cut-and-color printable containing customized Plushie Passports and collar name tags. Students write key facts and attach tags to their stuffed animals.