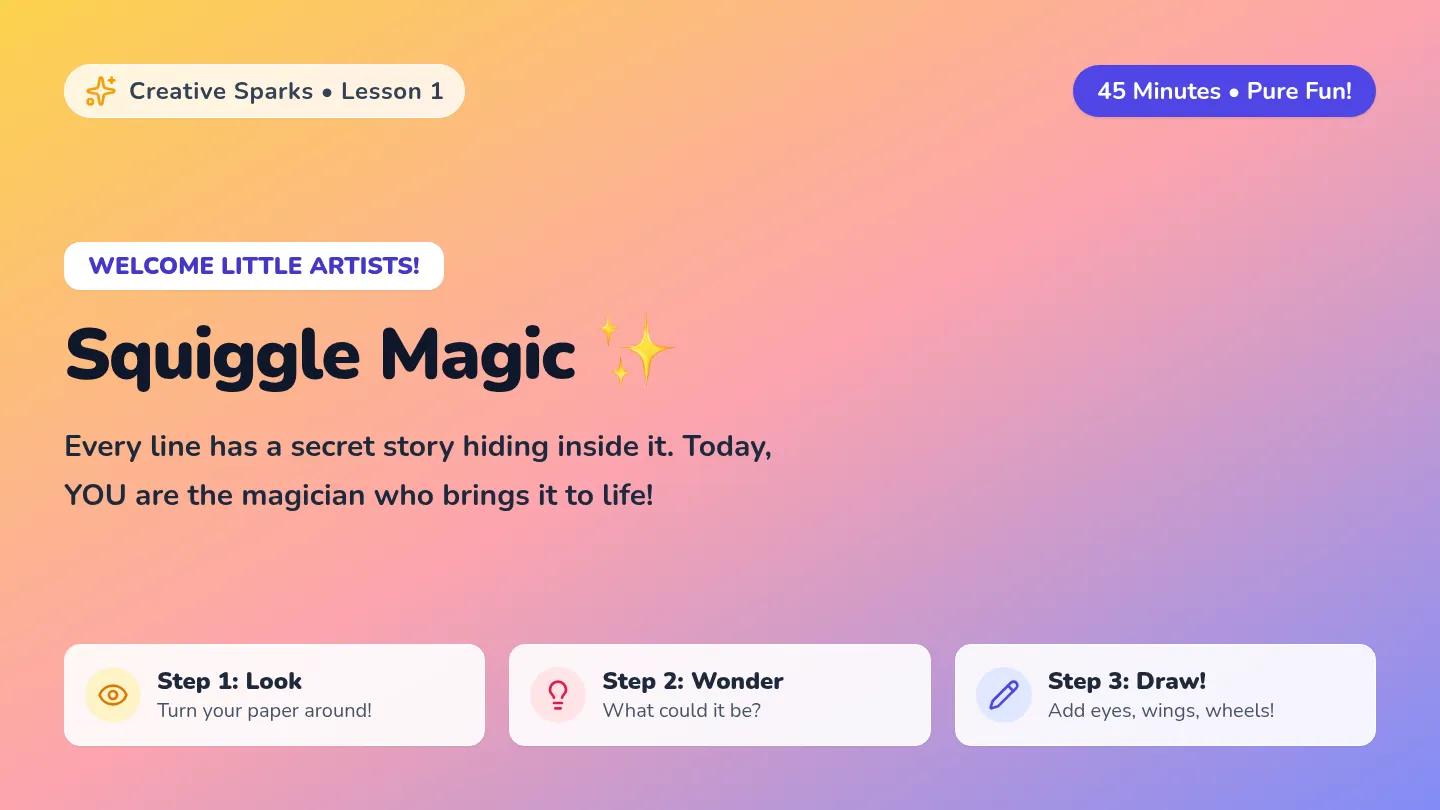
Mystery Marks Slides Mystery Marks
What footprints do objects leave?
Art Detective Challenge!
Can a toy car paint a picture without using a brush?
Think about it...
Tire tracks!
New Art Words
PRINT
A mark left by an object when you press it down.
TEXTURE
How something feels—bumpy, smooth, or rough!
What can we use?
Blocks
Cups
Spools
Keys
Look around our classroom! What else has a shape?
Your Turn!
1. Pick an object from the treasure box.
2. Press it into playdough or paint.
3. See what kind of "mystery mark" it leaves!
Mystery Marks Teacher Guide Mystery Marks
Teacher Facilitation Guide
Lesson 1 K-Level
Objective
Students will identify that the physical surface of an object determines the mark it makes when pressed into a medium (playdough or paint).
Materials Needed
Collection of "Mystery Objects" (blocks, toy cars, spools, forks)
Flat pans of playdough (for tactile exploration)
Washable tempera paint in shallow trays
Heavy white paper or cardboard scraps
The Hook (5 mins)
"Artists, today we are going on a hunt for hidden pictures! Did you know your favorite toy car has a secret painting hiding in its wheels? We call these footprints 'prints'."
Investigation (20 mins)
1
Playdough Press:
Before using paint, have students press objects into playdough. Ask: "Is the hole deep or shallow? Is it bumpy or smooth?" This builds tactile understanding.
2
Paint Exploration:
Students dip objects into thin layers of paint. Stress the "dip and tap" method—too much paint hides the texture!
3
Categorizing Marks:
Encourage students to group their prints: "All the circle marks here, all the lines here."
Inquiry Prompts
"What happens if we press really hard? What if we press lightly?"
"Can you find two different objects that make the same shape?"
"Why does the toy car wheel make a line instead of a dot?"
"How can you tell which mark was made by the LEGO block?"
Classroom Tips
If students are smearing paint, demonstrate the "Lifting Hand": press down, then lift straight up like a helicopter—no sliding!
Mark Matcher Worksheet Mark Matcher
Name: __________________________ Date: ___________
Can you find the match? Draw a line from the object to the mark it makes!
Toy Car
Fingerprints
Square Block
Box Shape
Your Hand
Tire Tracks
Bonus Hunt!
Find one object in the room that makes a tiny dot. Draw it here:
Nature Prints Slides Nature Prints
What secret shapes are hiding inside?
Secret Agents of Art
If you cut an apple in half, what shape do you see in the middle?
Is it a circle? A triangle? A STAR?
It's a star!
How to Stamp Like a Pro
1. DIP
Just a little paint!
2. PRESS
Push down firmly!
3. LIFT
Go straight UP!
Look at these textures!
Leaves
Lines and veins!
Vegetables
Spirals and stars!
Stones
Rough and bumpy!
Flowers
Soft and round!
Ready to Print?
We have apples, potatoes, and peppers!
Don't forget the helicopter lift!
Nature Prints Teacher Guide Nature Prints
Teacher Facilitation Guide
Lesson 2 Skills: Techique
Objective
Students will apply the "Dip-Press-Lift" technique to create clear, unsmudged prints using natural materials, demonstrating control over paint quantity and movement.
Prep & Safety
Cut vegetables ahead of time (cross-sections are best).
Pat veggies dry with paper towels (moisture thins paint).
Ensure all materials are non-toxic and allergies are checked.
Set up "re-inking" stations with shallow paint pads.
The Demonstration (10 mins)
The Secret of the Apple:
Cut an apple horizontally to show the star. Use this "reveal" to hook students. Demonstrate the wrong way first (sliding the apple) to show a "blurry ghost" print, then the right way for a "clean star".
DIP
Tap off extra paint like a bird pecking.
PRESS
Count to three: "One, two, three—push!"
LIFT
Straight up like a helicopter taking off.
Workshop Flow (25 mins)
Common Mess-ups
Problem: Blobs of paint
Fix: Use a sponge as an ink pad instead of a tray of liquid paint. This controls the "load".
Problem: Sliding paper
Fix: Tape the paper down to the table so students can focus on the stamp movement.
Clean-up Ritual
Veggies go in the compost/trash. Brushes in water. Hands get the "Washing Dance". Dry the art on the rack!
Veggie Vision Worksheet Veggie Vision
I am a Nature Detective!
Name: __________________________
Look at the prints below. Can you guess which vegetable made them? Draw a line!
Mystery Mark A
Carrot
Mystery Mark B
Apple
Your Turn!
Pick your favorite veggie and make your BEST print right here:
Stamp Here!
Stamp Builders Slides Stamp Builders
Making our own art tools!
The Big Idea
Today, we aren't just using things we found. We are BUILDING a stamp that only you have!
What shapes will you choose?
Parts of a Stamp
CARDBOARD
The Plate
The "floor" of our stamp.
The FOAM
The "bumpy" part that prints.
How to Build It
1
Put GLUE on your foam shapes.
2
Press them onto the cardboard. HOLD for 5 seconds!
3
Let it DRY. No touching until it's ready!
Art Engineer!
You are now an Art Engineer.
Stamp Builders Teacher Guide Stamp Builders
Teacher Facilitation Guide
Lesson 3 Construction
Objective
Students will construct a functional relief printing plate by adhering foam shapes to a cardboard base, understanding that the raised surface is what carries the ink.
Materials Needed
Sturdy cardboard squares (approx 4x4 inches).
Sticky-back foam shapes (or foam scraps + glue).
Tacky glue (if not using sticky-back foam).
Markers (for sketching designs first).
Printing Engineering
Explain that the foam shapes are like "mountains" and the cardboard is like the "valley". When we roll ink on our stamp, the ink only touches the mountains.
Visual Aid: Hold a stamp sideways at eye level for students. Can they see the gap between the foam and the cardboard?
Teacher Script & Steps
1
Planning the "Blueprint":
"Before we glue, we play! Move your foam shapes around on your cardboard. What looks like a face? What looks like a robot?"
2
The "Magic Hold":
When gluing foam, students often let go too early. Have the whole class count out loud to 10 for each shape they glue. "1-2-3-4-5-6-7-8-9-10—STUCK!"
3
Avoid Overlap:
Warn students that stacking foam on top of foam makes the stamp wobbly and hard to print. Keep it "one level" high.
For Extra Challenge
Ask students to create a "symmetry" stamp (same shapes on both sides) or a specific character using 5 or more shapes.
For Support
Provide "pre-planned" kits with a large central shape and 3 smaller accents to reduce decision fatigue.
Pacing Note
This is a TWO-PART activity. Part 1 is construction. Part 2 (Lesson 4) is printing. Ensure stamps have at least 2 hours to dry before Lesson 4 begins.
My Stamp Blueprint Stamp Blueprint
Name: __________________________
Before we use real glue, let's DRAW our plan!
CARDBOARD PLATE
My Shape Toolbox
Circle the shapes you want to use today!
Circles
Squares
Triangles
Stars
Plan drawn!
Shapes picked!
Ready to build!
Pattern Power Slides Pattern Power
Making patterns with our stamps!
What is a Pattern?
A pattern is something that REPEATS over and over!
Like a song beat...
CLAP - SNAP - CLAP - SNAP!
This is an A - B pattern!
The "Again" Rule
To make a pattern, you have to use your stamp
Let's Try These!
The "Pop" Pattern:
Big - Small - Big - Small
The "Jump" Pattern:
Up - Down - Up - Down
Master Pattern Makers!
Today we will stamp a FRAME around our artwork.
Stay in the lines. Keep the rhythm!
Pattern Power Teacher Guide Pattern Power
Teacher Facilitation Guide
Lesson 4 Mastery
Objective
Students will use their handmade foam stamps to create a repeating A-B-A-B pattern, demonstrating an understanding of sequence, alignment, and rhythm.
Vocabulary
Pattern: A sequence that repeats.
Alignment: Lining things up in a straight row.
Rhythm: The "music" of our eyes looking at art.
Movement Hook: The Art Beat
"Before we stamp, we have to find the beat! Follow me!"
Pattern 1:
Clap - Pat - Clap - Pat
Pattern 2:
Stomp - Jump - Stomp - Jump
Printing the Frame (20 mins)
Since the stamps are larger than the nature materials, alignment is harder. Use a "Guide Line".
The Two-Stamp System:
If students made only one stamp, they can use one Color A and one Color B to make their pattern. If they have two stamps, they can switch between them.
"Parking the Stamp":
Teach students where to put their stamp when they aren't using it. A messy stamp left on the paper ruins the pattern!
Mastery Prompts
"Your pattern is A-B. What comes after B?"
"Can you make a pattern that goes A-A-B?" (Challenge)
"How do we turn the corner on our paper frame?"
Pro Tip: The Ghost Print
If there is still paint on the stamp after the first press, they can do a "Ghost Print" (second press) next to it for a lighter version of the same shape. This is A - a - A - a (Dark - Light - Dark - Light).
Pattern Path Worksheet Pattern Path
Name: __________________________
Follow the path! Use your stamps to finish the REPEATING patterns.
1. The Red & Blue Path
2. The Star & Circle Path
My Pattern Frame
Draw a picture of you in the middle!
Stamp your pattern around the edges!
"Step, stamp, step, stamp... feel the beat!"
Mural Makers Slides Mural Makers
One GIANT artwork made by ALL of us!
What is a Mural?
A mural is a BIG picture that covers a whole wall!
Today, our paper is the wall. Your stamps are the paint!
Teamwork Rules
SHARING SPACE
Leave room for your friends to stamp too!
LAYERING
You can stamp near a friend, but don't cover their work!
Texture Treasure
Use Sponges
Use Your Stamp
Use Magic Rollers
Let's fill the whole paper!
Mission Accomplished!
We are a team of artists.
Mural Makers Teacher Guide Mural Makers
Teacher Facilitation Guide
Lesson 5 Collaboration
Objective
Students will collaborate to create a large-scale relief print mural, negotiating spatial boundaries and layering textures without obliterating peers' contributions.
Mural Setup
Roll out a long sheet of butcher paper (floor or large table).
Divide the paper into "neighborhoods" with light pencil lines.
Set up 3 distinct texture stations around the mural.
Use a "Gentle Music" cue for work and "Freeze" cue for instructions.
Social-Emotional Art
"Artists, today is a group mission! Our stamps are like voices. If everyone screams at once, we can't hear anything. If everyone stamps over each other, we can't see the shapes!"
Protocol: Ask before you stamp in a new neighborhood.
Protocol: Find the "empty white spots" first.
The Rotation (30 mins)
1
Round 1: The Foundations
Use sponges and rollers to create soft background textures. Avoid dark colors here.
2
Round 2: The Heroes
Use the handmade foam stamps from Lesson 3. These should be the clearest, brightest shapes.
3
Round 3: The Details
Use small nature items (spools, fingers, small leaves) to add accents in the gaps.
Reflection Prompts
"Where do you see a spot where two different stamps met and made a new shape?"
"How did it feel to work on the same paper as your friends?"
"Can you find your 'secret signature' print in this giant world?"
Artist Reflection Card Artist Reflection
My part in the big mural!
Stamp Squad Foundations
Name: __________________________
My Favorite Part
Draw the print YOU made on the giant mural today:
How did it feel to work as a team?
Good
Okay
Hard
What was your favorite tool?
Sponge
Stamp
Roller
Nature
I am an Artist!
"I can make many pictures with one stamp."