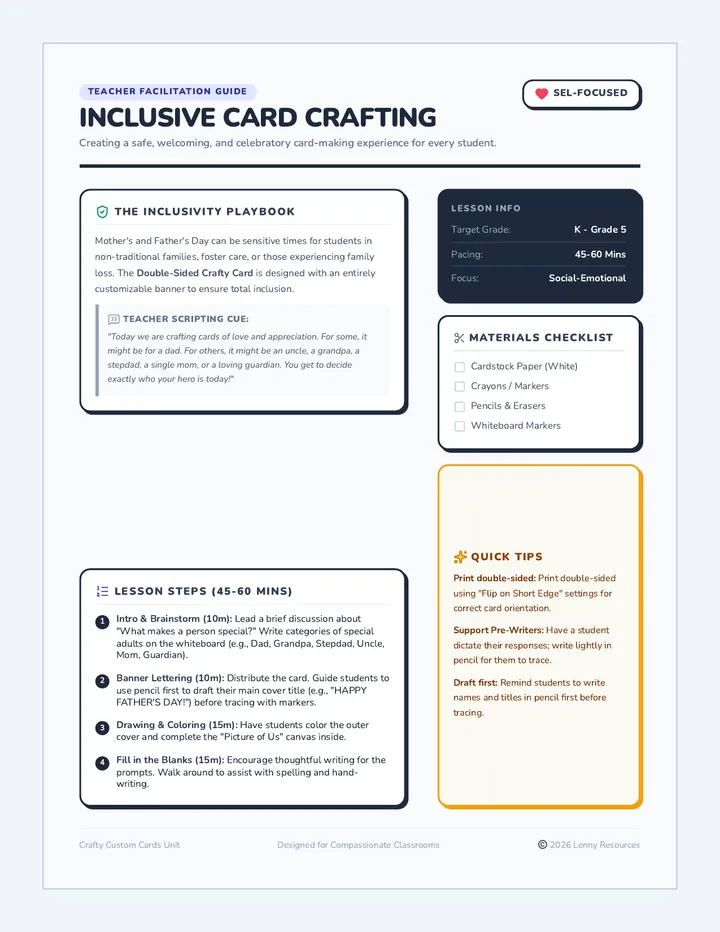
Statue Master Guide Frozen Statues
Exploring Stationary Shapes & Body Control
Objective
Students will demonstrate body control by creating and holding shapes at high, medium, and low levels.
Duration
30-40 Minutes
Key Skills
Body Balance
Level Identification
Focus & Stillness
The Hook: The Magic Remote
"Class, I have a magic remote control! When I press PLAY , you move like jelly. But when I press PAUSE , you must turn into a frozen statue instantly! Can you turn your body into a frozen statue that looks like a giant tree or a tiny rock?"
Instructional Steps
1
Introduction to Stillness (5 min)
Discuss what "stillness" means. Demonstrate a wiggly body vs. a controlled, frozen body. Explain that every dance starts and ends with a clear shape.
2
Level Laboratory (10 min)
Explore levels with guided prompts:
High: "Be a tall skyscraper reaching for the clouds!"
Medium: "Be a waddling penguin or a kitchen table!"
Low: "Be a tiny seed underground or a flat pancake!"
3
Museum Gallery Game (15 min)
The teacher is the "Museum Security Guard." When the guard turns around, students are statues. When the guard's back is turned, students move through space. Call out a level (High, Medium, or Low) for the students to freeze in when the guard looks!
Teacher Tips
- Use a tambourine or drum for clear "STOP" signals.
- Compliment specific statues: "I love how Sarah is balancing on one foot like a stork!"
Support
Encourage students with limited mobility to focus on arm shapes or facial expressions. For students who struggle with balance, suggest wider bases (feet far apart).
Shape Shifter Slides Frozen Statues
Shapes, Levels, and Stillness
Lesson 1: Let's Get Started!
What is Stillness?
Stillness is when our bodies are as quiet as a sleeping cat.
No wiggling, no giggling, just Frozen Focus!
The 3 Levels of Dance
High
Up in the clouds!
Tipty-toes, reaching arms, and jumping high!
Medium
In the middle!
Bending knees, sitting low, or crawling like a pup!
Low
On the floor!
Rolling, sliding, or tucking into a tiny ball!
Your Turn!
When you hear the music STOP...
FREEZE!
"Can you be a statue at a LOW level?"
Shape Sketcher Sheet Shape Sketcher
Dance Studio Portfolio
Name:
Date:
Draw a statue! Can you draw yourself making a shape at each level?
High
Mid
Low
Pathway Pilots Guide Pathway Pilots
Navigating Pathways & Spatial Awareness
Objective
Students will travel through general space using locomotor movements on straight, curved, and zigzag pathways.
Duration
35-45 Minutes
Key Skills
Locomotor Movement
Spatial Awareness
Pathway Recognition
The Hook: Floor Artists
"Imagine the floor is a giant piece of paper! We are the pens. How can we 'draw' a squiggle line using only our feet while we walk? What about a sharp, pointy line?"
Instructional Steps
1
Space Bubbles (5 min)
Teach "Self Space" vs. "General Space." Everyone has a "magic bubble" around them. If bubbles touch, they POP! Practice moving without popping bubbles.
2
The Three Pathways (15 min)
Use masking tape or cones to show three types of paths on the floor:
Straight: "Walking on a tightrope!"
Curved: "Swimming like a dolphin!"
Zigzag: "Sprinting like a lightning bolt!"
3
Pathway Pilots Game (15 min)
Call out a locomotor movement (hop, skip, crawl) and a pathway. "Pilots! Prepare for a curved skip!" Students must travel the room following that path while maintaining their bubbles.
Vocab Check
Locomotor: Movement that travels from point A to point B.
Inclusivity
For students with mobility aids, emphasize the path of the wheels or walker. For visual learners, draw the pathways on a whiteboard as you call them out.
Pathway Pilot Slides Pathway Pilots
Drawing with our Feet!
Lesson 2: Moving Through Space
Your Magic Bubble
Every dancer has a Space Bubble.
It protects you.
It protects your friends.
Don't let them POP!
3 Ways to Travel
STRAIGHT
"Like a tightrope!"
Point A to Point B in one line.
CURVED
"Like a slithering snake!"
Bending and swirling lines.
ZIGZAG
"Sharp and pointy!"
Quick turns and sharp corners.
Prepare for Takeoff!
Movement:
SKIP!
Pathway:
ZIGZAG!
"Don't pop your bubbles, Pilots!"
Path Finder Map Sheet Path Finder
Trace the dance pathways!
Pilot:
Let's draw the lines!
Use your pencil to trace each line. Then, try to walk the same line on the floor!
1. Straight Path
2. Curved Path
3. Zigzag Path
Challenge: Draw Your Own Path!
Movement Sandwich Guide Movement Sandwich
Connecting Movements & Sequencing
Objective
Students will understand "sequencing" by linking two or three distinct movements into a repeatable chain.
Duration
40-50 Minutes
Key Skills
Transition Fluency
Pattern Recognition
Memory Recall
The Hook: The Sandwich Chef
"We are going to build a 'Movement Sandwich'! In a sandwich, the bread comes first, then the filling, then more bread. If we put the filling on the bottom, it's a mess! Dance is the same—we have to put our moves in a special order."
Instructional Steps
1
What is a Sequence? (5 min)
Explain that a sequence is a pattern that repeats. Use a simple daily example: "Socks, then shoes. If you put shoes first, it doesn't work!"
2
The 2-Part Chain (15 min)
Teach two movements separately (e.g., a Jump and a Wiggle ). Practice doing them one after another. Focus on the Transition : "How do we get from the landing of the jump into the wiggle without stopping?"
3
Building the Sandwich (20 min)
Class Choreography! As a group, pick three moves from the "Dance Recipe Cards":
Move A: Bread (Start)
Move B: Filling (Middle)
Move C: Bread (End)
Practice the sequence 8 times to build muscle memory.
The "Glue" Concept
Transitions are the "glue" that holds the dance together. Encourage students to make the movement between steps just as pretty as the steps themselves!
Repetition
Kindergarteners need high repetition to memorize. Use "speed rounds" (doing the sequence fast/slow) to keep the repetition engaging.
Movement Sandwich Slides Movement Sandwich
The Art of Sequencing
Lesson 3: Linking Moves Together
What is a Sequence?
A sequence is a pattern.
It means putting moves in a Special Order.
1
Put on Socks
2
Put on Shoes
The Sandwich Recipe
Start
BREAD
Middle
THE FILLING
End
BREAD
Chef's Choice!
Let's build a dance for the whole class!
1. Wiggle
2. Jump
3. Freeze
Repeat 8 Times!
Dance Recipe Cards Dance Recipe Cards
Cut out and mix to make a sequence!
1
Jump
Both feet off the floor!
2
Spin
One full turn around!
3
Wiggle
Move your whole body like jelly!
4
Clap
Hands together. Loud pop!
5
Slide
Glide your feet to the side!
6
Pose
Freeze like a statue!
Student Challenge:
Pick 3 cards. Line them up. That is your dance! Practice your sequence until you can do it without looking.
Mood Maker Guide Mood Makers
Exploring Dynamics & Emotion
Objective
Students will use dynamics (fast/slow, heavy/light) to change the "feeling" of their movement sequences.
Duration
40-50 Minutes
Key Skills
Dynamic Variation
Emotional Expression
Interpretation
The Hook: Sticky Peanut Butter
"If you were walking through a giant jar of sticky peanut butter, how would that change the way you move? Would you be light and fast like a bird, or heavy and slow like an elephant?"
Instructional Steps
1
Dynamic Duos (10 min)
Introduce contrasting dynamics using opposites:
Speed
Fast vs. Slow
Weight
Heavy vs. Light
2
The "Feelings" Machine (15 min)
Take a simple move (like a Clap or a Walk). Now "run it through the machine" by changing the dynamic based on an emotion:
Happy: Light and Fast (bouncy)
Tired: Heavy and Slow (droopy)
Excited: Sharp and Fast (explosive)
3
Dynamic Sequence Swap (20 min)
Use the sequence from Lesson 3 (Wiggle-Jump-Freeze). Have half the class perform it "Happy" and the other half perform it "Sleepy." Discuss how the same moves can feel completely different .
Use Music
The easiest way to teach dynamics is through music! Switch between a fast, upbeat song and a slow, heavy drum beat to guide their movement quality.
Support
For students who struggle with emotional labels, use concrete animal metaphors: "Move like a butterfly" (light/fast) vs. "Move like a turtle" (slow).
Feeling Flow Slides Feeling the Flow
Dynamics & Emotion in Dance
Lesson 4: How We Move!
What are Dynamics?
Dynamics is how we use our energy.
It's the difference between a Stomp and a Tiptoe!
Light & Airy
Strong & Heavy
Energy Opposites
Speed
Fast
VS
Slow
Weight
Heavy
VS
Light
Feel the Mood!
How would you do a JUMP if you were...
Excited!
(Fast & Big)
Sleepy...
(Slow & Heavy)
Dynamic Mood Matcher Mood Matcher
How does it feel to move?
Name:
Match the Mood!
Draw a line to match the feeling to the way we move .
Happy
Tired
Excited
Slow & Heavy
Fast & Sharp
Light & Bouncy
Draw how YOU feel when you dance!
Choreographer Lab Guide The Grand Finale
Composing & Performing Three-Part Phrases
Objective
Students will compose a 3-part dance (Beginning, Middle, End) using levels, pathways, and dynamics.
Duration
50-60 Minutes
Key Skills
Composition
Performance Etiquette
Memory & Recall
The Hook: The Stage is Yours
"Today, we aren't just dancers—we are CHOREOGRAPHERS! A choreographer is like an author who writes a story with their body. We are going to write a 'dance sentence' with a Beginning, a Middle, and an End!"
Instructional Steps
1
The Dance Sentence Formula (10 min)
Teach the 3-part structure:
A: Beginning (A frozen shape - choose a level)
B: Middle (A travel movement - choose a pathway)
C: End (A final frozen shape - must be different from the start)
2
Studio Time (20 min)
Students work individually or in pairs. Use the "Dance Storyboard" worksheet to plan. Encourage them to pick one emotion/dynamic from Lesson 4 to "tint" their whole dance.
3
Showtime! (20 min)
Performances! Teach audience etiquette: "Eyes on the dancer, quiet bodies, and big applause at the end." Each dancer performs their 3-part phrase twice.
What to Look For (Assessment)
Structure
Did they have a clear start and end shape? Did they travel in the middle?
Focus
Did they hold their frozen shapes without wiggling?
Grand Finale Slides The Grand Finale
Your Performance Awaits!
Lesson 5: Composition & Performance
The 3-Part Recipe
1
Beginning
A Frozen Shape to start the story.
2
Middle
A Traveling Move across the floor.
3
End
A Final Shape to finish!
Performance Power
Audience
Eyes on the dancer. Quiet bodies.
Performers
Focus, balance, and a big bow!
Showtime!
Take a deep breath...
Let's Go!
Dance Storyboard Sheet Dance Storyboard
Plan your three-part dance!
Choreographer:
1 Beginning Shape
Circle one level:
High
Mid
Low
2 Traveling Middle
Circle one path:
Straight
Curved
Zigzag
3 Final Ending Shape
Must be DIFFERENT!
My Performance Dynamic:
Happy
Sleepy
Excited