A hands-on exploration of origami where students develop fine motor skills, patience, and spatial awareness by creating paper figures. This lesson covers basic techniques and cultural context while guiding students through multiple designs.
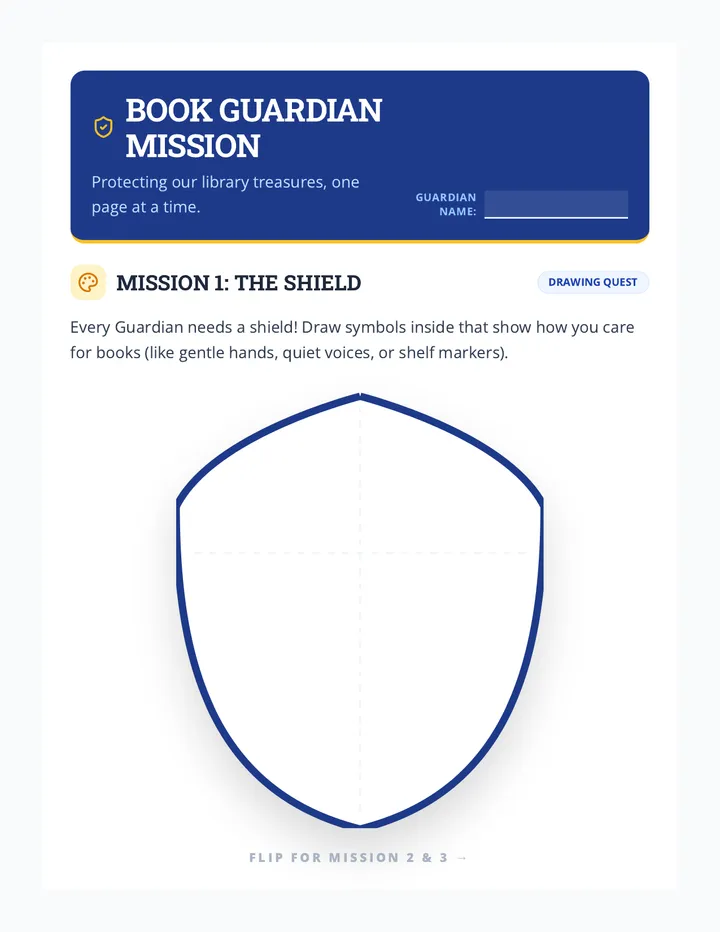
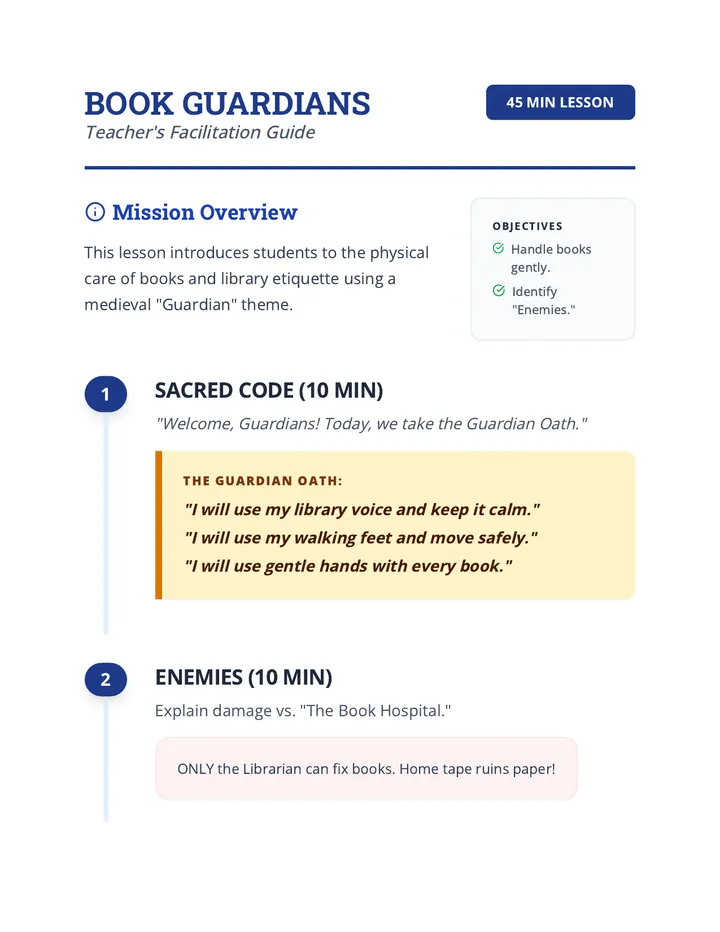
A comprehensive introduction to library skills, covering both the physical care of books and the intellectual skills needed to find and evaluate information.
A creative and inclusive card-making lesson that allows students to design personalized cards for Father's Day or any special adult in their lives, promoting emotional expression and writing skills.
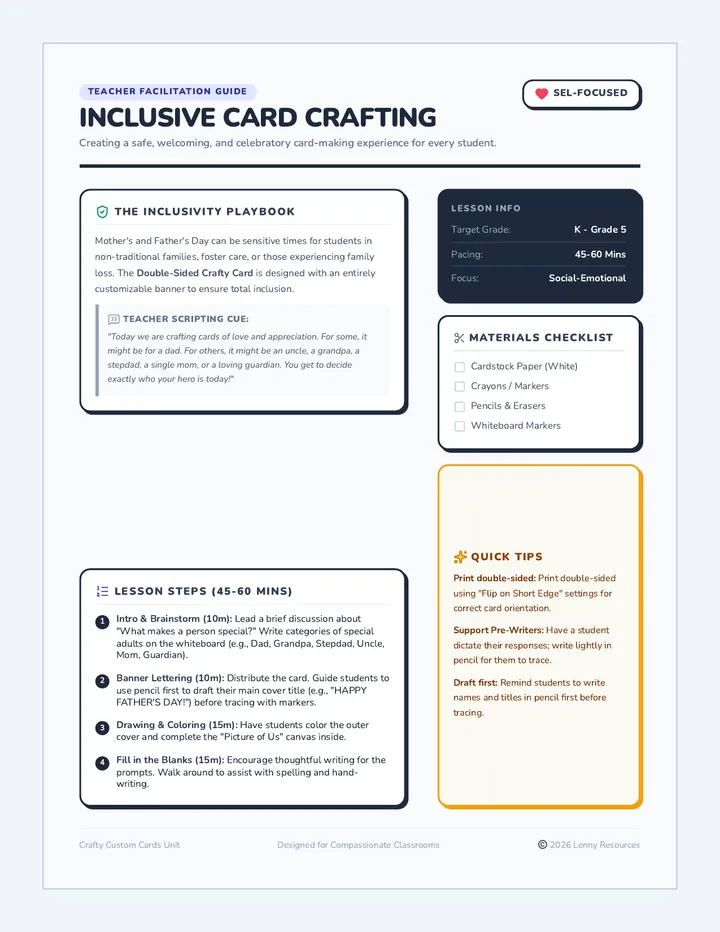
A comprehensive facilitator guide for educators to deliver an inclusive Father's Day or appreciation card crafting lesson, featuring language scripts, step-by-step instructions, and social-emotional learning notes.
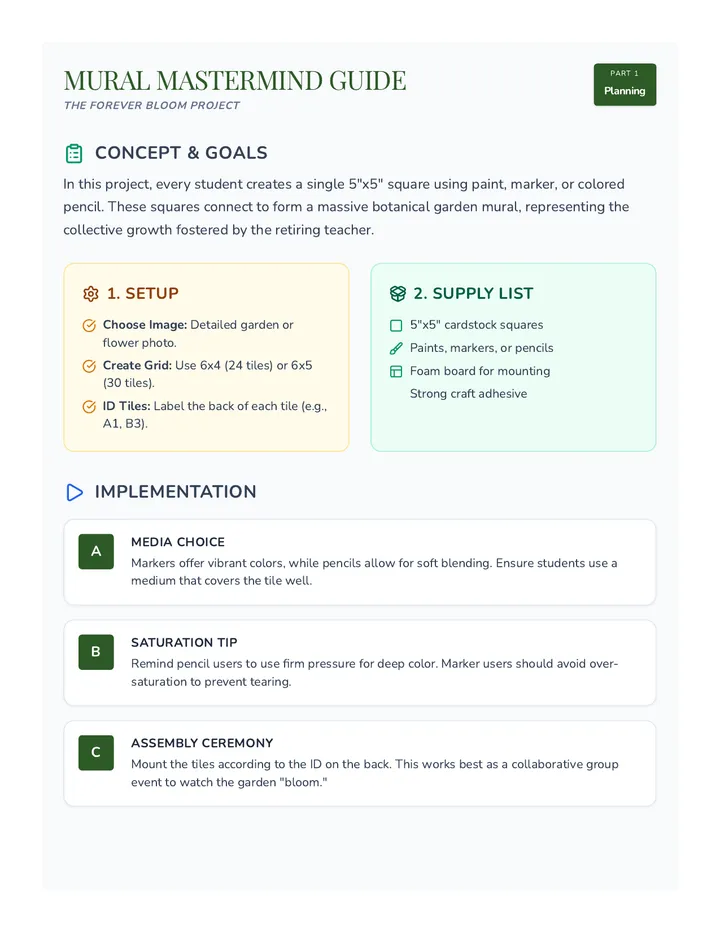
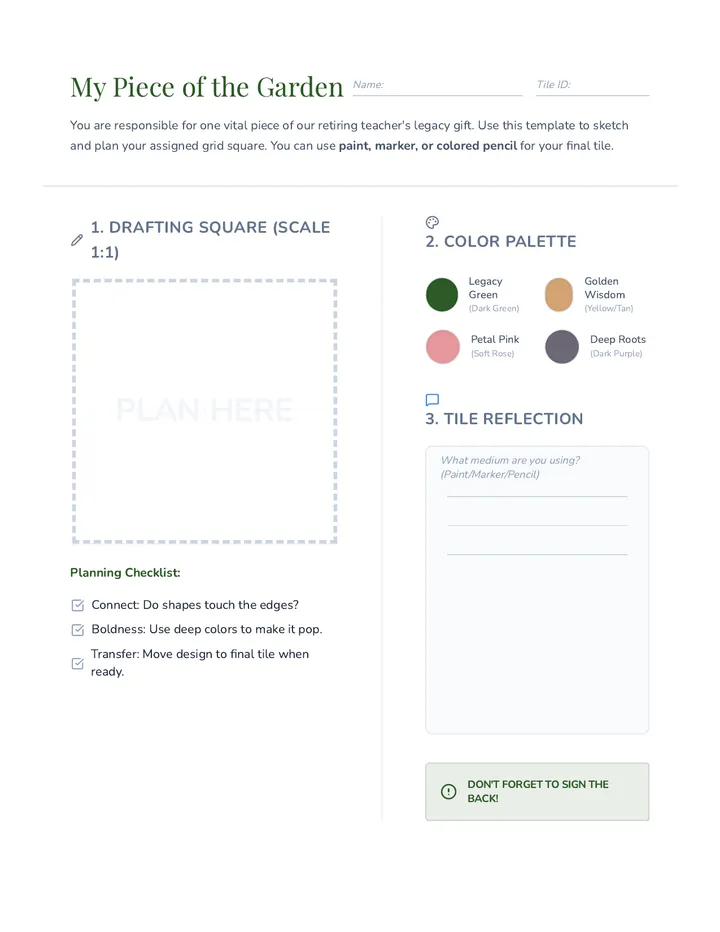
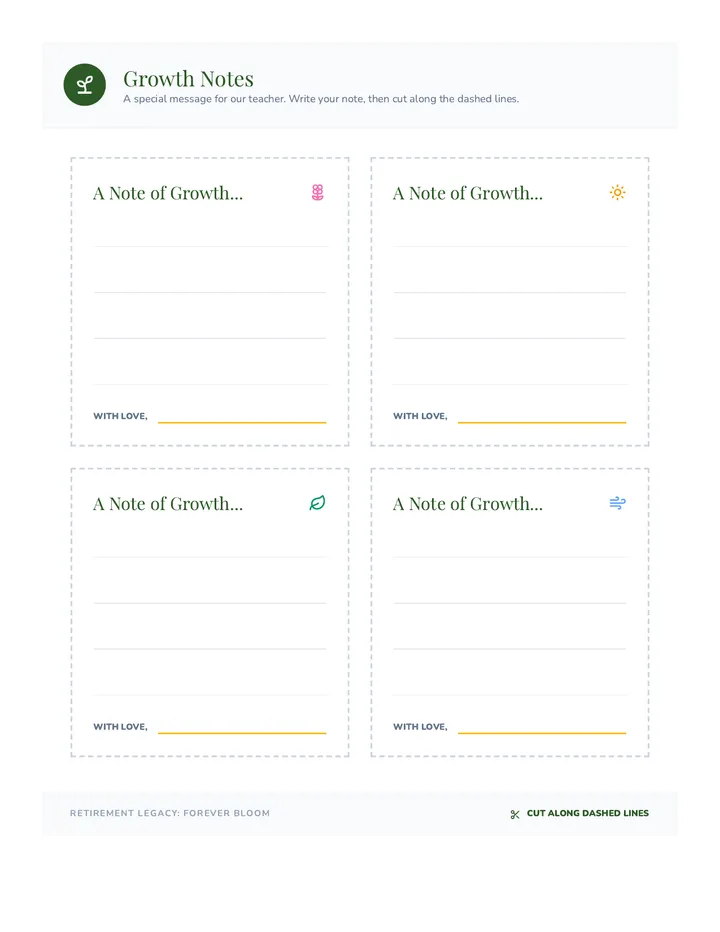
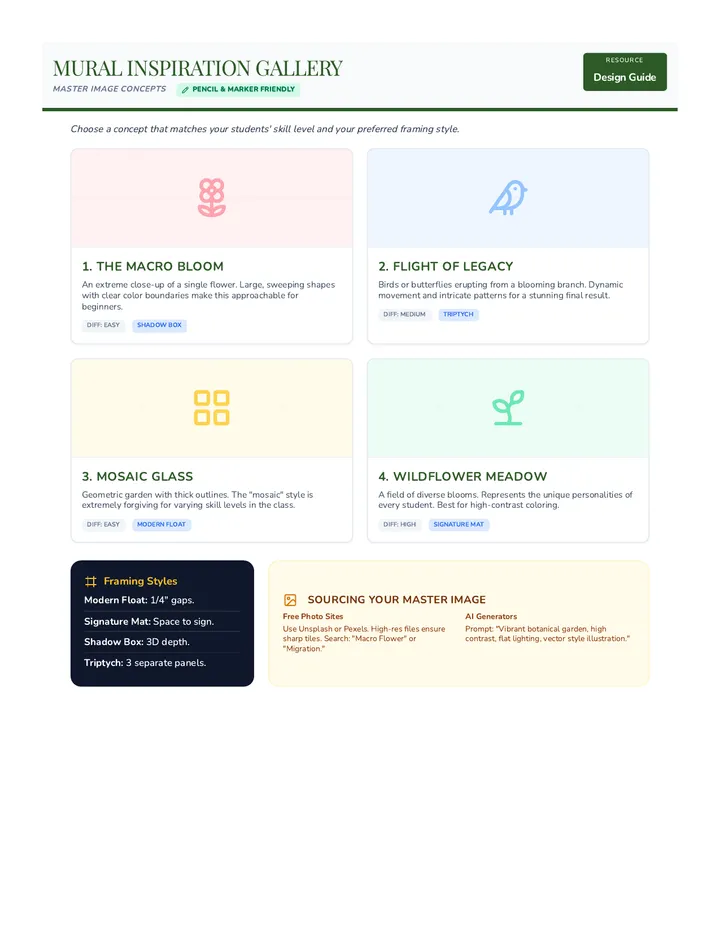
A collaborative art sequence where students create a large-scale mosaic mural to honor a retiring teacher, focusing on themes of growth, beauty, and legacy.
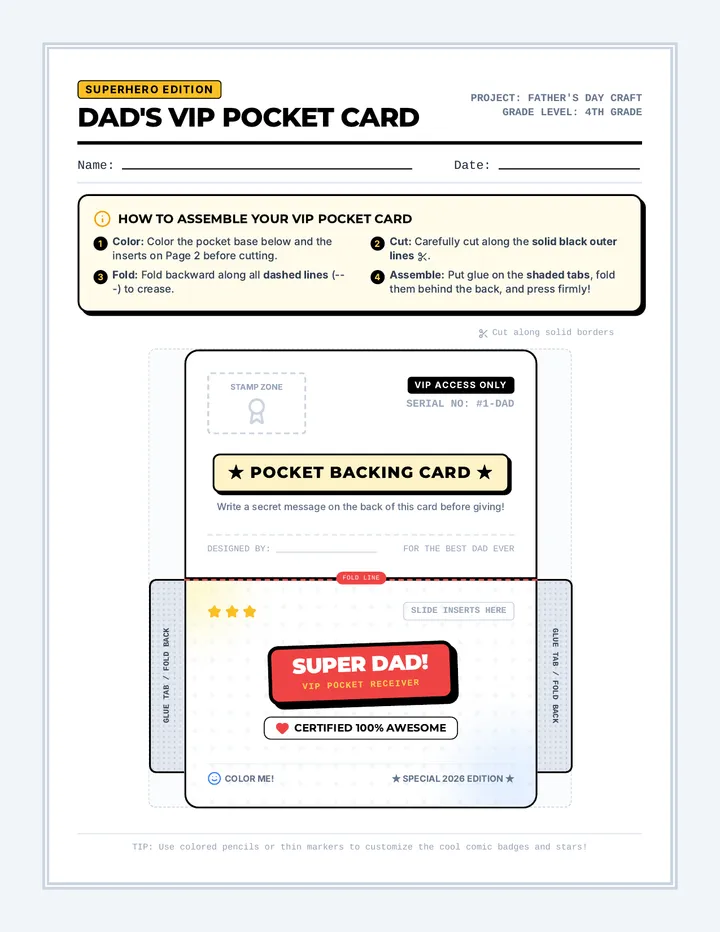
An interactive, foldable pocket card craft for fourth graders to celebrate Father's Day or honor a special person in their lives. Includes custom-designed templates for pockets, interactive insert cards, and custom coupons.
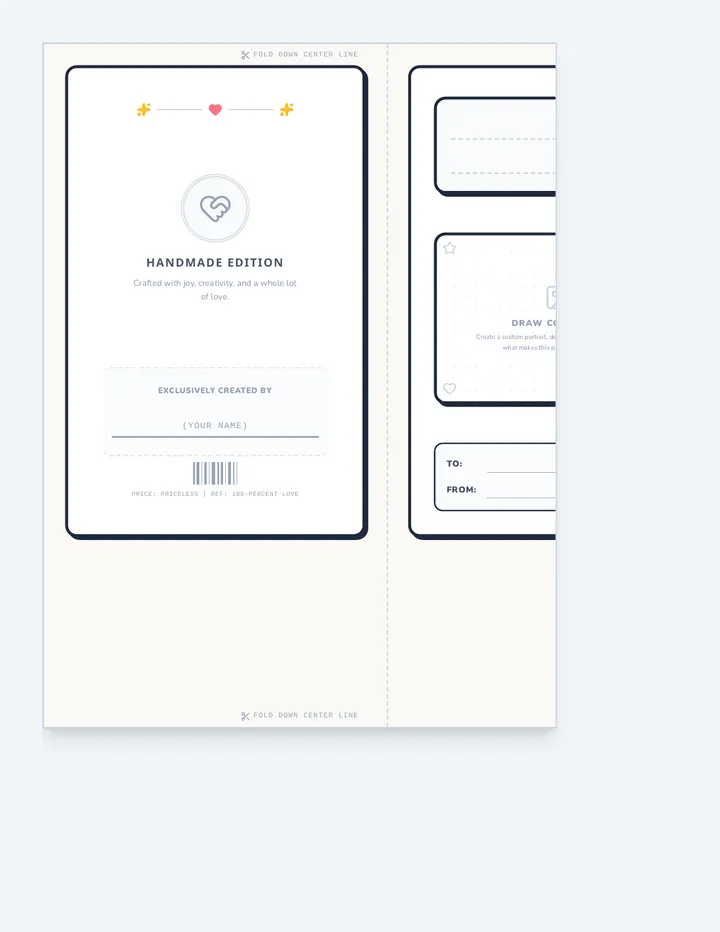
A customizable double-sided foldable card template that is fully inclusive and landscape-oriented, featuring open-ended blank drawing and writing canvases on the inside for custom messages.
A collection of four readers theater scripts designed for fourth-grade students, focusing on science, literacy, and social-emotional learning themes. Each script is designed for six performers and is approximately five minutes in length.
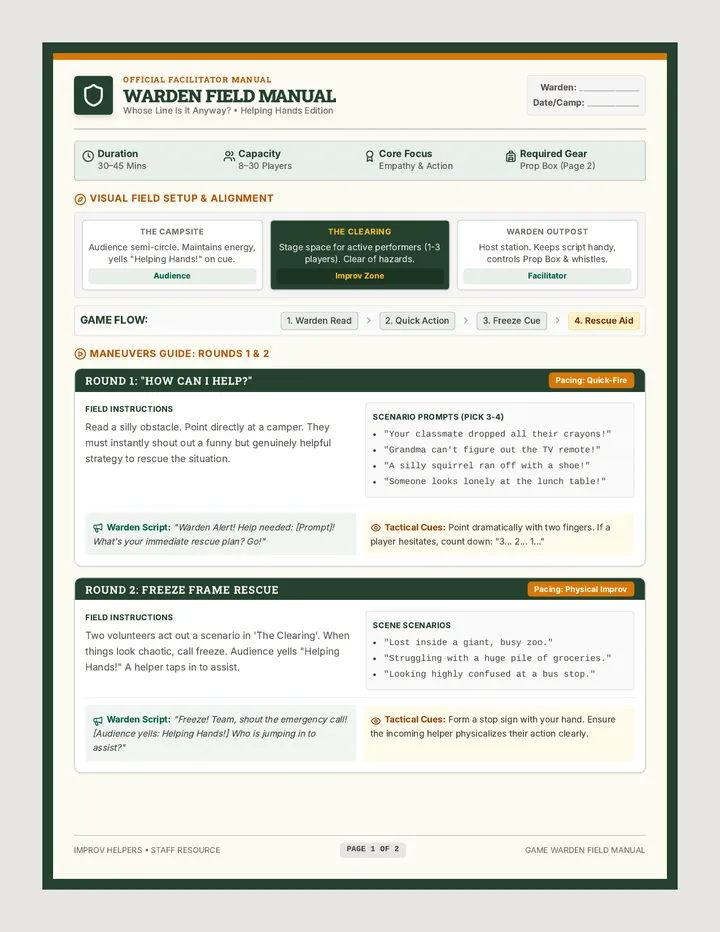
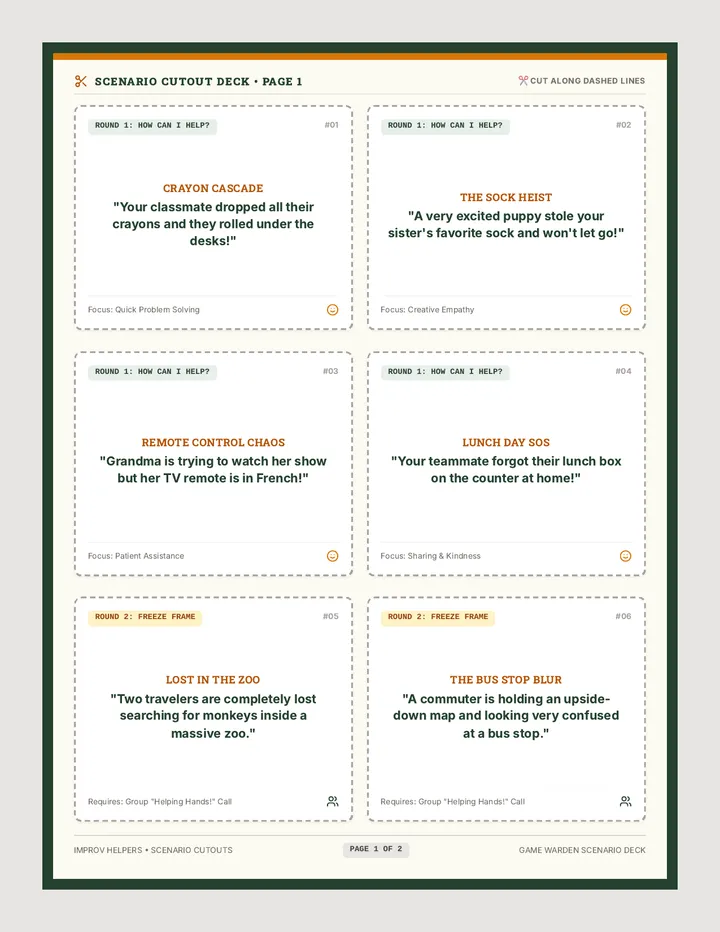
An active, drama-based lesson focused on building empathy, teamwork, and communication skills. Students participate in silly, structured improv rounds to practice identifying needs and offering creative help.
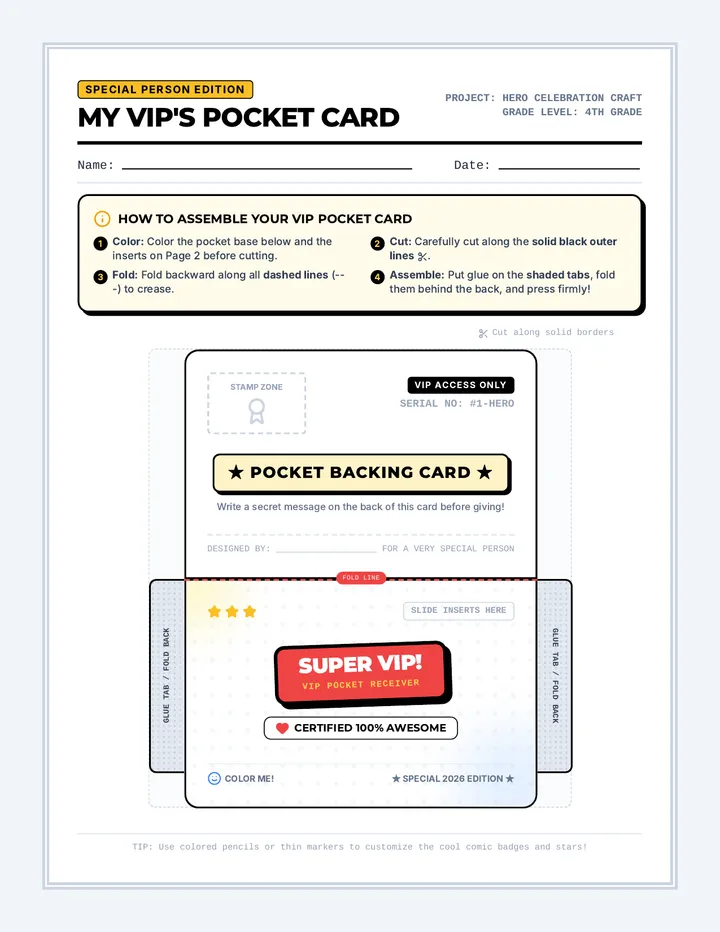
A 2-page printable interactive pocket card craft specifically designed for honoring a special person, mentor, mother, or guardian. Includes matching comic-themed templates, interactive insert cards, a heartfelt customizable letter, and custom coupons.
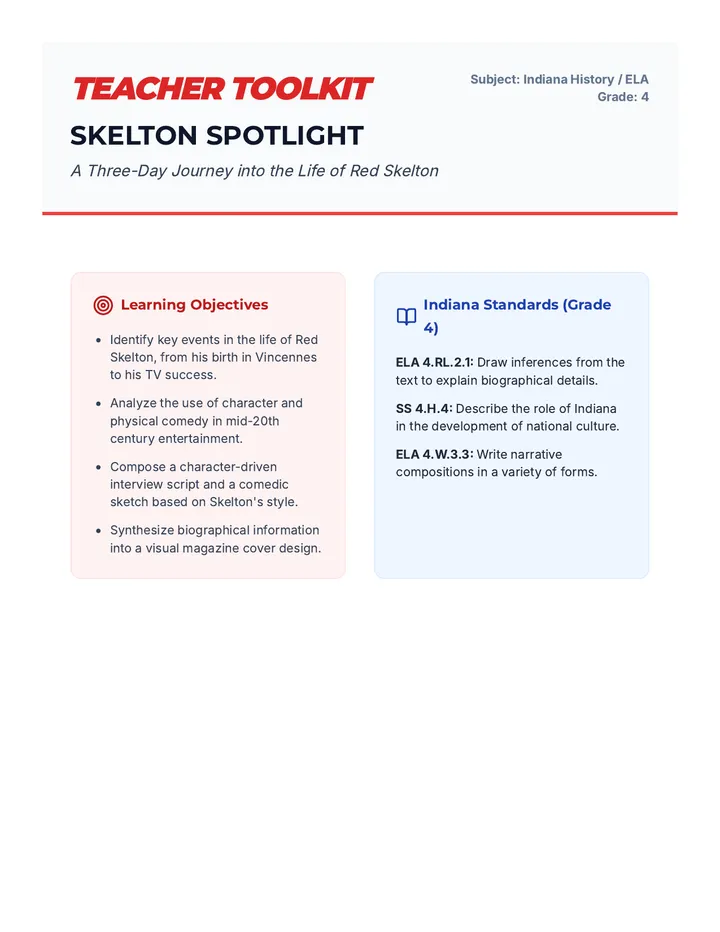
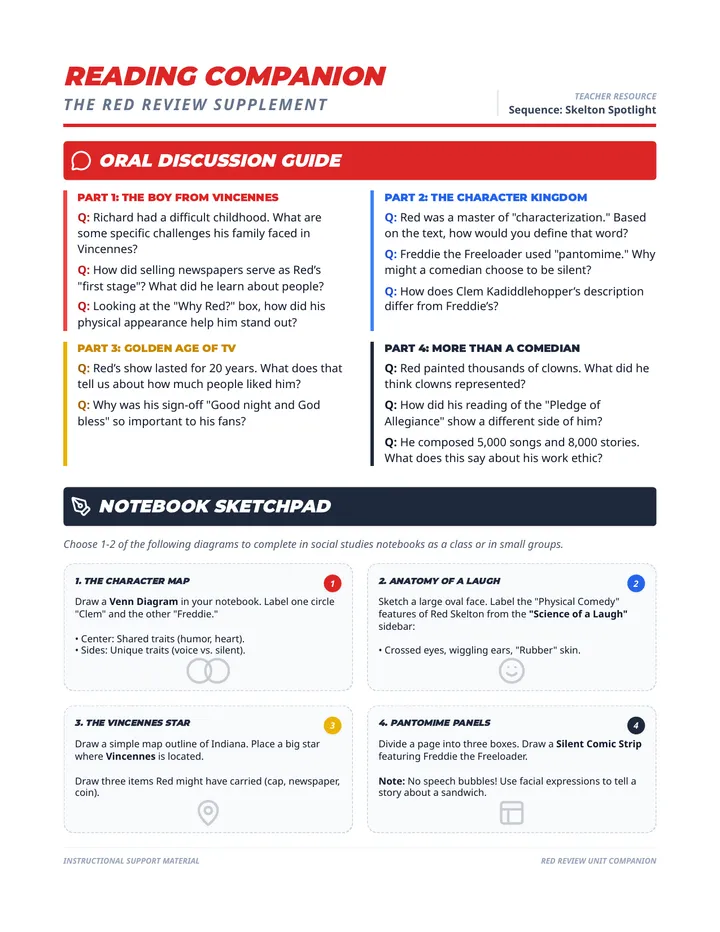
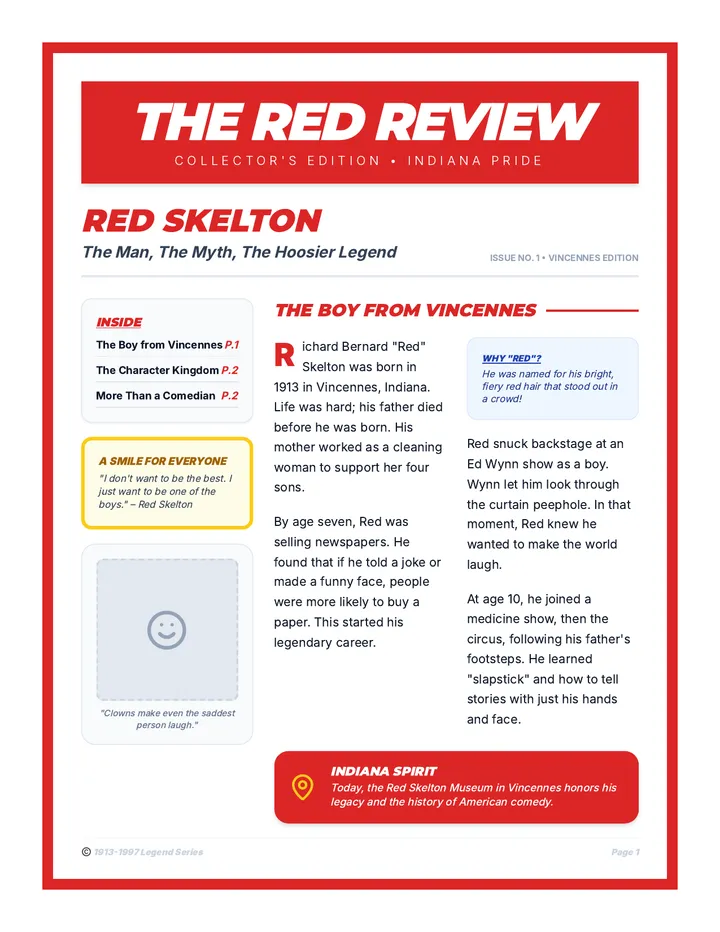
A three-day exploration of the life and legacy of Indiana-born comedian Red Skelton, presented in a vibrant magazine format. Students explore his early life in Vincennes, his iconic characters, and his lasting impact on American comedy through reading and creative performance activities.
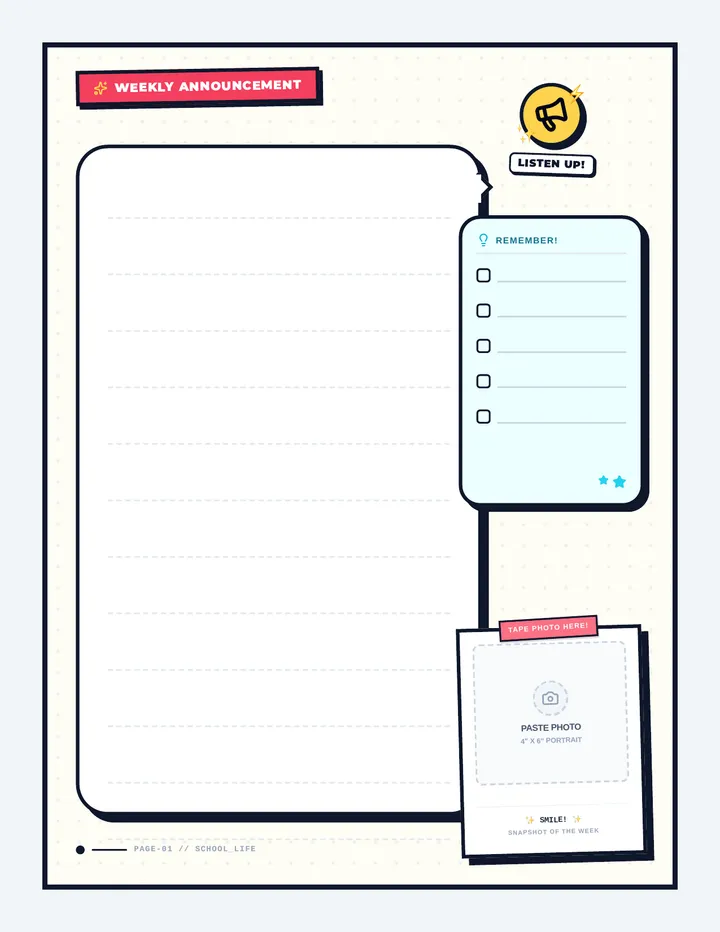
A collection of eye-catching announcements and flyers designed to communicate school updates, schedule changes, and campus news in a fun, engaging, and comic-style format.
A 2-page printable interactive Father's Day pocket card craft. Page 1 contains instructions and the foldable comic-themed pocket base template. Page 2 features customizable insert cards, including a VIP Dad Badge, a heartfelt letter template, and interactive custom coupons.