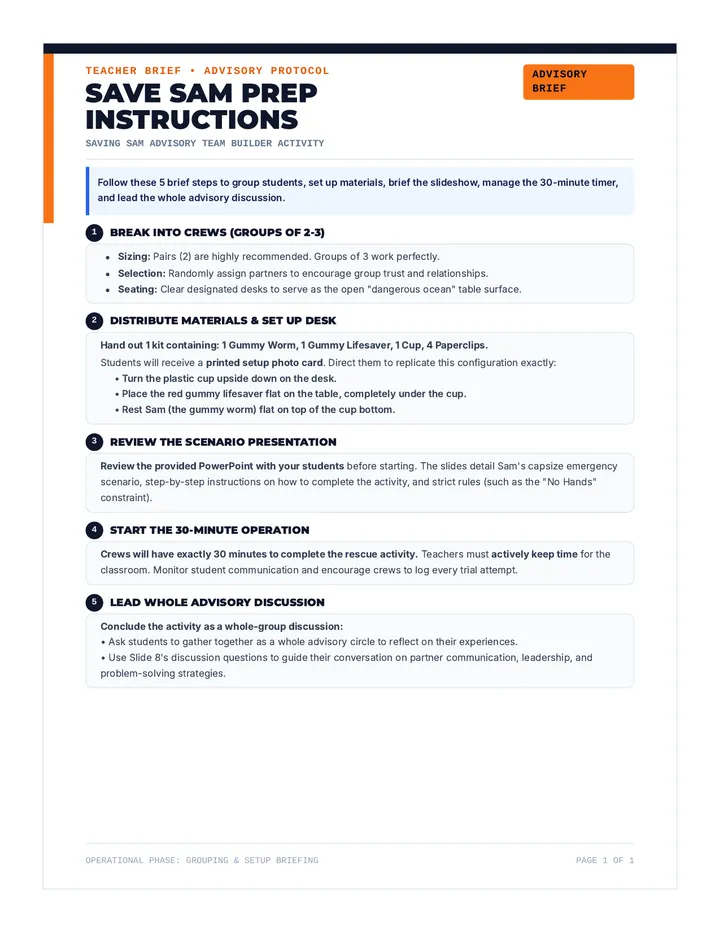
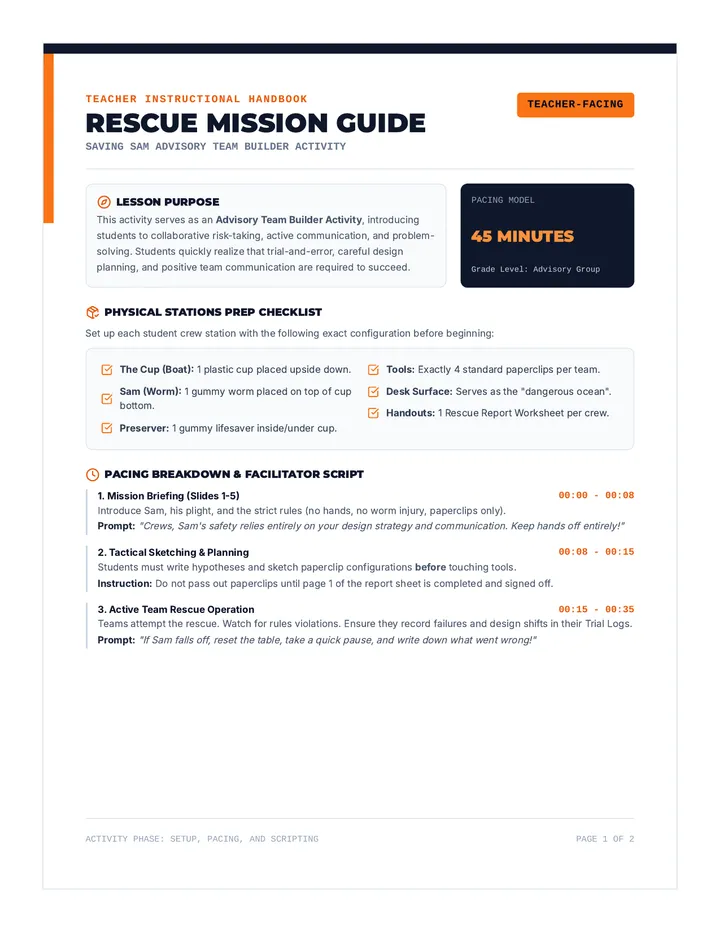
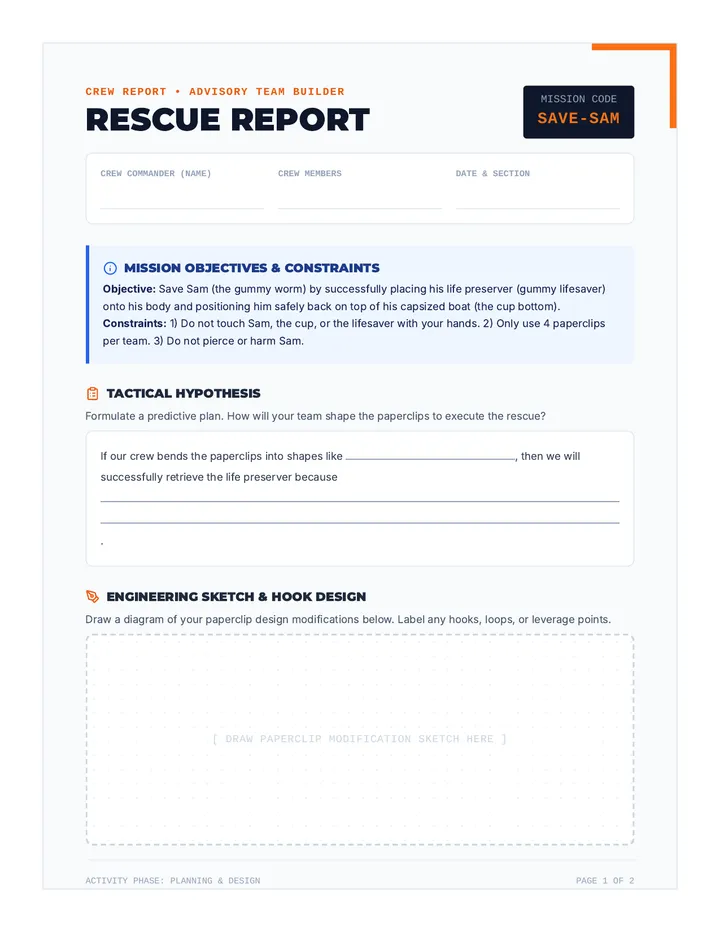
Crayon Rock Lab Activity Crayon Rock Lab
Field Journal Entry #01
Name: __________________________
Date: ___________________________
Mission Briefing
Geologists, today you will simulate millions of years of geological change in just one class period! Using crayons as your "minerals," you will create sedimentary, metamorphic, and igneous rocks. Pay close attention to how heat and pressure change the structure of your specimens.
Equipment
3 Colors of Crayons
Plastic Scraper/Knife
Aluminum Foil
Warm Water/Heat Lamp
1 Phase One: Sedimentary Formation
Process: Weathering & Deposition
Shave your crayons into small "sediment" flakes. Mix the colors and wrap them tightly in a small foil square. Press down firmly with your hand (compaction).
Sketch Your Sedimentary Rock
Observations:
Describe the layers:
Is it easy or hard to break?
2 Phase Two: Metamorphic Transformation
Process: Heat & Pressure
Place your foil packet in warm water (not boiling!) for 30 seconds until it softens. Remove it and squeeze it as hard as you can (pressure).
Sketch Your Metamorphic Rock
Observations:
How did the colors change?
Describe the texture:
3 Phase Three: Igneous Melting
Process: Melting & Cooling
Place your specimen in a foil "boat" under a heat lamp or in very hot water until it completely melts into liquid lava. Let it cool and harden completely.
Sketch Your Igneous Rock
Observations:
Can you still see individual colors?
What does the surface look like?
Geologist's Lab Analysis
1. THE TRANSFORMATION
How did the appearance of the "rock" change as it moved through the three stages? Which stage looked the most different from the original shavings?
2. THE FORCE
In nature, what provides the "pressure" needed to create metamorphic rocks? What provides the "heat" for igneous rocks?
3. THE CYCLE
If you took your finished igneous rock and started shaving it into flakes again, what part of the rock cycle would you be starting?
Crust Crafters Geology Series
Unit 1: The Rock Cycle
Rock Star Slides Rock Star Status
Tracking the Infinite Loop of Earth's Crust
The Big Question
Is the rock you are holding today the exact same rock that dinosaurs walked on 65 million years ago?
What do you think? Discuss with a partner.
The Triple Threat
Sedimentary
The Recyclers. Formed from bits of other rocks, sand, and shells pressed together over time.
Metamorphic
The Chameleons. Rocks changed by extreme heat and pressure without actually melting.
Igneous
The Originals. Born from fire. Formed when magma or lava cools and hardens.
The Infinite Loop
Sediment
Magma
Extreme Heat
Igneous
Never Ending...
Always Changing...
Crayon Rock Lab
Your Mission
Use crayons to simulate the processes of weathering, pressure, and heat.
Safety Check
• Use the scraper carefully
• Only touch foil when cool
• Keep specimens on the tray
"Geology is not a science of the static; it is a science of the fluid, the changing, and the eternal."
— Lead Geologist Lenny
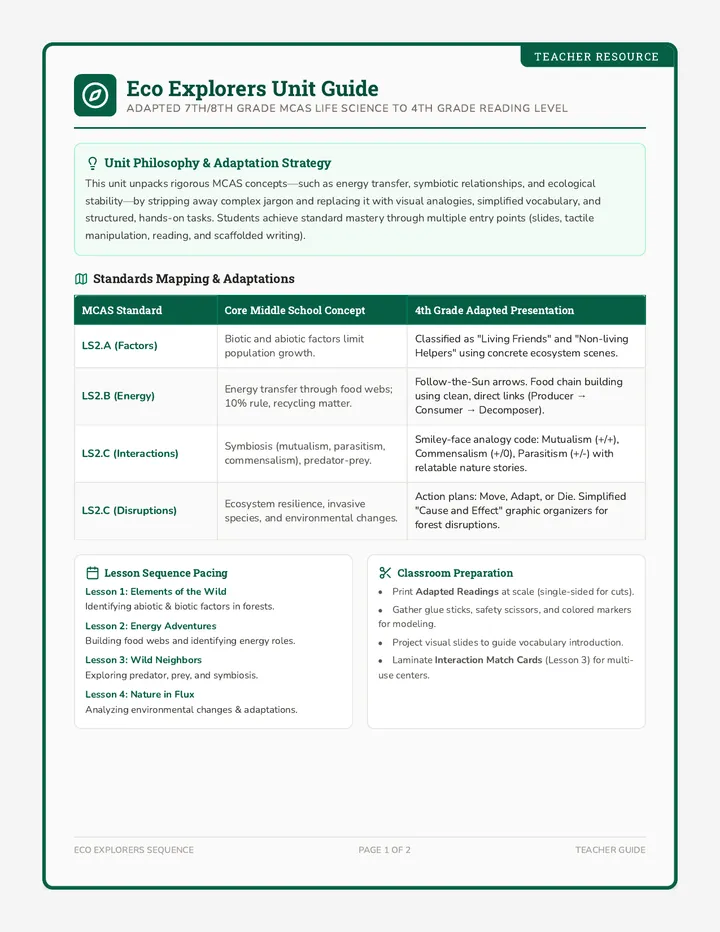
Crust Crafter Teacher Guide Crust Crafter Teacher Guide
Unit Overview & Lab Facilitation
TEACHER RESOURCE
Unit Philosophy
This unit is designed around the 5E Instructional Model. It prioritizes hands-on simulations to make abstract geological time scales and microscopic physical changes visible to students. Each lab uses common household items to represent complex natural processes.
Key Misconceptions
Weathering vs. Erosion: Students often use these interchangeably. Emphasize: Weathering is static (breaking); Erosion is dynamic (moving).
The Rock Cycle: Students may think it's a linear "circle." Emphasize that any rock can become any other rock with the right force (e.g., Igneous can go straight back to Magma).
Unit Timeline
01
The Rock Cycle
Focus: Heat & Pressure (Crayon Lab)
02
Weathering/Erosion
Focus: Breaking & Moving (Sugar Lab)
03
Landform Architects
Focus: Synthesis (Island Project)
Lab Facilitation Hacks
Crayon Rock Lab
• Use brand name crayons; they melt more predictably than cheaper wax-heavy alternatives.
• For the "Sedimentary" step, use a heavy book to apply pressure if students' hands aren't strong enough.
• Use a hot plate or hair dryer for the "Igneous" stage if hot water is too messy.
Sugar Cube Lab
• Use clear plastic jars (peanut butter jars work well) so students can see the dust accumulate.
• Encourage students to count the "shimmering" sugar dust as sediment level 1-5.
• For chemical weathering, add a drop of food coloring to the water to make the "dissolving path" visible.
Answer Key Highlights
Crayon Lab Analysis Q3:
"Starting to shave the rock into flakes" = Weathering/Sediment stage.
Sugar Lab: Weathering vs Erosion:
Weathering is the shaking (breaking edges). Erosion is the shaking movement itself or the sediment falling to the bottom.
Island Blueprint Rubric
Category Exceeding (4) Meeting (3) Developing (2) Scientific Accuracy All 5 landforms are correctly placed; formation stories use academic vocabulary accurately. 5 landforms are included and mostly correct in their formation descriptions. Fewer than 5 landforms included or several formation errors.
Sugar Cube Breakdown Lab Sugar Cube Breakdown
Field Journal Entry #02: Weathering & Erosion
Name: __________________________
Date: ___________________________
The Investigation
In this lab, we will use sugar cubes to represent rocks. We will simulate mechanical weathering (breaking things down) and erosion (carrying things away) to see how physical forces change the landscape over time.
Materials
5 Sugar Cubes
Clear container with lid
Water & Eyedropper
Colored Pencils
Step 1: Mechanical Weathering (The Shaker)
Place 3 sugar cubes in the container. Shake vigorously for the specified number of times and observe the changes to the cubes and the "sediment" at the bottom.
Shake Count Cube Appearance (Sketch or Describe) Sediment Level Initial (0) None 20 Shakes 50 Shakes 100 Shakes
Step 2: Chemical Weathering (Rain Simulation)
Place a fresh sugar cube on a flat surface. Use the dropper to add water one drop at a time onto the center of the cube.
Sketch After 20 Drops
What happened to the shape of the cube?
Where did the sugar go as it dissolved?
Field Analysis
1. THE ROUNDING EFFECT
Think about the sugar cubes in Step 1. As you shook the container, did the edges become sharper or rounder? Why do you think rocks in a river look the way they do?
2. WEATHERING vs. EROSION
Weathering breaks it; Erosion takes it.
In Step 1, identify exactly which part was Weathering and which part was Erosion.
Weathering was when...
Erosion was when...
3. REAL WORLD CONNECTION
Grand Canyon Challenge: How long do you think it took for the Colorado River to weather and erode the rock layers of the Grand Canyon? Is it still happening today?
Geologist's Sketchpad
Draw a cross-section of a mountain showing how rain (weathering) and streams (erosion) change its shape over time.
Vocabulary Check
Sediment: Bits of rock, sand, and soil moved by erosion.
Deposition: When sediment is dropped in a new place.
Crust Crafters Geology Series
Unit 2: Weathering & Erosion
Wear and Tear Slides Wear and Tear
The Sculptors of the Earth
It's a Dynamic Duo
Nature doesn't just build mountains; it constantly breaks them back down. To understand how the surface changes, we must distinguish between two separate processes.
1. Weathering
"The Breaker"
The physical or chemical breakdown of rocks into smaller pieces (sediment).
2. Erosion
"The Mover"
The movement of sediment from one location to another by wind, water, ice, or gravity.
Ways to Weather
Mechanical
Physical forces breaking rock into smaller chunks of the same stuff.
1
Ice Wedging (Freezing/Thawing)
2
Plant Roots (Prying Apart)
3
Abrasion (Rocks bumping together)
Chemical
Rocks changing into new substances through chemical reactions.
1
Oxidation (Rusting)
2
Acid Rain (Dissolving Limestone)
3
Lichens & Moss (Organic Acids)
The Big Four Mover Squad
Water
Rivers, waves, and runoff.
Wind
Blowing sand and dust.
Ice
Glaciers carving valleys.
Gravity
Landslides and slumps.
Remember: Deposition is where the journey ends!
Lab Time: Sugar Cube Shakedown
Prepare your containers. It's time to see weathering and erosion in action!
Mechanical Shake
Chemical Dissolve
Landform Lookbook Slides Landform Lookbook
Identifying Earth's Masterpieces
Defining the View
A landform is a natural feature found on the Earth's surface.
Think of it like the "shape" of the land. Each one tells a story about how it was made—by fire, water, wind, or ice.
Heights
Valleys
Plains
Peaks
The Vertical Giants
Mountain
Land with steep sides that rises high above the surrounding area.
Formed by: Folding, Tectonics, or Volcanism.
Canyon
A deep, narrow valley with steep sides, often with a river at the bottom.
Formed by: Water erosion over millions of years.
Plateau
A large, flat area of land that is raised high above the surrounding land.
Formed by: Magma pushing up or erosion.
Coastal Masterpieces
Delta
A fan-shaped area of land at the mouth of a river where it enters a larger body of water.
Geologist's Note:
Created by deposition (dropping off sediment).
Island
A piece of land completely surrounded by water on all sides.
Geologist's Note:
Can be formed by volcanoes, coral reefs, or rising sea levels.
Island Architect Mission
You are no longer just geologists. You are now Island Architects.
Design a brand new island
Include at least 5 different landforms
Label the forces that created them
Start Designing!
Island Blueprint Project Island Blueprint Project
Culminating Design Challenge
Architect: __________________________
Date: ___________________________
The Commission
A new volcanic island has emerged in the Pacific Ocean! As a lead geologist and landscape architect, you have been hired to map out its features. You must design an island that shows off the power of geological processes including the rock cycle, weathering, and erosion.
Requirements
Include at least 5 different landforms
Create a map key with symbols
Label a 'Weathering Zone'
Show an example of Deposition
Phase 1: Geological Inventory
List the 5 landforms you will include and describe the force that formed them.
Landform Name Geological Force (Weathering, Erosion, Tectonics, etc.) 1. 2. 3. 4. 5.
Phase 2: Rough Sketch
Design Draft Space
Final Island Blueprint
SCALE: 1 INCH = 10 MILES
ORIENTATION: NORTH UP
MASTER BLUEPRINT
Map Legend
Formation Story
Choose one landform on your island and write a 3-sentence "biography" of how it was created over thousands of years.
Geological Check
Did you include a Volcano?
YES
Did you label a Delta?
YES
Did you show weathering?
YES