Spatial Prepositions Slides Map Masters
Part 1: Where is it?
Let's learn how to describe where things are!
Our Magic Words
Above
Below
Next to
Between
Where is the Mascot?
"The mascot is ________ the box."
Above
Below
Next to
In our Classroom...
The clock is above the board.
The rug is below the table.
I sit between my friends.
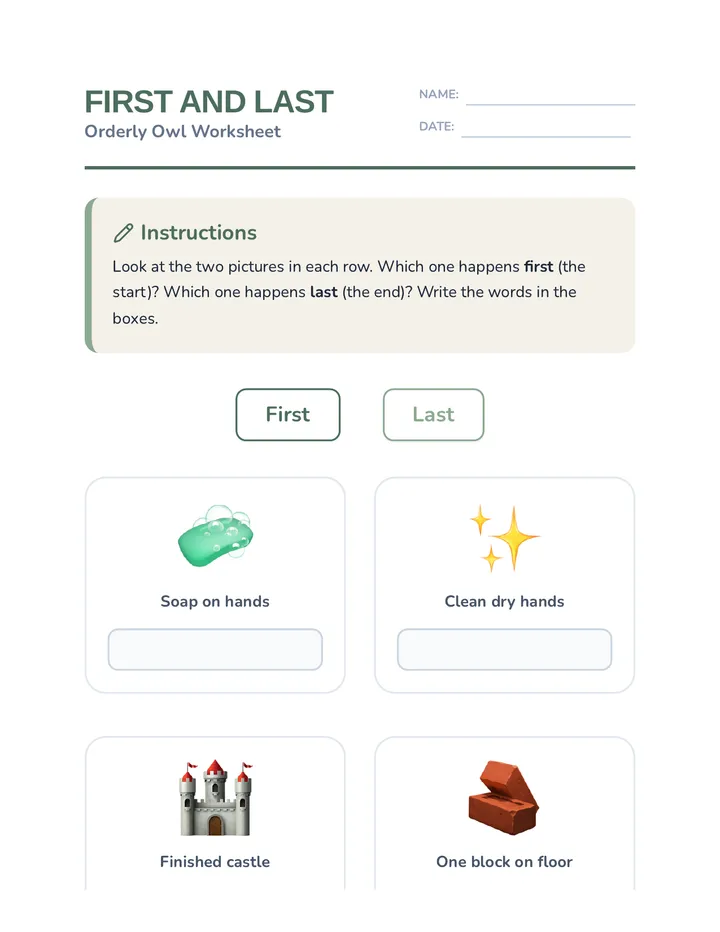
Mascot Search Worksheet Mascot Search
Where is Benny the Bear?
Name:
Date:
Word Bank
above below next to between
Look at the pictures. Write the correct word from the word bank.
1. Benny is the table.
2. Benny is the table.
3. Benny is the boxes.
4. Benny is the desk.
Spatial Prepositions Teacher Guide Teacher Guide Lesson 1: Map Masters
Spatial Prepositions
Developing spatial awareness and positional language for ESL learners.
Objectives
Identify and use above, below, next to, and between.
Describe object placement in the classroom.
Pacing
45 - 60 Minutes
Materials
Class mascot (stuffed animal), Slides, Worksheets.
1 The Hook: Mascot Hide-and-Seek
Hide your class mascot (e.g., Benny the Bear) in a semi-visible spot before students enter. Use this to introduce the lesson.
"Oh no! Benny is missing! I found a clue. Benny is above something. Can you look up? No? Is he next to the door?"
2 Instruction: Vocabulary Build
Use the Spatial Prepositions Slides . For each word, use TPR (Total Physical Response):
Above: Both hands high in the air.
Below: Both hands pointing to the floor.
Next to: One hand tapping your side.
Between: Hands coming together in the center of your chest.
3 Guided Practice: "Where am I?"
Students take turns placing the mascot in the room. The rest of the class must call out the position using a full sentence: "Benny is next to the bookshelf."
4 Independent Work: Mascot Search Worksheet
Hand out the worksheet. Circulate and check for understanding, especially for the word "between," which often requires seeing three distinct objects.
Support for ESL Learners
Visual Anchors
Keep the vocabulary slides visible or create an anchor chart with the bear and the box illustrations for reference during the worksheet.
Sentence Frames
Provide the frame: "The [object] is [preposition] the [object]." Post this on the board for oral practice.
Movement Directions Slides Map Masters
Part 2: Robot Commands
Let's move! How do we give directions?
Left and Right
LEFT
The hand that makes an "L"
RIGHT
The other hand!
Movement Words
Go Straight
Turn
Stop
Robot Commander Challenge
Give me a command to reach the door!
"Go Straight"
"Turn Right"
Wait for the robot to say "Command Received!"
Robot Commander Worksheet Robot Commands
Program the Map Master Robot!
Name:
Date:
1. Match the Command
Draw a line from the word to the correct arrow.
Go Straight
Turn Left
Turn Right
Stop
2. Program the Path
Follow the commands to draw the path for the robot from START to END .
Go Straight 2 squares.
Turn RIGHT.
Go Straight 2 squares.
STOP at END!
START
END
Movement Directions Teacher Guide Teacher Guide Lesson 2: Map Masters
Movement & Directions
Physicalizing directionality: Left, Right, and Movement Verbs.
Objectives
Identify left and right hands/directions.
Follow oral movement commands (turn, straight, stop).
Pacing
45 - 60 Minutes
Materials
Movement Directions Slides, Robot Worksheets, Floor Tape (optional).
1 Warm-up: The "L" Trick
Teach students to hold up both hands with palms facing away and thumbs out. The hand that makes the letter "L" is the LEFT hand.
"Show me your 'L' hands! Good! This is Left. Wave your left hand! Now wave your right hand!"
2 Simulation: Robot Commander
You (the teacher) are the "Robot." Students are the commanders. They must use the target vocabulary to move you from the front of the room to a specific goal (like the pencil sharpener).
Rules for the Robot:
Only move when a command is given.
Move exactly one step for "Go Straight."
Turn 90 degrees for "Turn Left/Right" but do not move forward.
Freeze immediately for "Stop."
3 Guided Practice: Simon Says (Direction Style)
Play a round of Simon Says using: "Turn Left," "Turn Right," "Go Straight (take a step)," and "Stop." This reinforces the auditory-motor connection for ESL learners.
4 Independent Work: Robot Commander Worksheet
Students complete the matching and grid activity. Teacher Tip: Encourage students to physically rotate their paper as they "drive" the robot through the grid to help with perspective.
Scaffolding Directionality
Wristbands
Place a blue string/bracelet on every student's left wrist and a red one on the right. Reference the colors: "Turn toward the red side!"
Perspective Check
Remember that "Left" and "Right" depend on which way you are facing. Always face the same way as the students when demonstrating.
Map Symbols Slides Map Masters
Part 3: Secret Symbols
How do we read the "secret code" of a map?
What is a Symbol?
This is a Real Park
Symbol
A symbol represents (stands for) something real!
The Map Key
This is our Map
Map Key
House
Forest
Water
Can you guess the symbol?
Real School
Real Hospital
Symbol Match Worksheet Secret Symbols
Reading the Map Code
Name:
Date:
1. Symbol Match
Draw a line from the real-world picture to its symbol.
Real Forest
Real House
Real Lake
2. Create Your Map Key
Draw a symbol for each word. Then find the symbol on the map and circle it!
MAP KEY
School
Park
Fire Station
Our Town Map
Map Symbols Teacher Guide Teacher Guide Lesson 3: Map Masters
Map Keys & Symbols
Abstracting the world: Symbols, Legends, and Representation.
Objectives
Identify symbols on a map.
Use a map key/legend to interpret meanings.
Understand the word "represent."
Pacing
45 - 50 Minutes
Materials
Pirate Map (prop), Slides, Symbol Match Worksheets.
1 The Hook: The Pirate's Code
Bring in a printed "Pirate Treasure Map" (you can draw one quickly with an 'X', a skull, and some trees). Ask the students: "How do we know where the gold is? What does this 'X' mean?"
"In geography, we use symbols . A symbol is a small picture that stands for something real. The 'X' represents the treasure!"
2 Instruction: Symbol vs. Real World
Use the Map Symbols Slides . Emphasize that symbols are simpler than real objects. They use basic shapes and colors.
Key Academic Vocabulary:
Symbol: A picture that stands for something else.
Represent: To stand for something.
Map Key / Legend: The box that explains the symbols.
3 Guided Practice: Legend Detectives
Show a map of the school or a fictional town. Cover the map key. Ask students to guess what the symbols mean. Then, reveal the key and check their "detective work."
4 Independent Work: Secret Symbol Match
Students match real objects to symbols and draw their own key. For ESL students, ensure they understand that they are *inventing* a simple symbol (e.g., a flame for the fire station).
Teaching "Represent"
The word "represent" is a high-utility academic verb but very abstract. Use concrete examples:
Color Coding
"On our chart, a green dot represents you are ready. A red dot represents you need help."
Body Language
"A thumbs up represents 'Yes' or 'Good.' We use small things to stand for big ideas!"
Community Locations Slides Map Masters
Part 4: Our Community
Where is the school? Where is the park? Let's talk about our town!
Community Words
School
Fire Station
Park
Store
Hospital
Post Office
Library
Restaurant
Where is the building?
Community Map
"The Fire Station is between the school and the park."
"The School is next to the fire station."
Sentence Challenge
The Hospital is _________ the Library.
Above
Next To
Between
Town Map Worksheet Our Town Map
Where in the community?
Name:
Date:
Community Map
Park
School
Store
Hospital
Library
Fire Station
Describe the Map
Look at the map above. Fill in the blanks with: next to , between , or above .
1. The School is the Park and the Store.
2. The Park is the Hospital.
3. The Library is the Fire Station.
4. The Store is the Fire Station.
Bonus Explorer Task!
Write your own sentence about the Library .
Community Locations Teacher Guide Teacher Guide Lesson 4: Map Masters
Community Locations
Applying geography skills to our town and neighborhood.
Objectives
Identify common community buildings.
Write sentences describing relative building locations.
Pacing
50 - 60 Minutes
Materials
Building blocks, labels, Community Slides, Town Map Worksheet.
1 The Hook: 3D Town Building
Spread a large piece of butcher paper on the rug or use masking tape to create "streets." Invite students to build a town using blocks or boxes. As they place a "building," they must label it.
"Where should the hospital go? Is it next to the park? Let's put the library between the school and the fire station."
2 Instruction: Building Vocabulary
Use the Community Locations Slides to introduce the names of buildings. For ESL learners, focus on the function of the buildings to help retention.
School: Where we learn.
Fire Station: Where the trucks stay.
Library: Where we get books.
3 Guided Practice: Town Talk
Using the 3D town created in Step 1, ask students questions: "What building is next to the school?" "Describe where the park is." Encourage full sentence responses: "The park is next to the library."
4 Independent Work: Town Map Worksheet
Students use the provided map on the worksheet to complete sentences. Teacher Tip: Walk around and ensure they are looking at the 2D map orientation correctly (Above/Below in 2D vs. Above/Below in 3D).
Extension: Neighborhood Walk
If possible, take a short walk around the school building. Have students identify buildings or landmarks: "The playground is behind the school." "The bus stop is next to the big tree." Record these observations for a class map later.
Treasure Hunt Slides The Great Hunt
Are you a Map Master?
Today is your final mission!
Mission Check: Skill Review
Location
Above, Below, Next to, Between
Movement
Left, Right, Straight, Stop
Symbols
Use the Map Key to find the secret!
The Mission Map
Follow your worksheet clues to find the Treasure!
Part 2: You are the Commander!
"Go to the _________."
"Look _________ the chair."
Write one clue for a friend to find a secret star!
Treasure Hunt Clues Worksheet Master Mission
The Great Classroom Treasure Hunt
Name:
Date:
Clue 1
Clue 2
Treasure
1. Find the Treasure
Follow the directions to find the final prize!
Clue 1: Go to the Teacher's Desk . Look next to the computer. Find the star!
Clue 2: Walk Straight to the Bookcase . Look between two big books. Find the gem!
Treasure: Look above the Rug . It is next to the Door . Open the envelope!
2. You are the Commander
Choose a spot in the room. Write a clue for a friend using a Map Master word.
Go to the .
Look the .
Draw it here!
Mission Accomplished
Treasure Hunt Teacher Guide Teacher Guide Lesson 5: Map Masters
The Great Treasure Hunt
The capstone: Applying all geography and spatial skills in a real-world simulation.
Objectives
Follow multi-step directions using spatial prepositions.
Write clear location instructions for others.
Apply map symbols to find hidden objects.
Pacing
60 Minutes
Materials
Envelopes, stickers/stamps, Treasure Clues Worksheet, Master Slides.
1 The Hook: Top Secret Envelope
Hand out a "Top Secret" envelope to each group or student. Inside is the Treasure Hunt Worksheet . Explain that they are now "Map Masters" and must solve the clues to find the treasure.
2 Setup: Classroom Preparation
Do this before class:
Clue 1 (Star): Tape star icons near the computer/teacher desk area.
Clue 2 (Gem): Hide blue "gem" icons inside/between books on a shelf.
Final Prize: Place a "Mission Accomplished" stamp or small treat (sticker) in an envelope above the rug/near the door.
3 Simulation: Running the Hunt
Students move in small groups. They must read the clue aloud to their group before moving. For ESL students, prompt them: "Where is 'next to'? Which way is 'straight'?" This allows for peer-tutoring and collaborative language use.
4 Mastery Check: Writing Your Own Clue
Once they find the treasure, students complete Part 2 of the worksheet. They write their own clue. Pair students up to try and follow each other's written clues. This is the Mastery Level task.
Facilitating the Hunt
Peer Tutoring
Encourage students who find a clue first to use language clues ("Look up!" or "Check the left side" ) rather than just pointing.
Check for Clarity
In the writing section, ensure students use specific landmarks (e.g., "The Board", "The Sink") so the preposition has a clear reference point.